Some people look at soldering as a challenge, or something which requires years of practice to become competent at, but I can assure you that it is well within anyone’s grasp… I am sure you have already decided this for yourself if you are about to follow this tutorial!
But first things first, let’s just say a few words about safety, I am sure much of this is common sense, but just in case, please do make sure that any children are accompanied by an adult, and please be careful! Soldering irons are VERY HOT, and anything you solder will be VERY HOT. I cannot take responsibility for anything or anyone you hurt, and finally, don’t forget to switch it off once you’re done!
Before starting, I will make one suggestion, and that’s to read through all of the instructions before you begin. Another good idea would be to print out the home page of the website, which has the illustrated design of the board (which is fully accurate in terms of colour coding). This will ensure that you fully understand the whole process, know what goes where, and hopefully won’t make any mistakes!
Soldering takes place in four simple steps. Firstly, heat up the joint, then add the solder, then remove the solder, before removing the iron. If you follow these simple steps, then soldering will be no trouble at all!
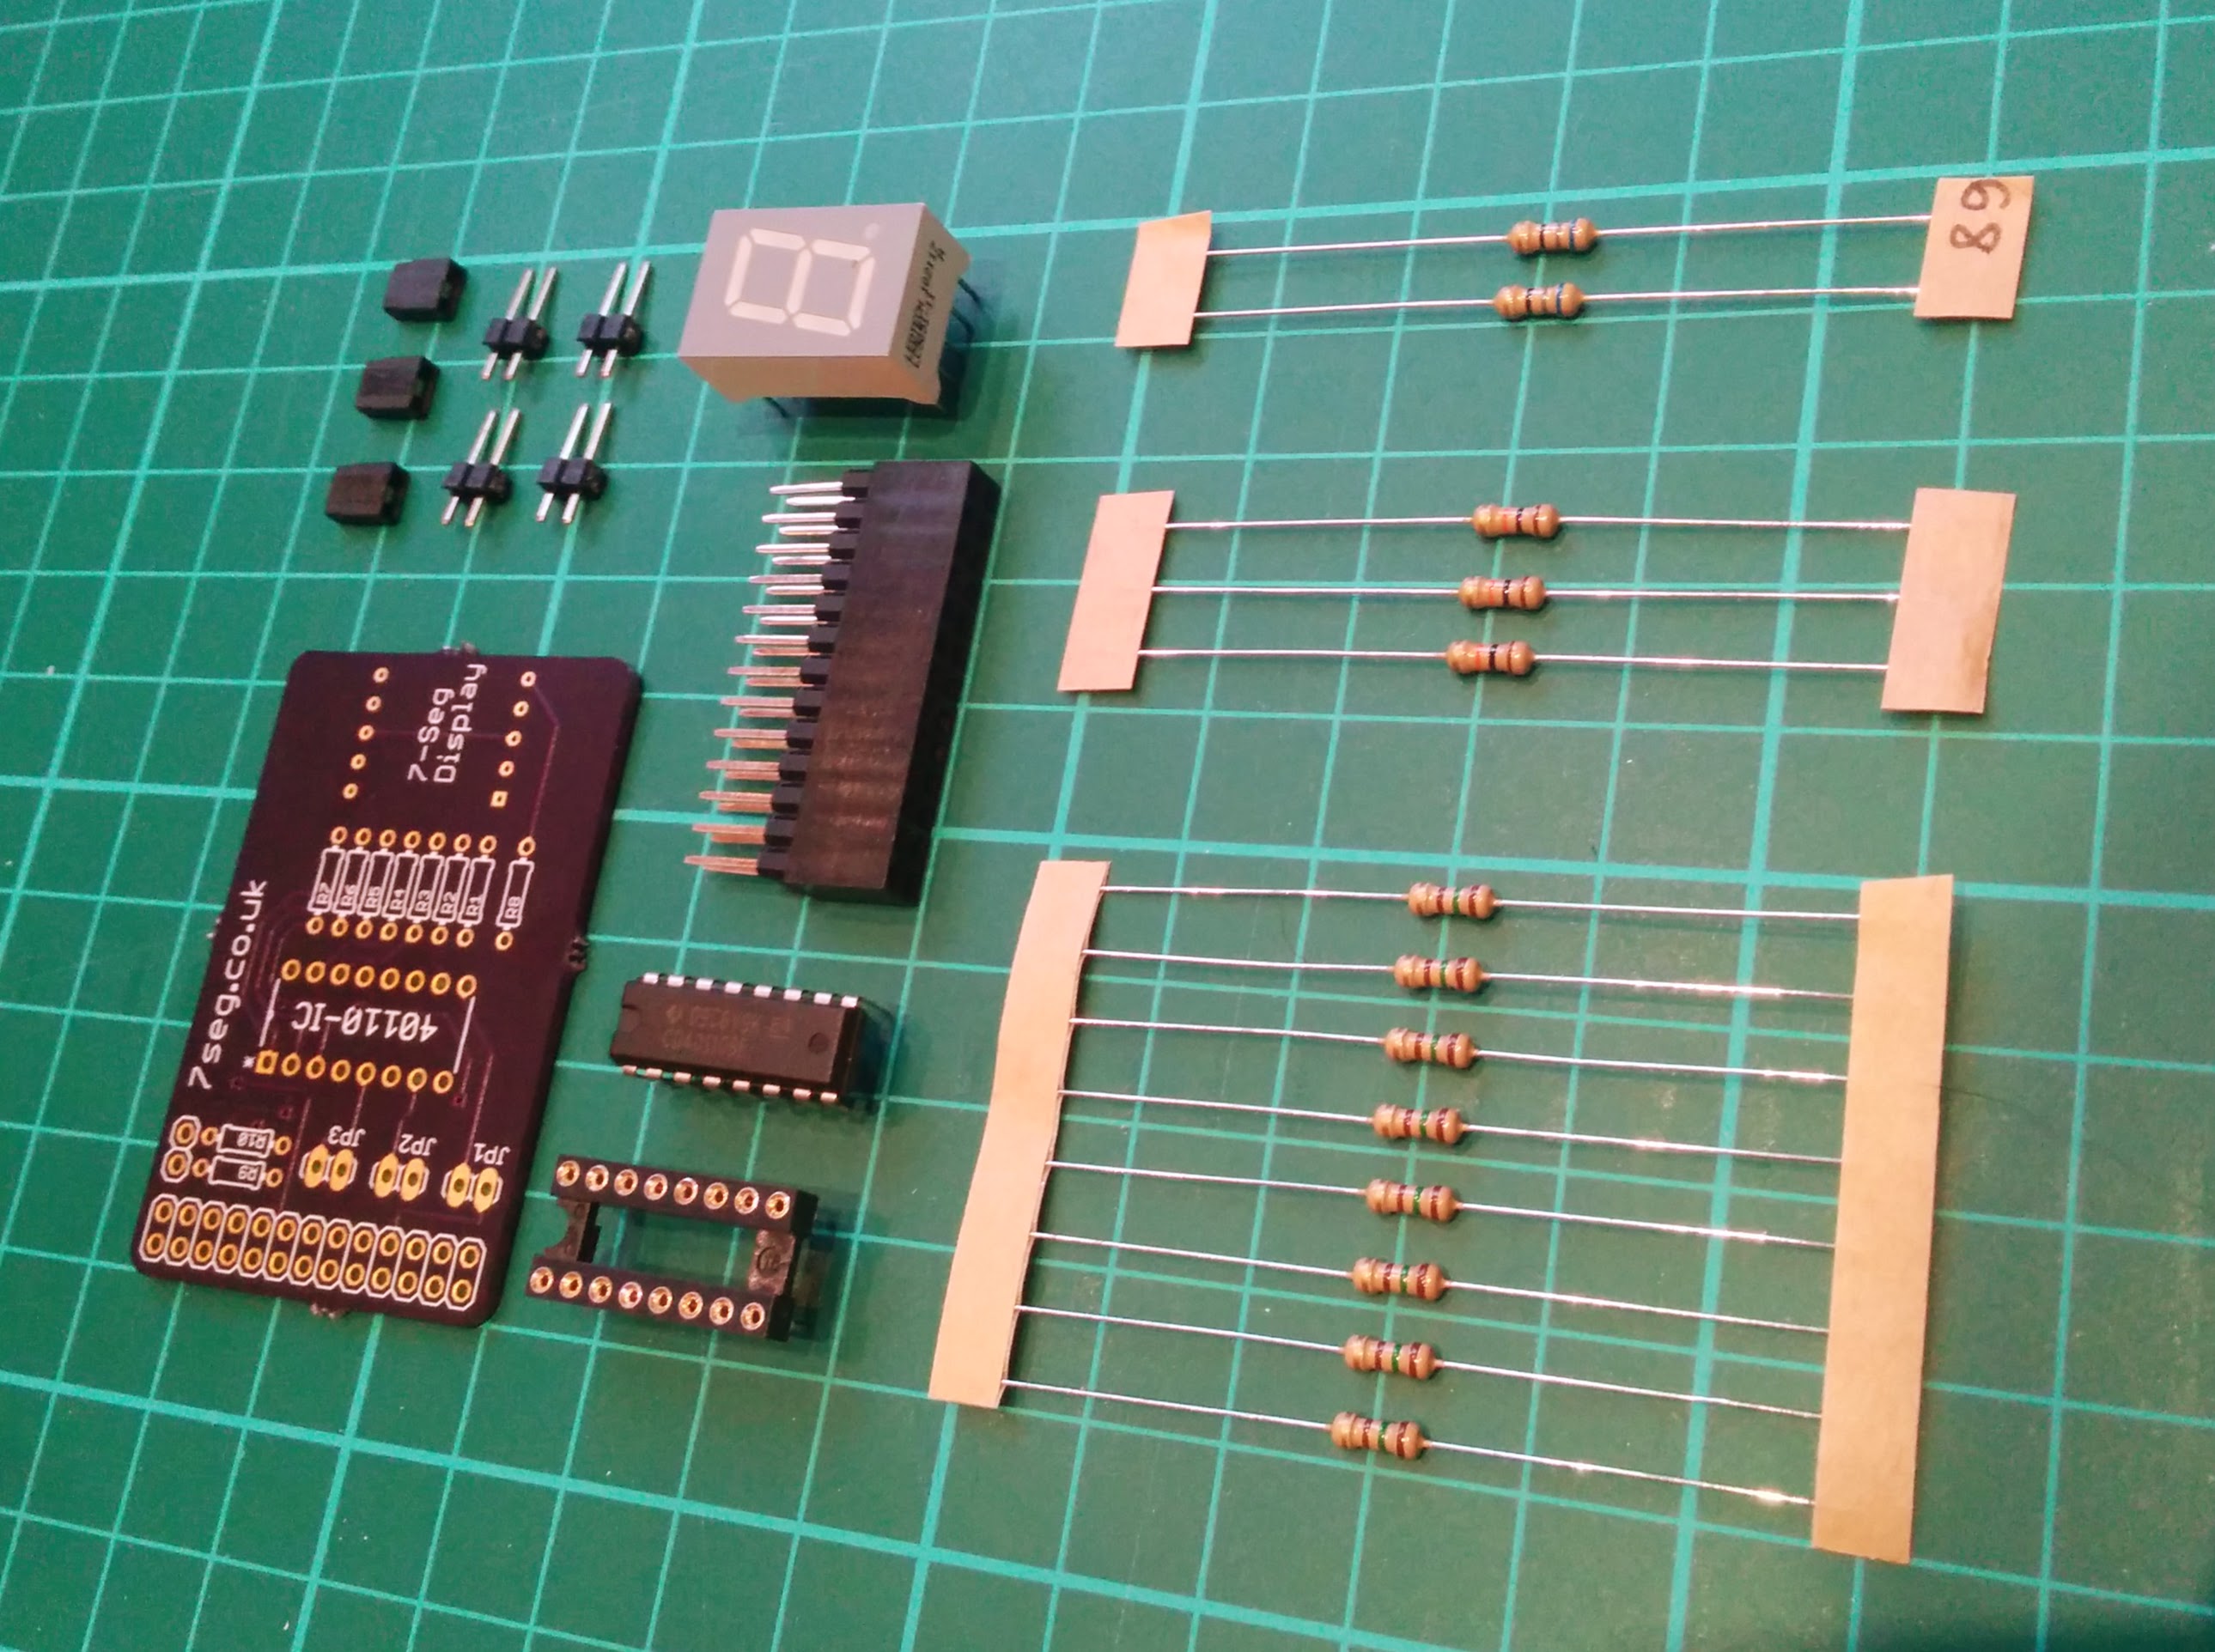
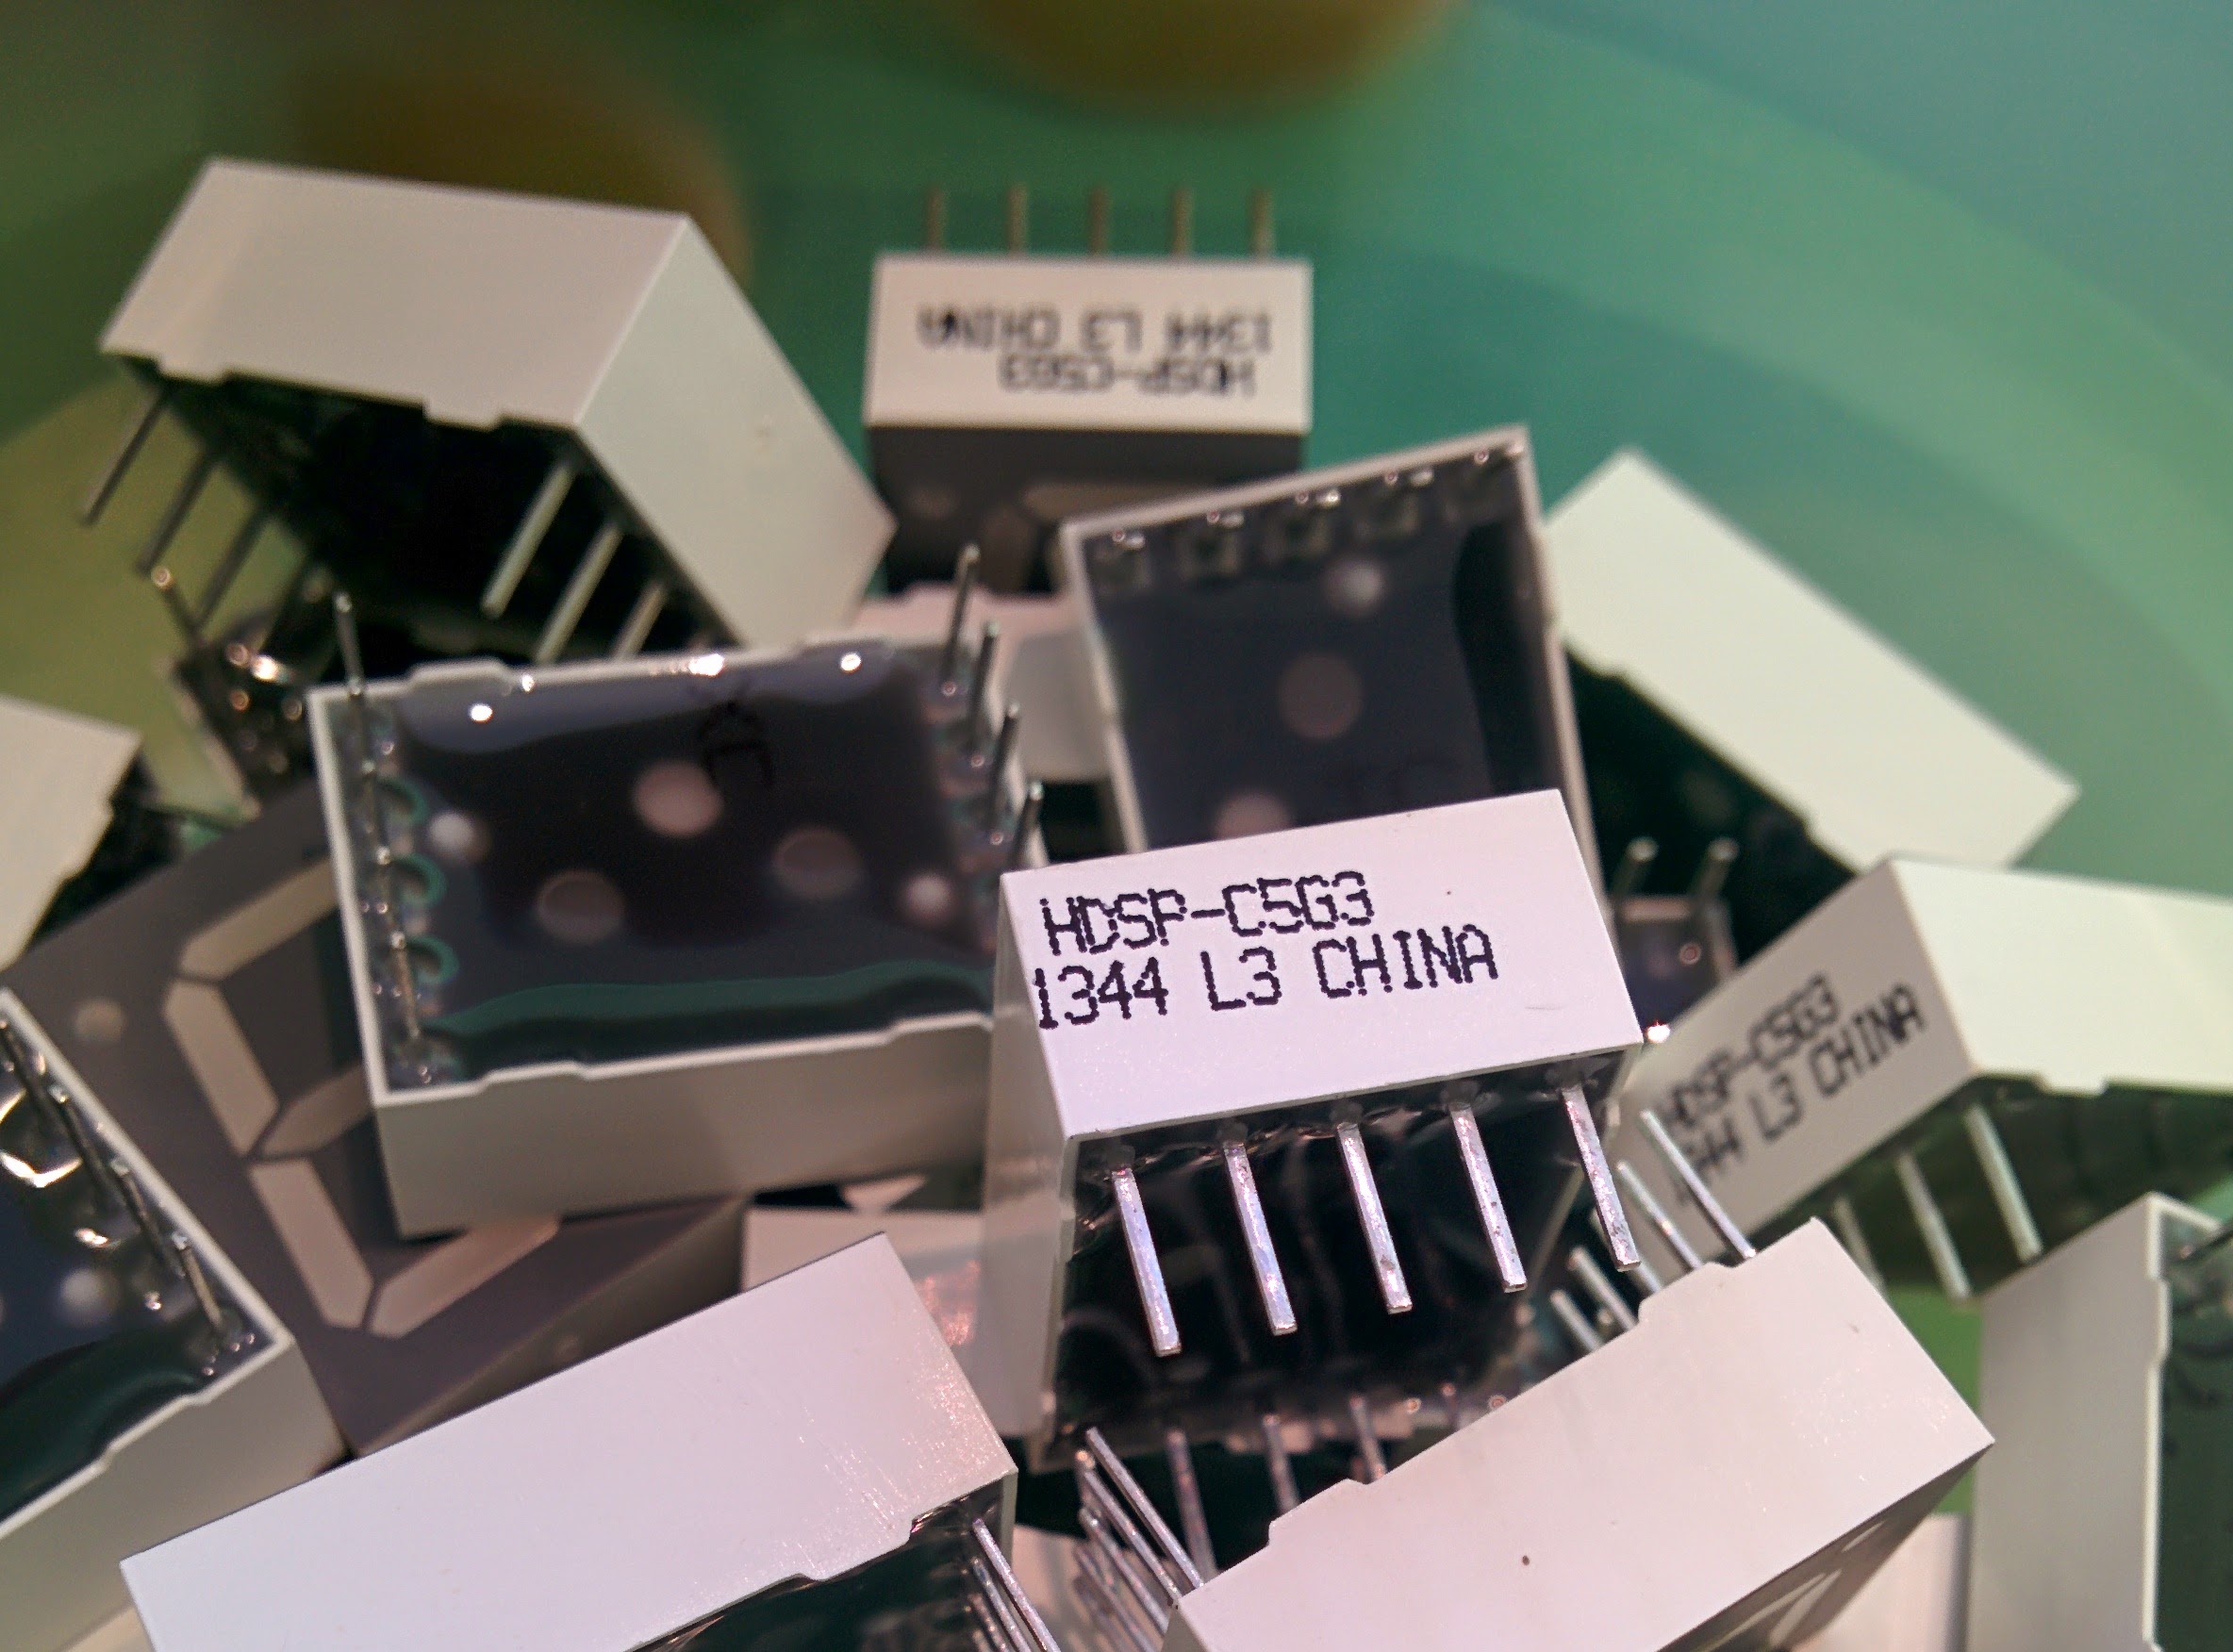
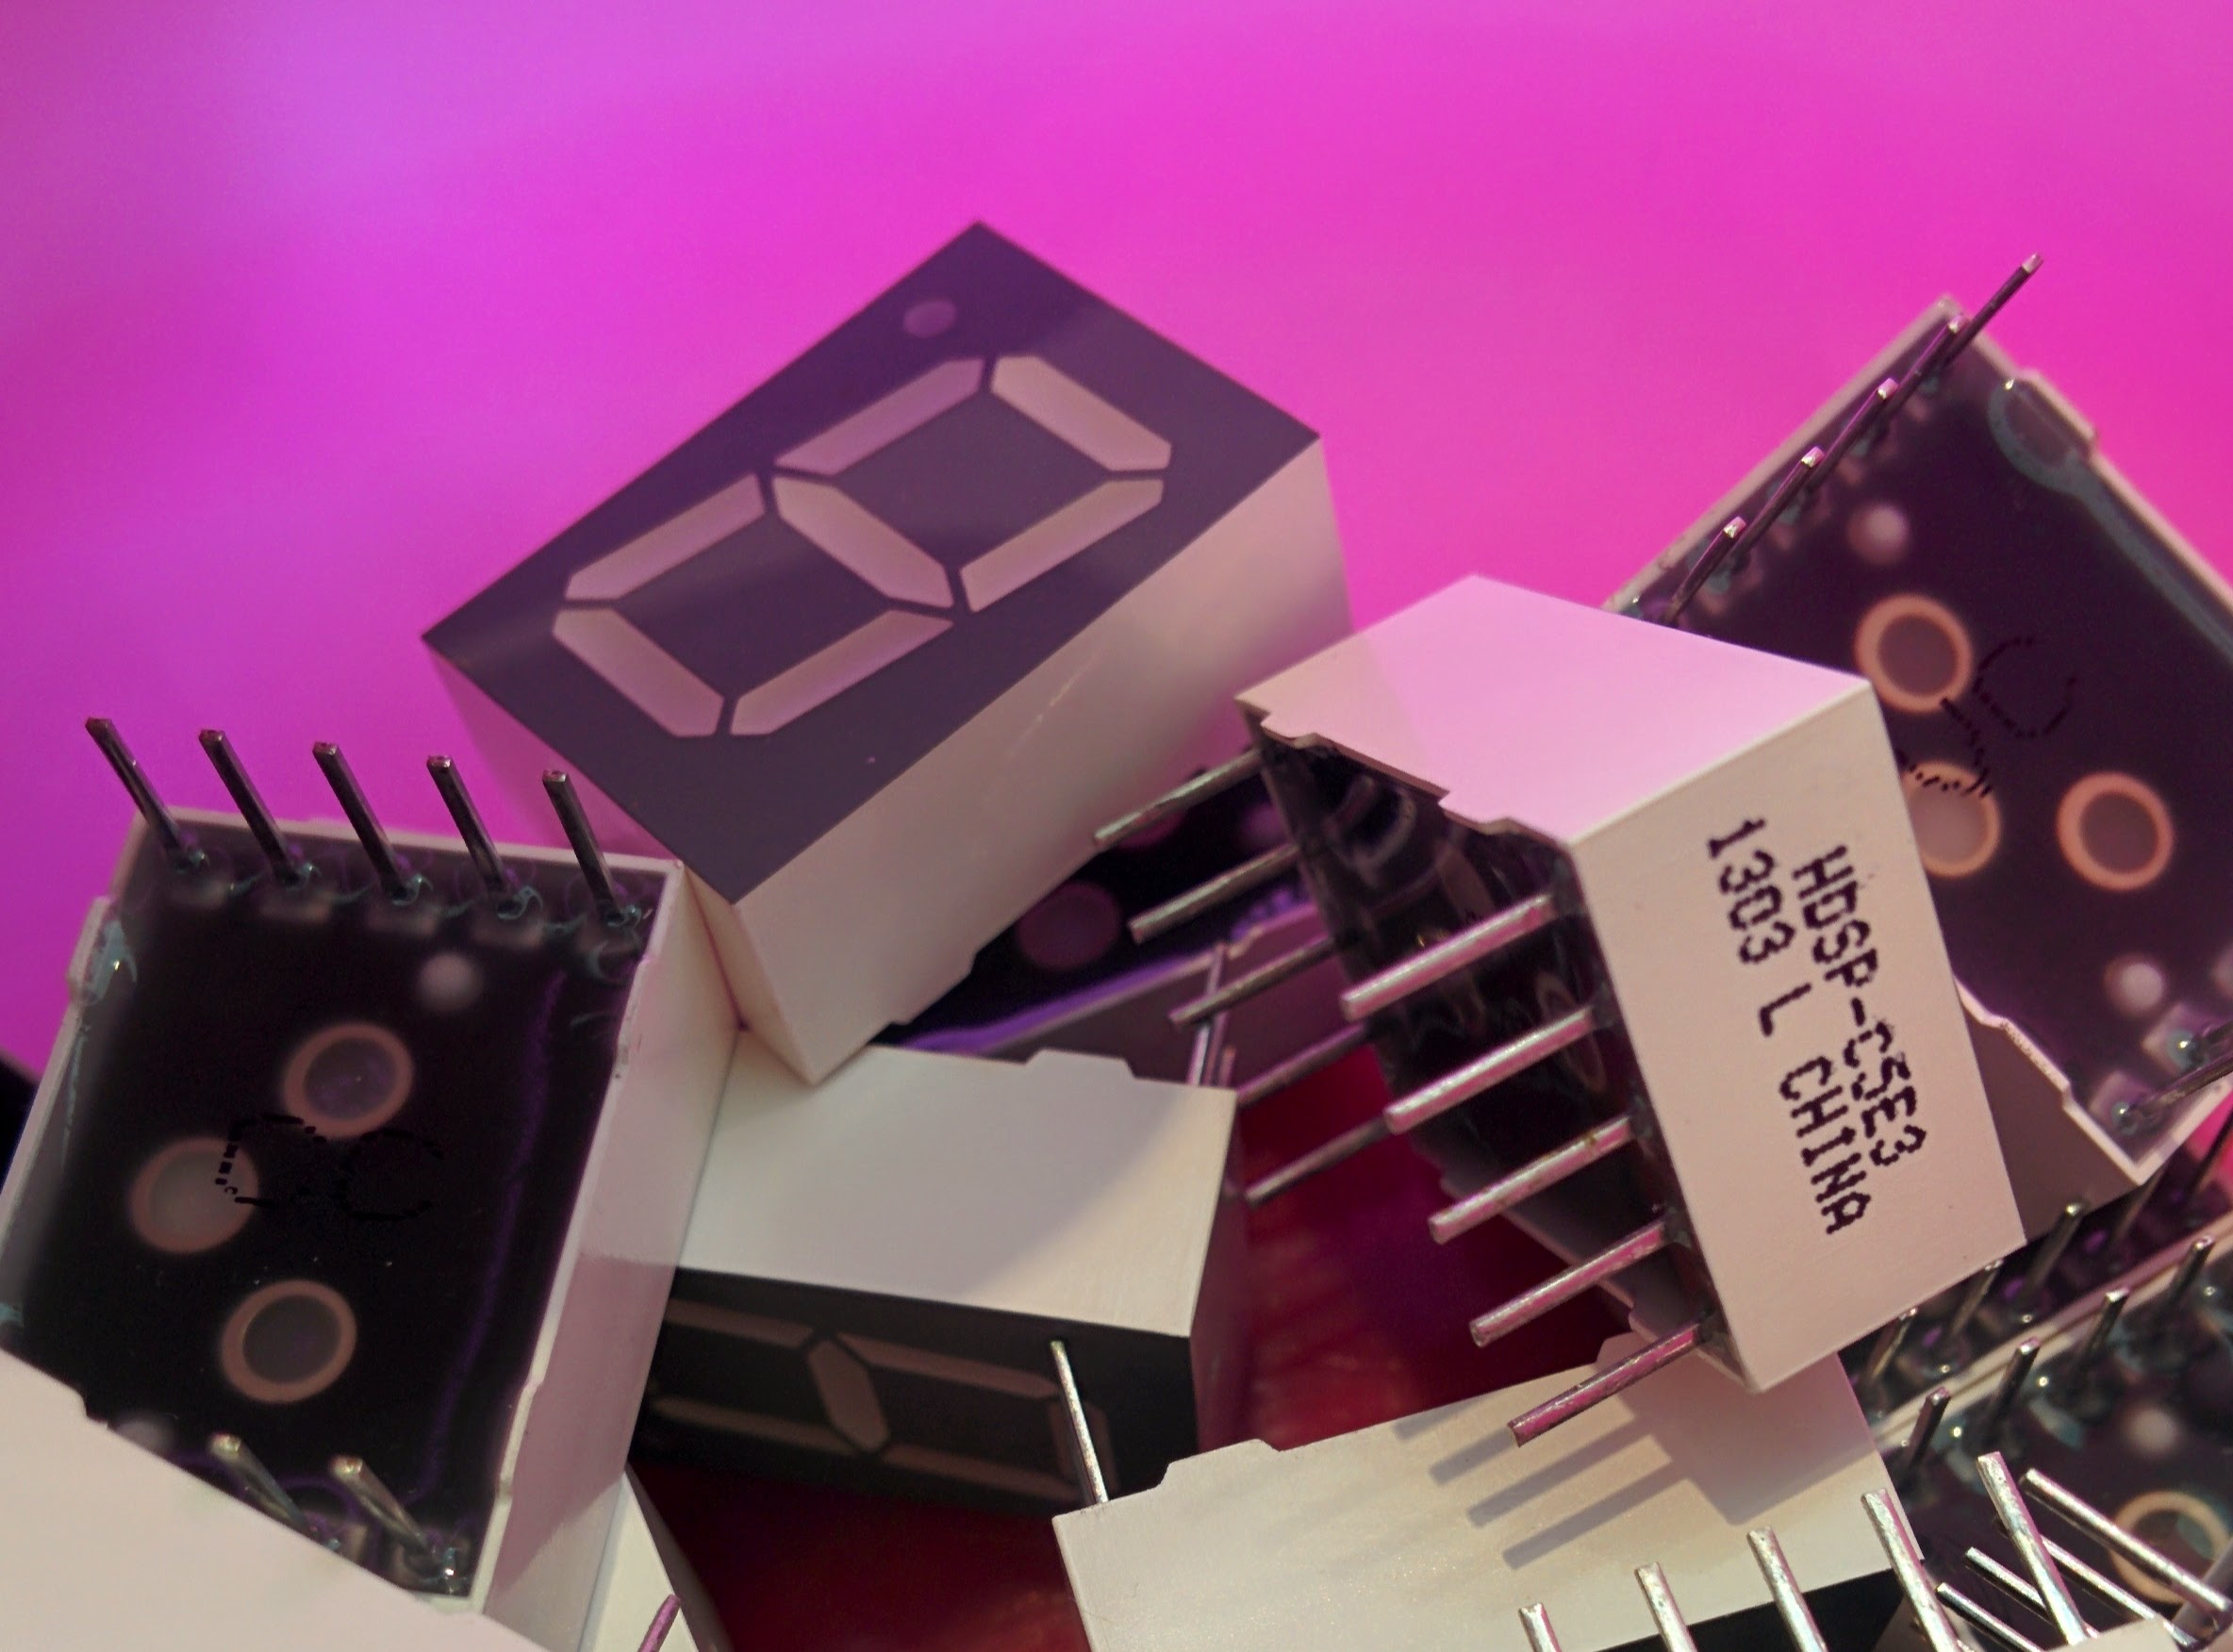
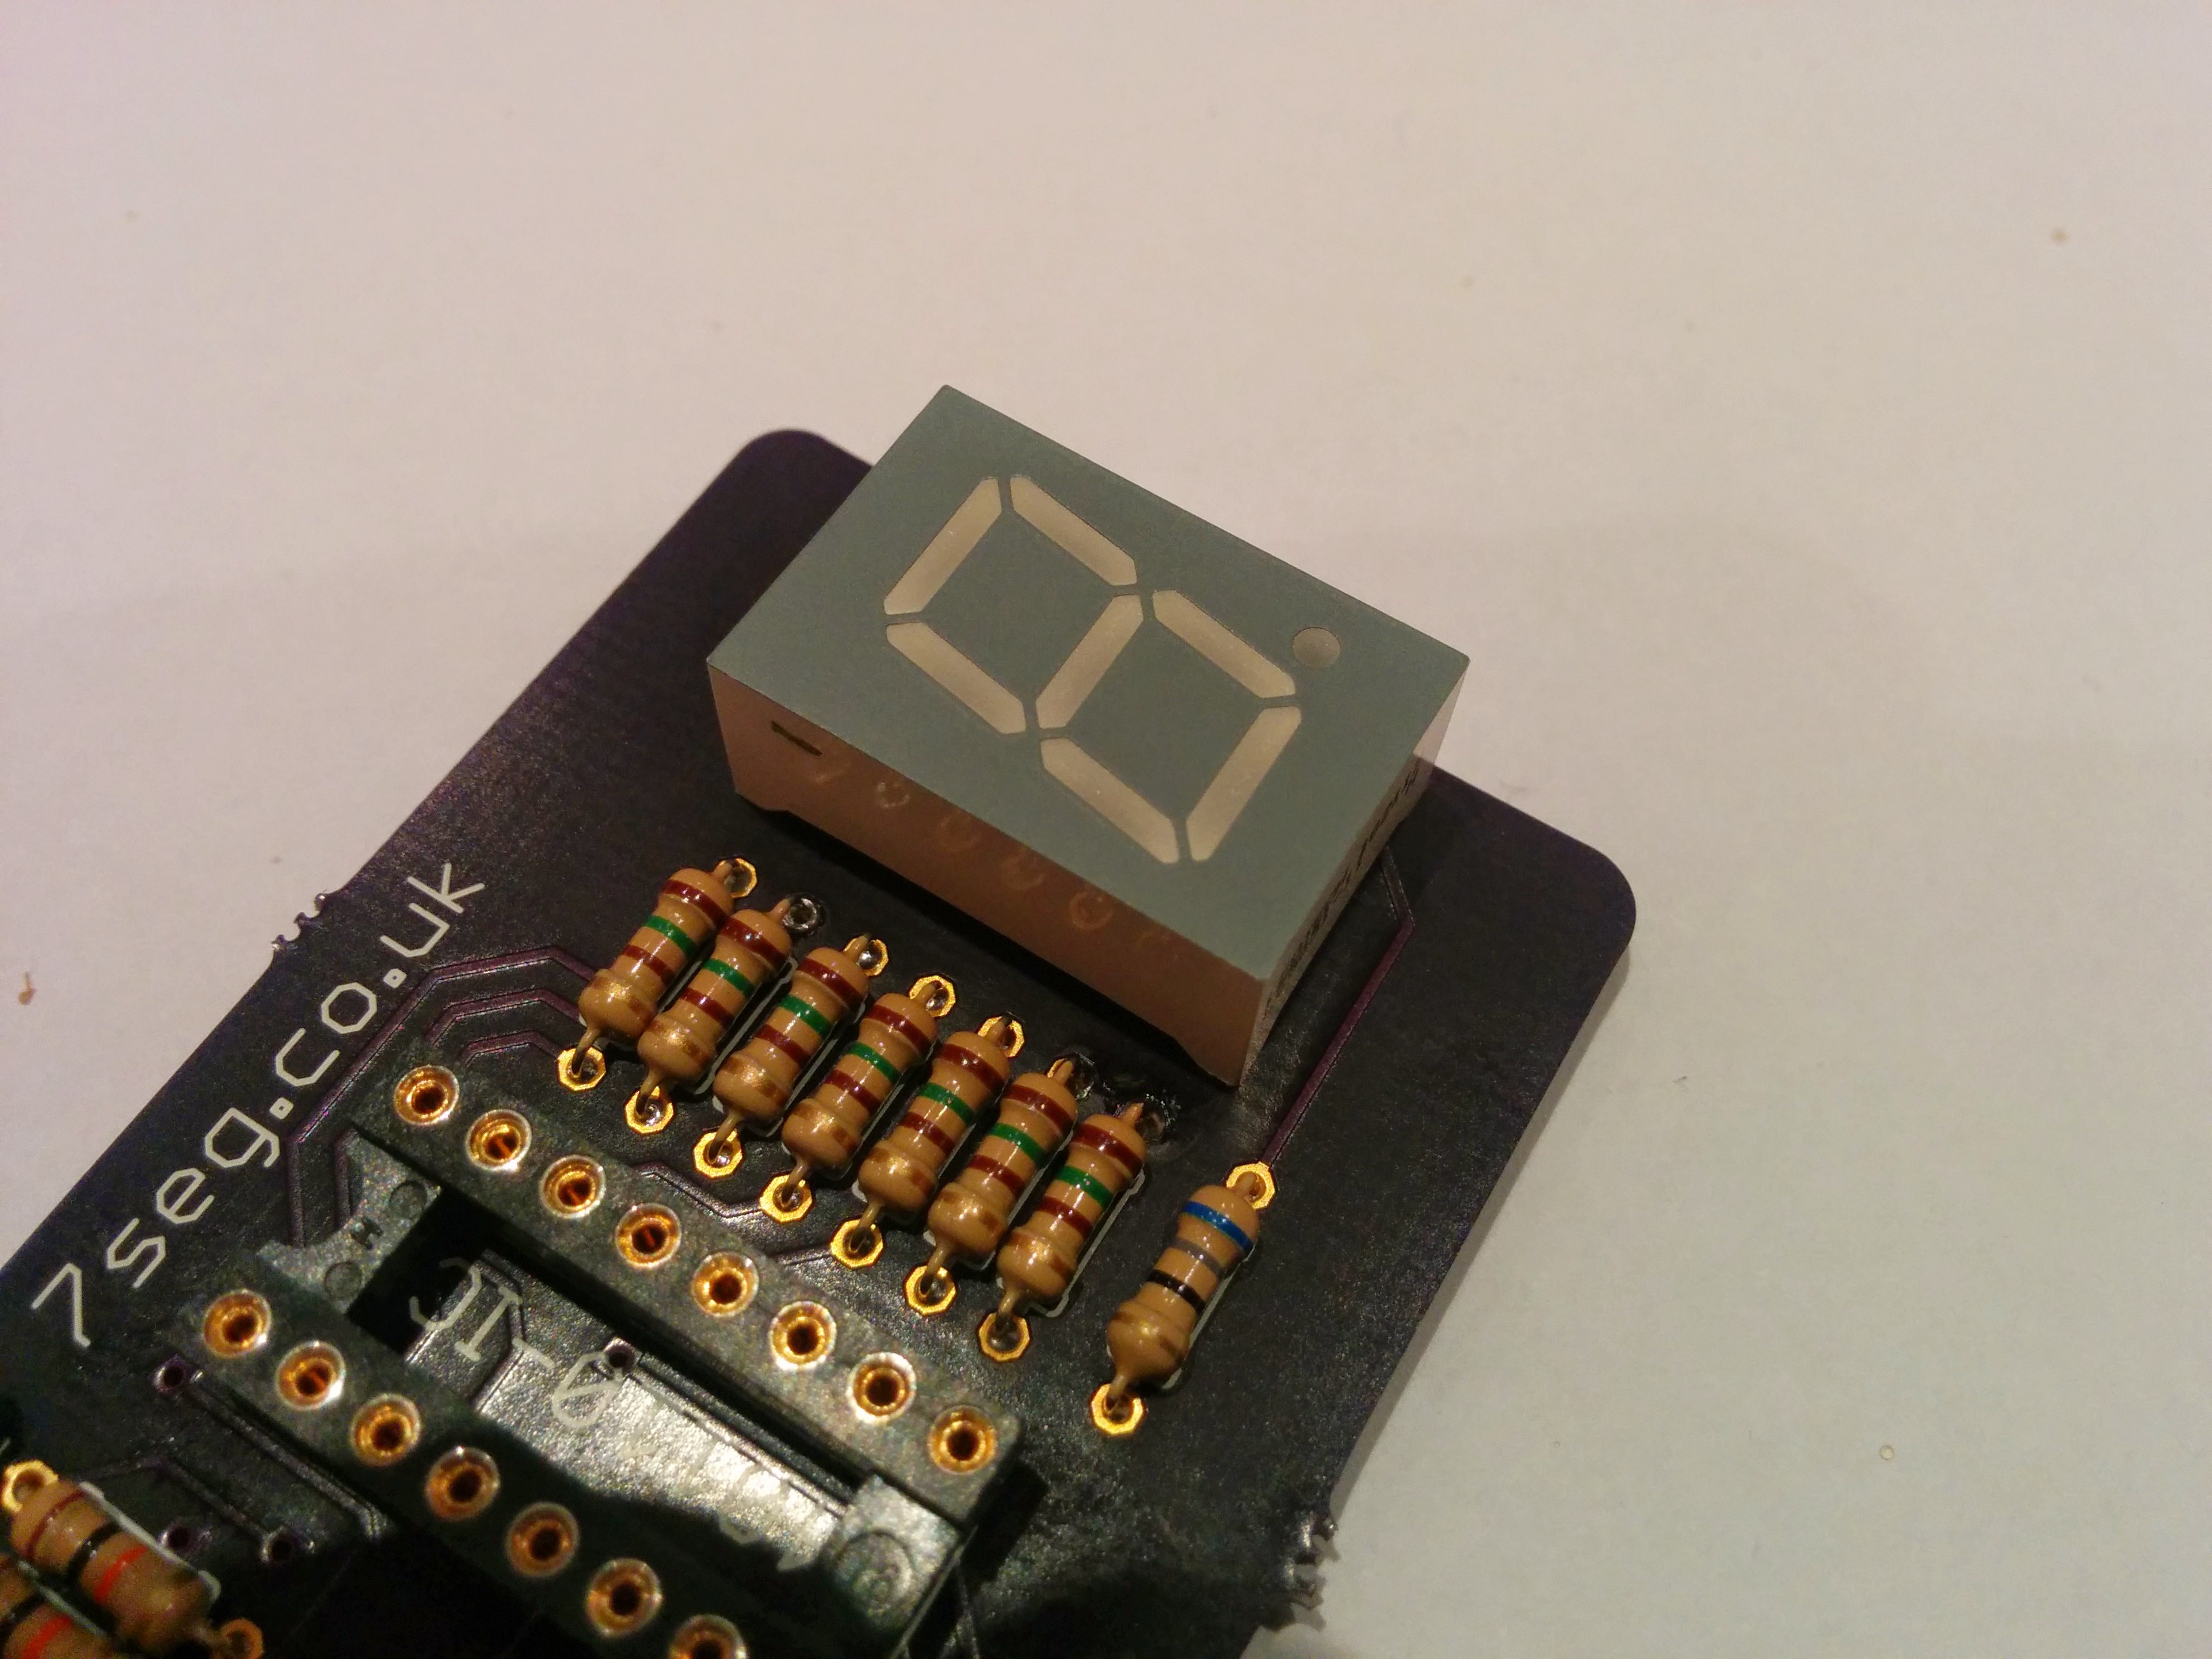
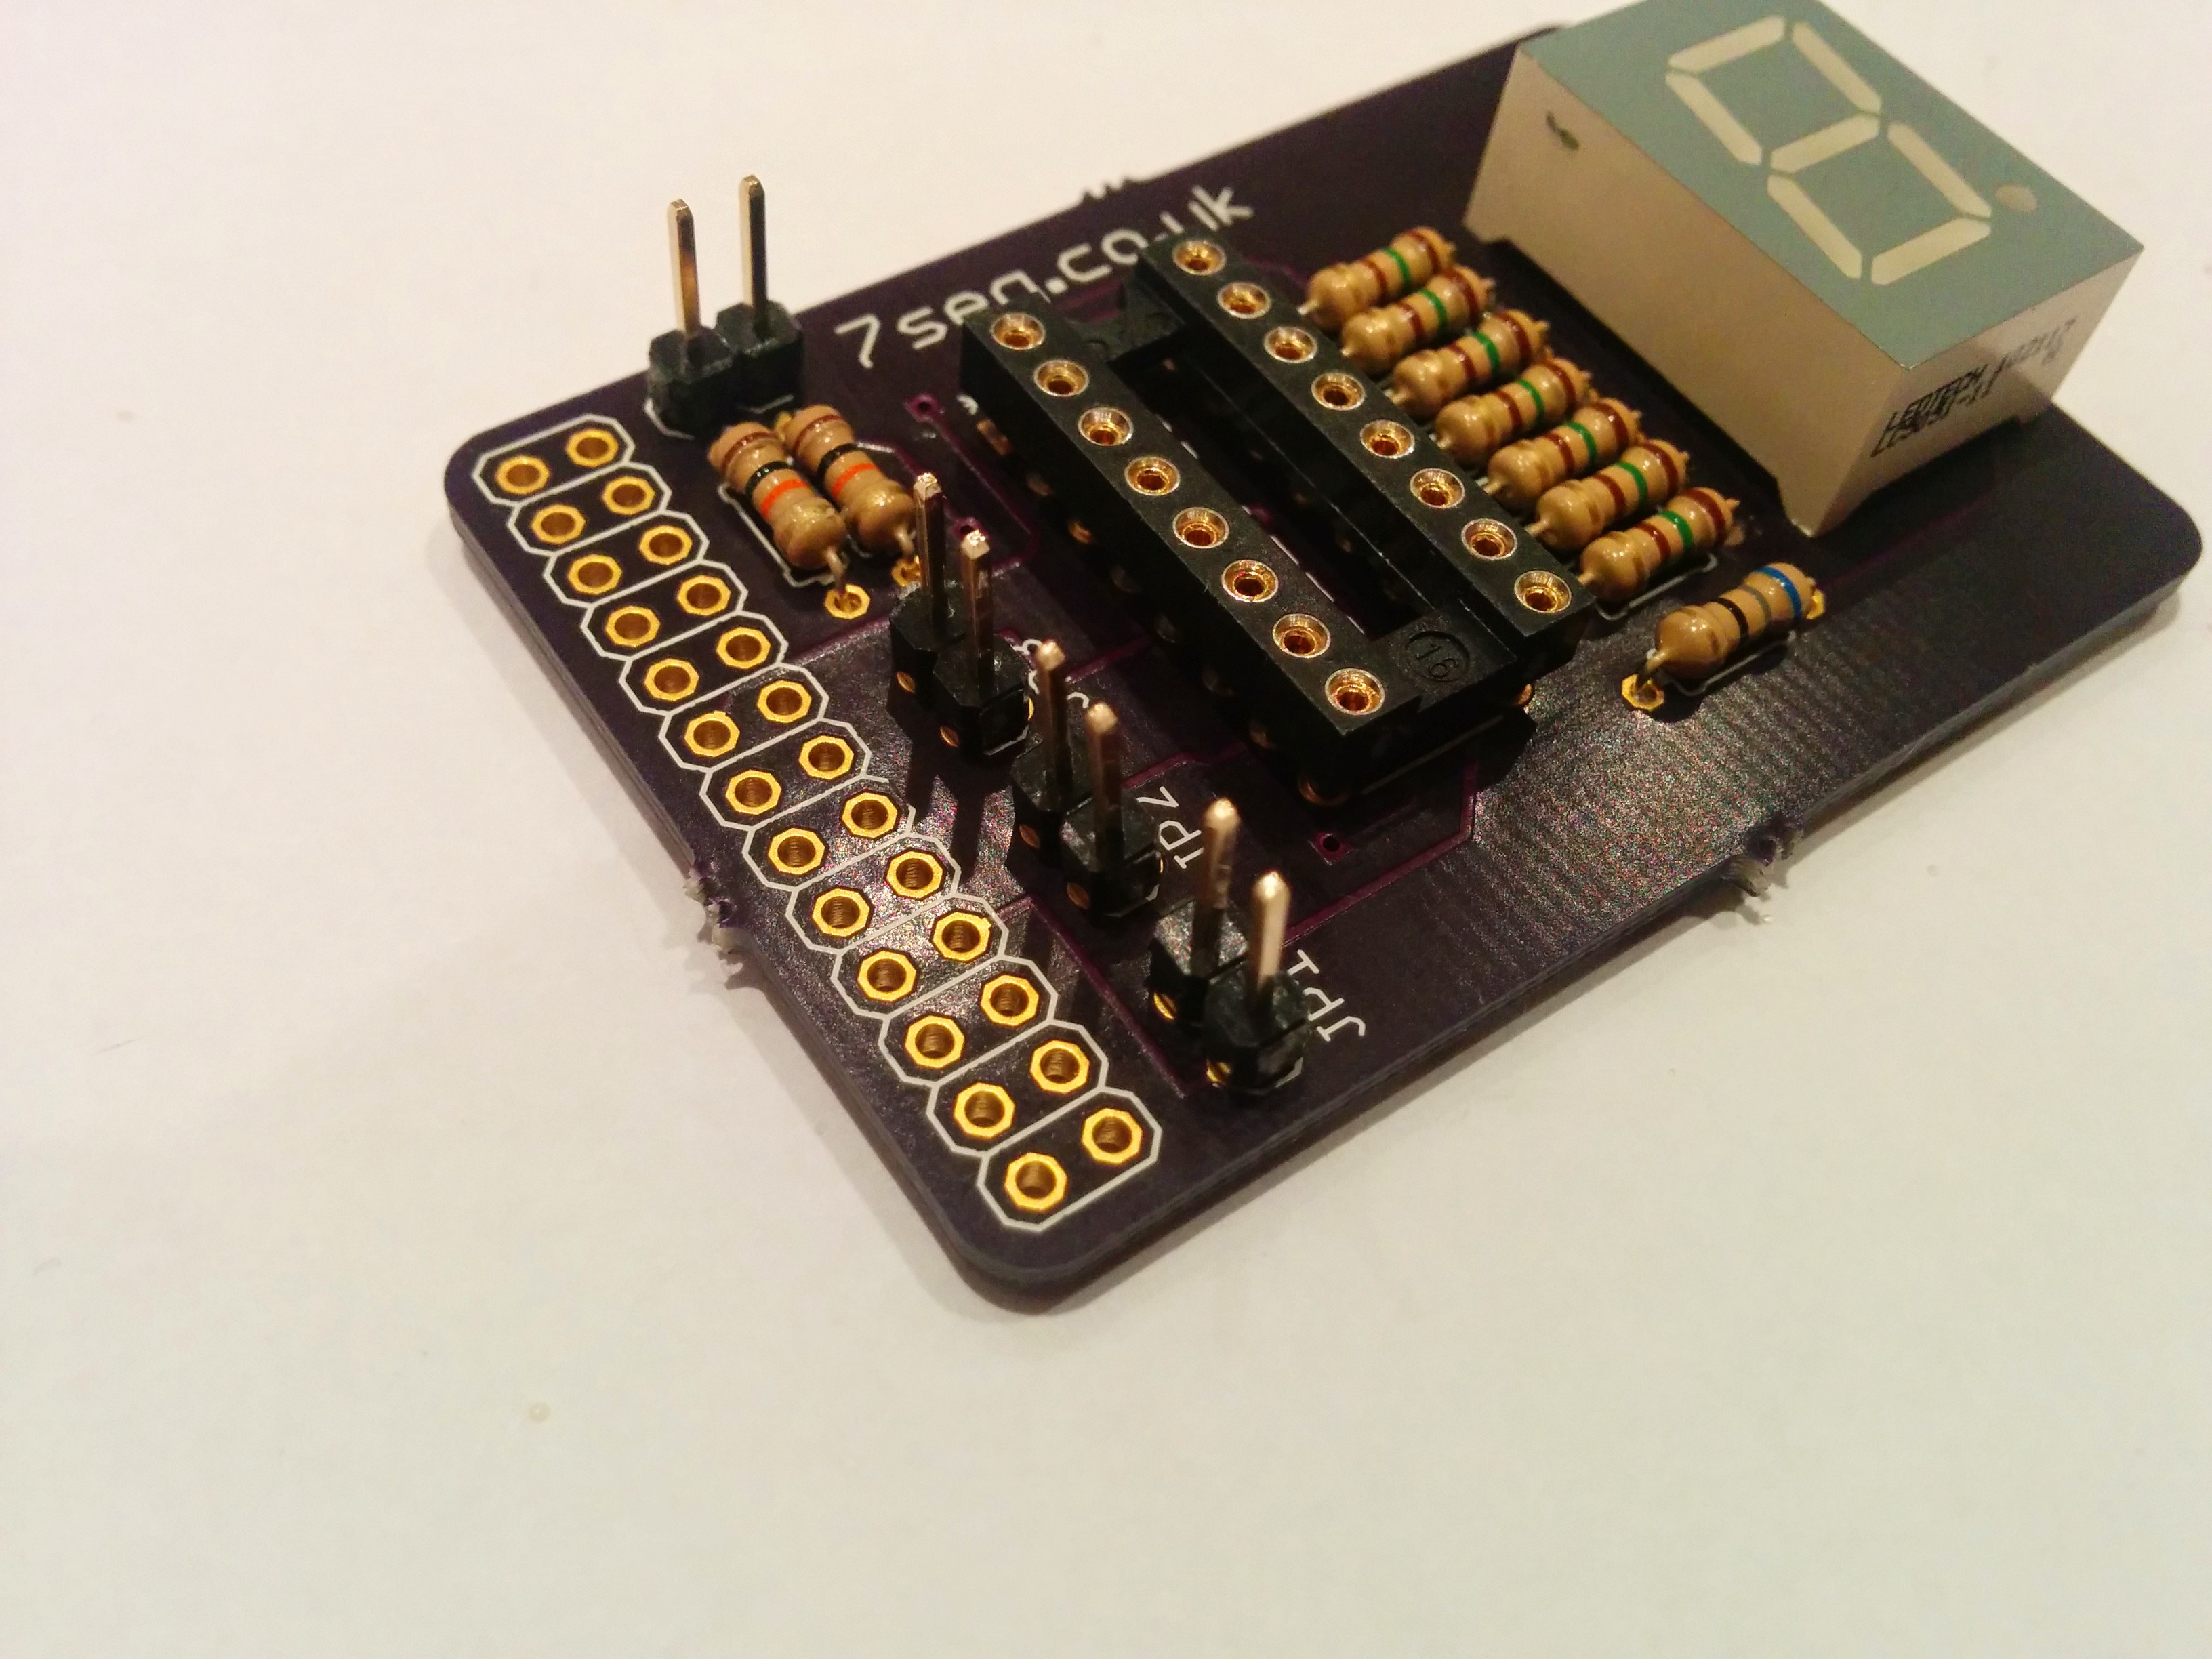
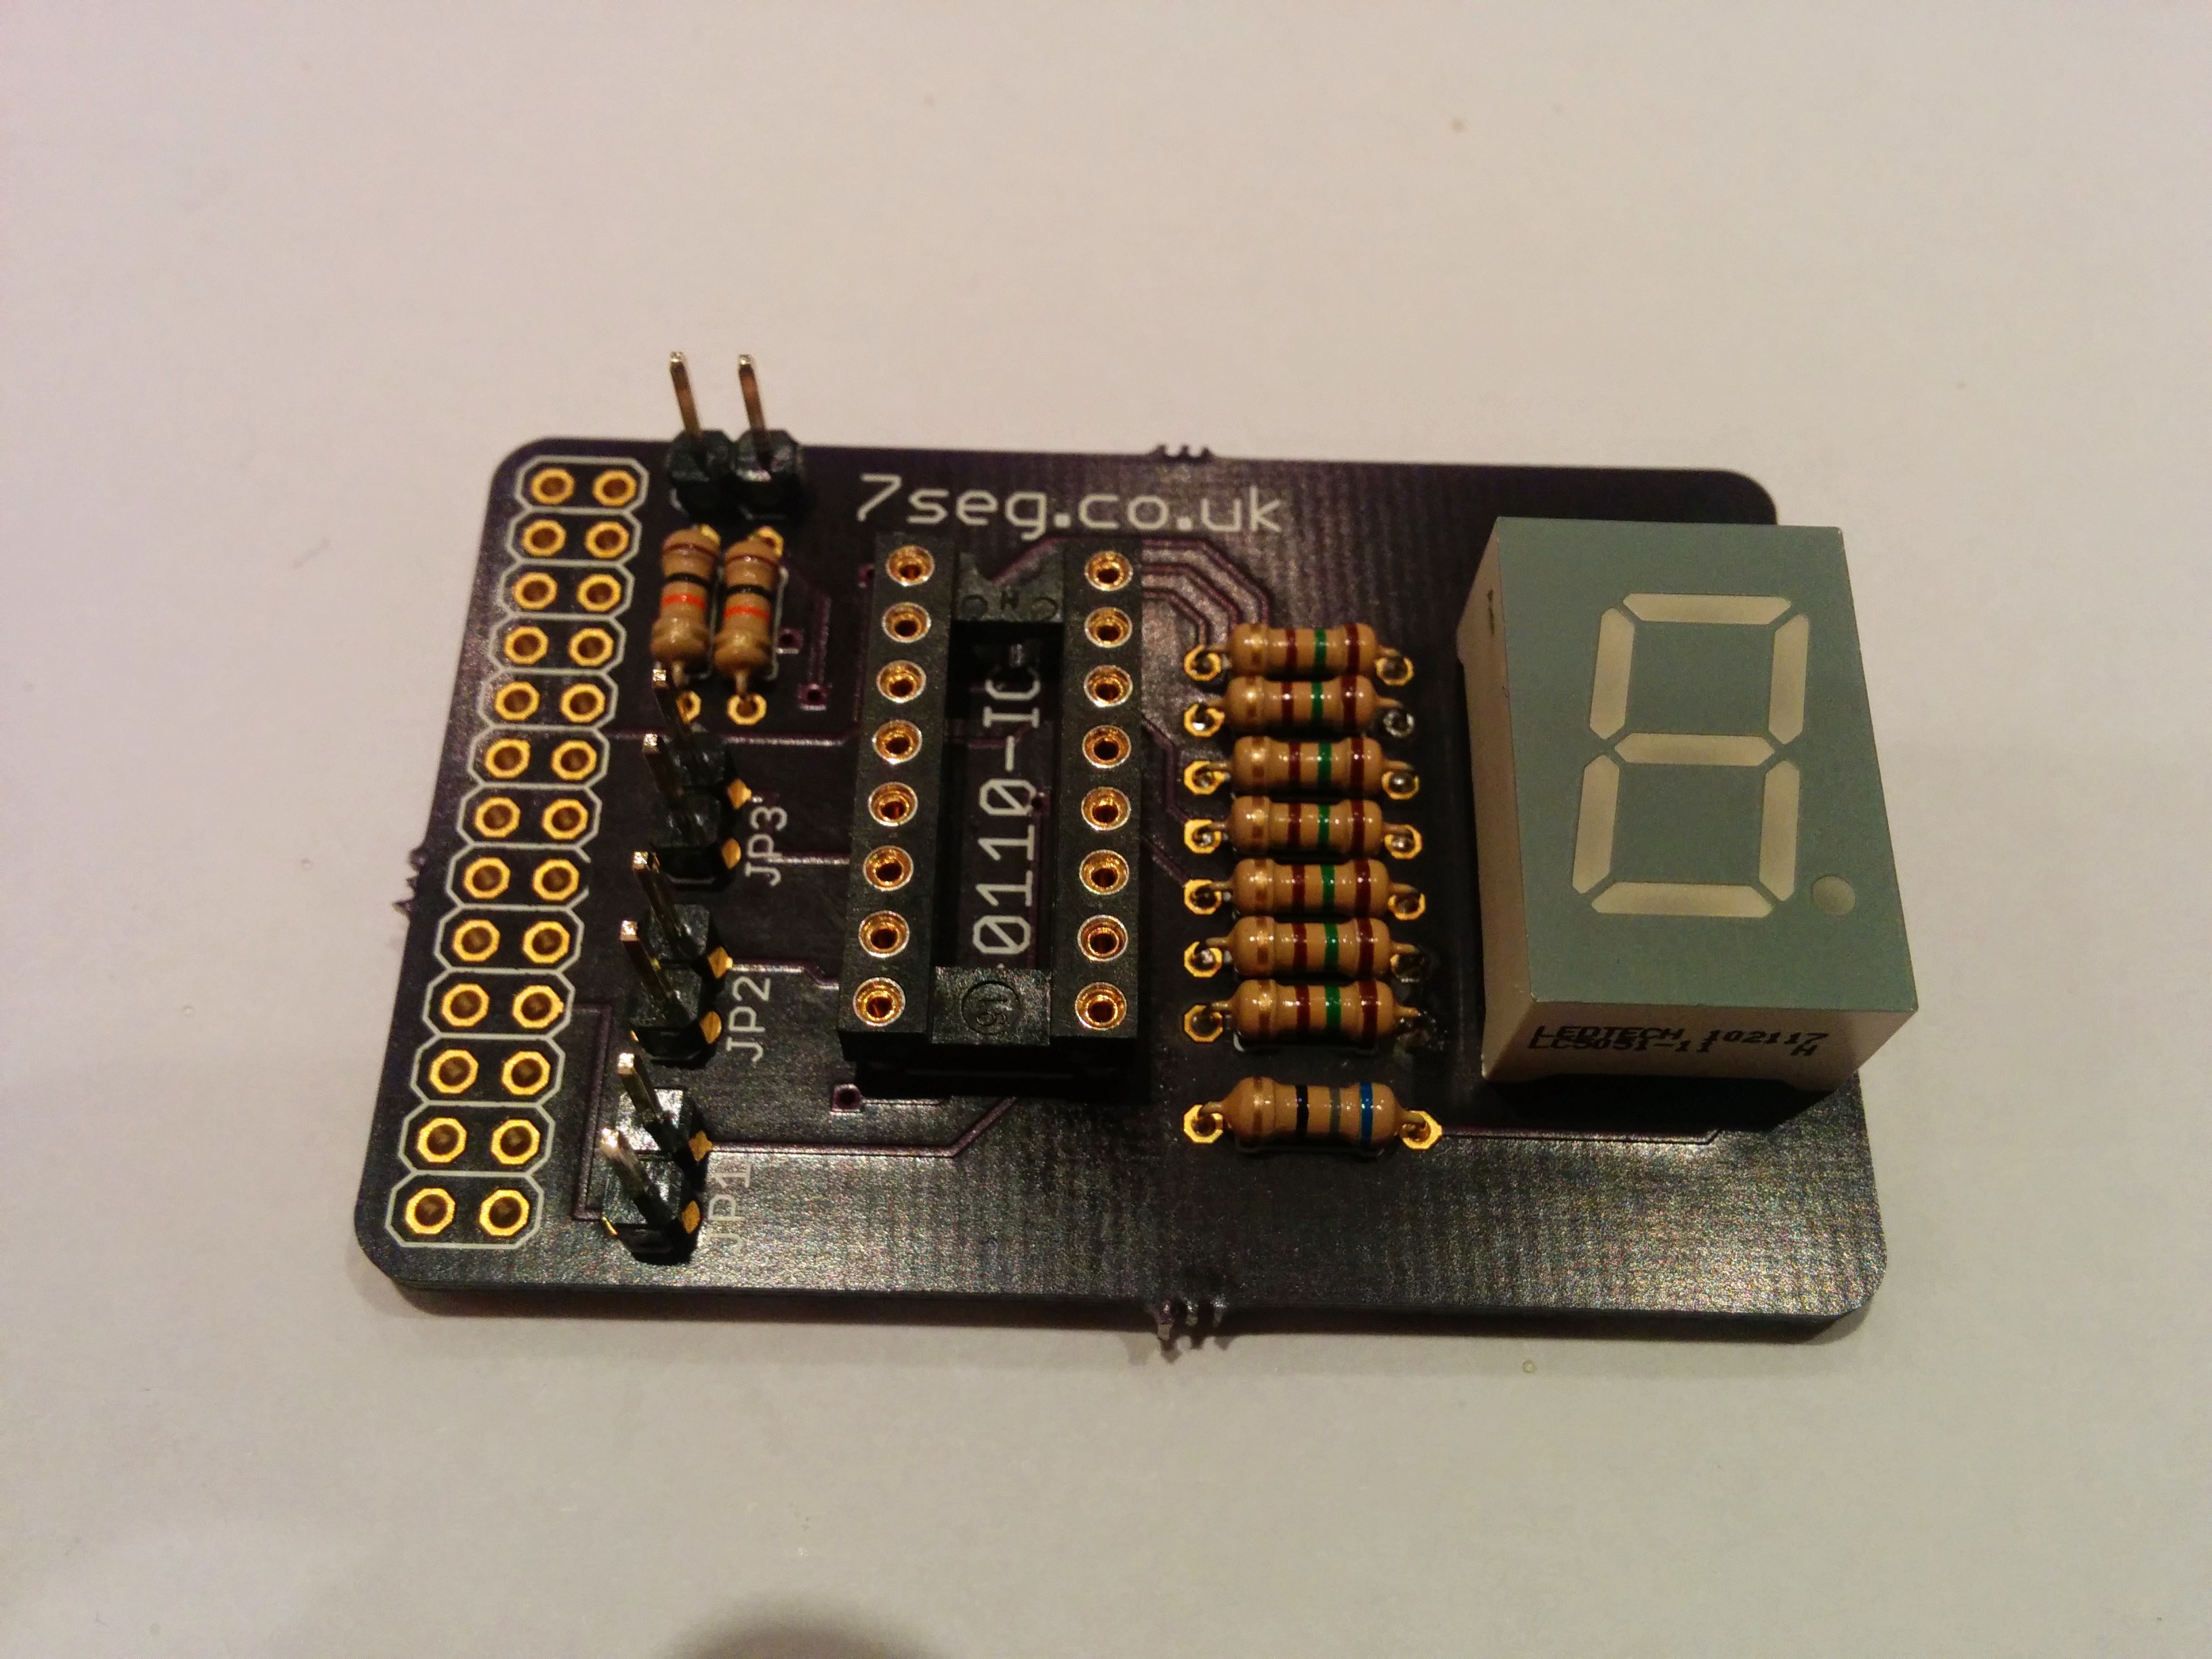
Here is a photo of all of the components ready to be soldered. Before you solder your 7Seg, choose which color display you want, red or green, then identify the correct one based on the serial numbers on the bottom.
Follow the following steps, make sure your iron is hot, and you have your solder ready. Some people find bluetack helpful to hold some components in place, but just do whatever makes sense to you!
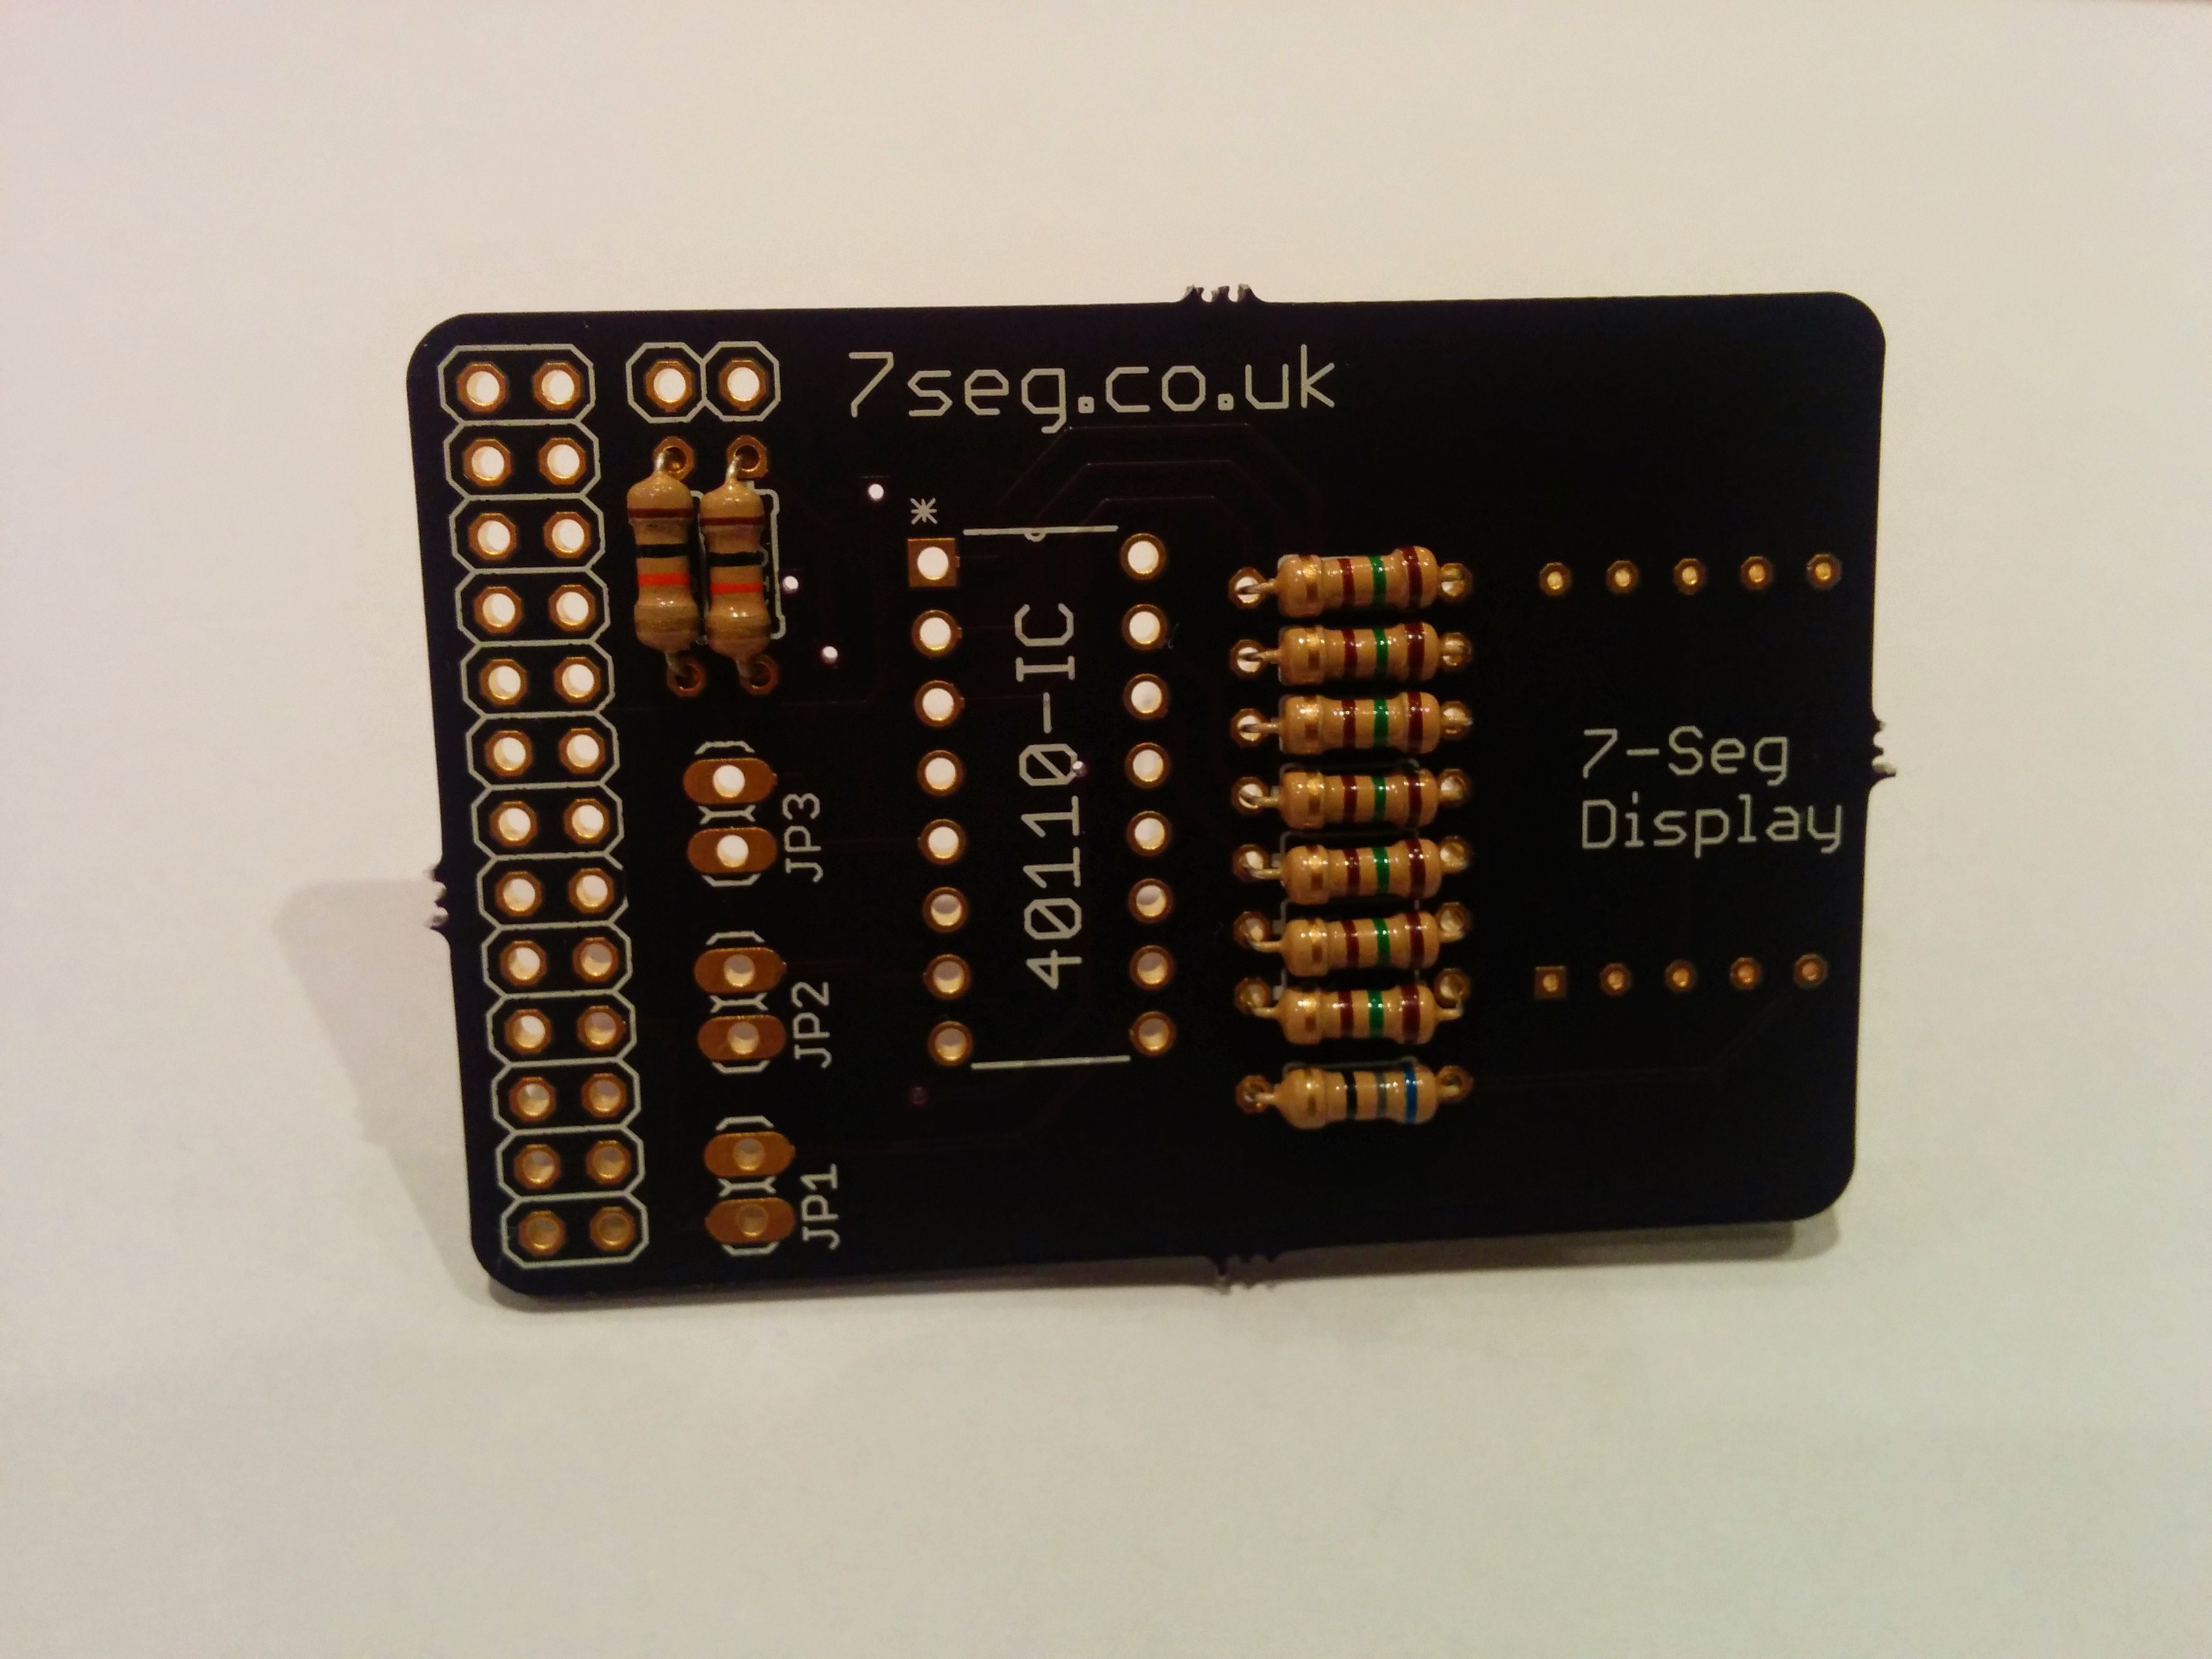
1. Start by placing the resistors through the correct holes. You can go one at a time, but whatever you choose to do, make sure you are careful in making sure the correct color resistors go in the correct places.
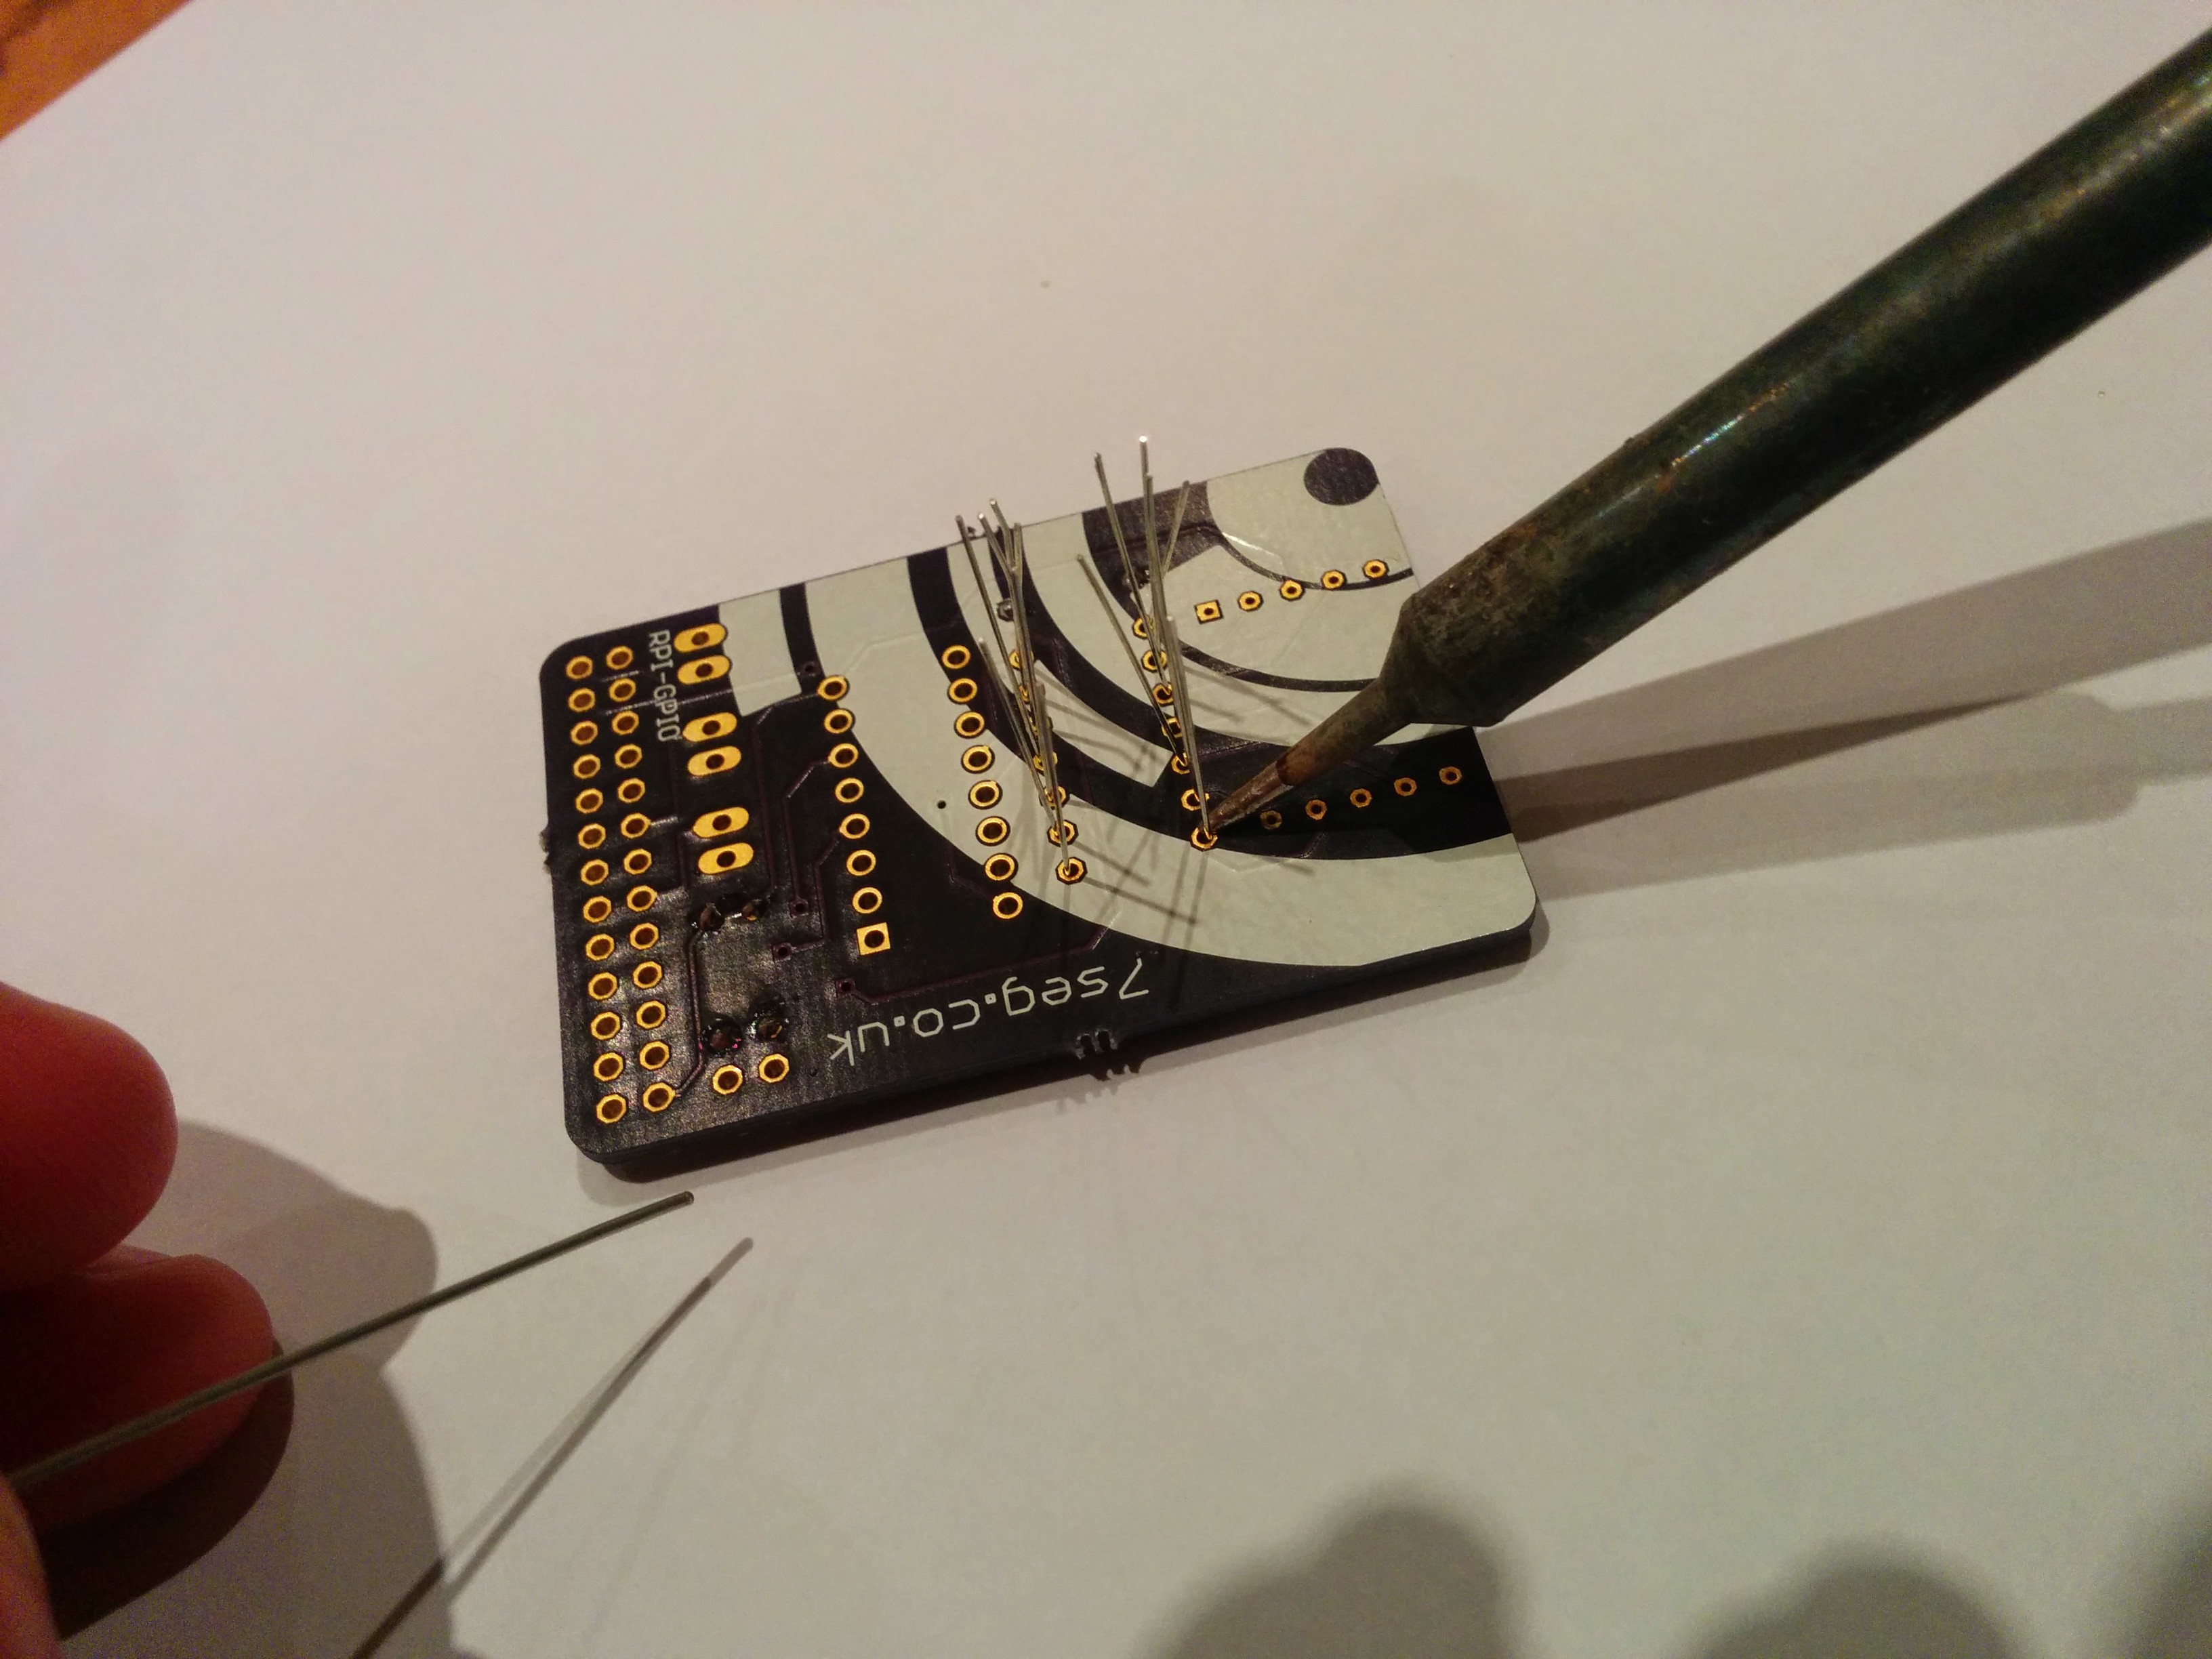
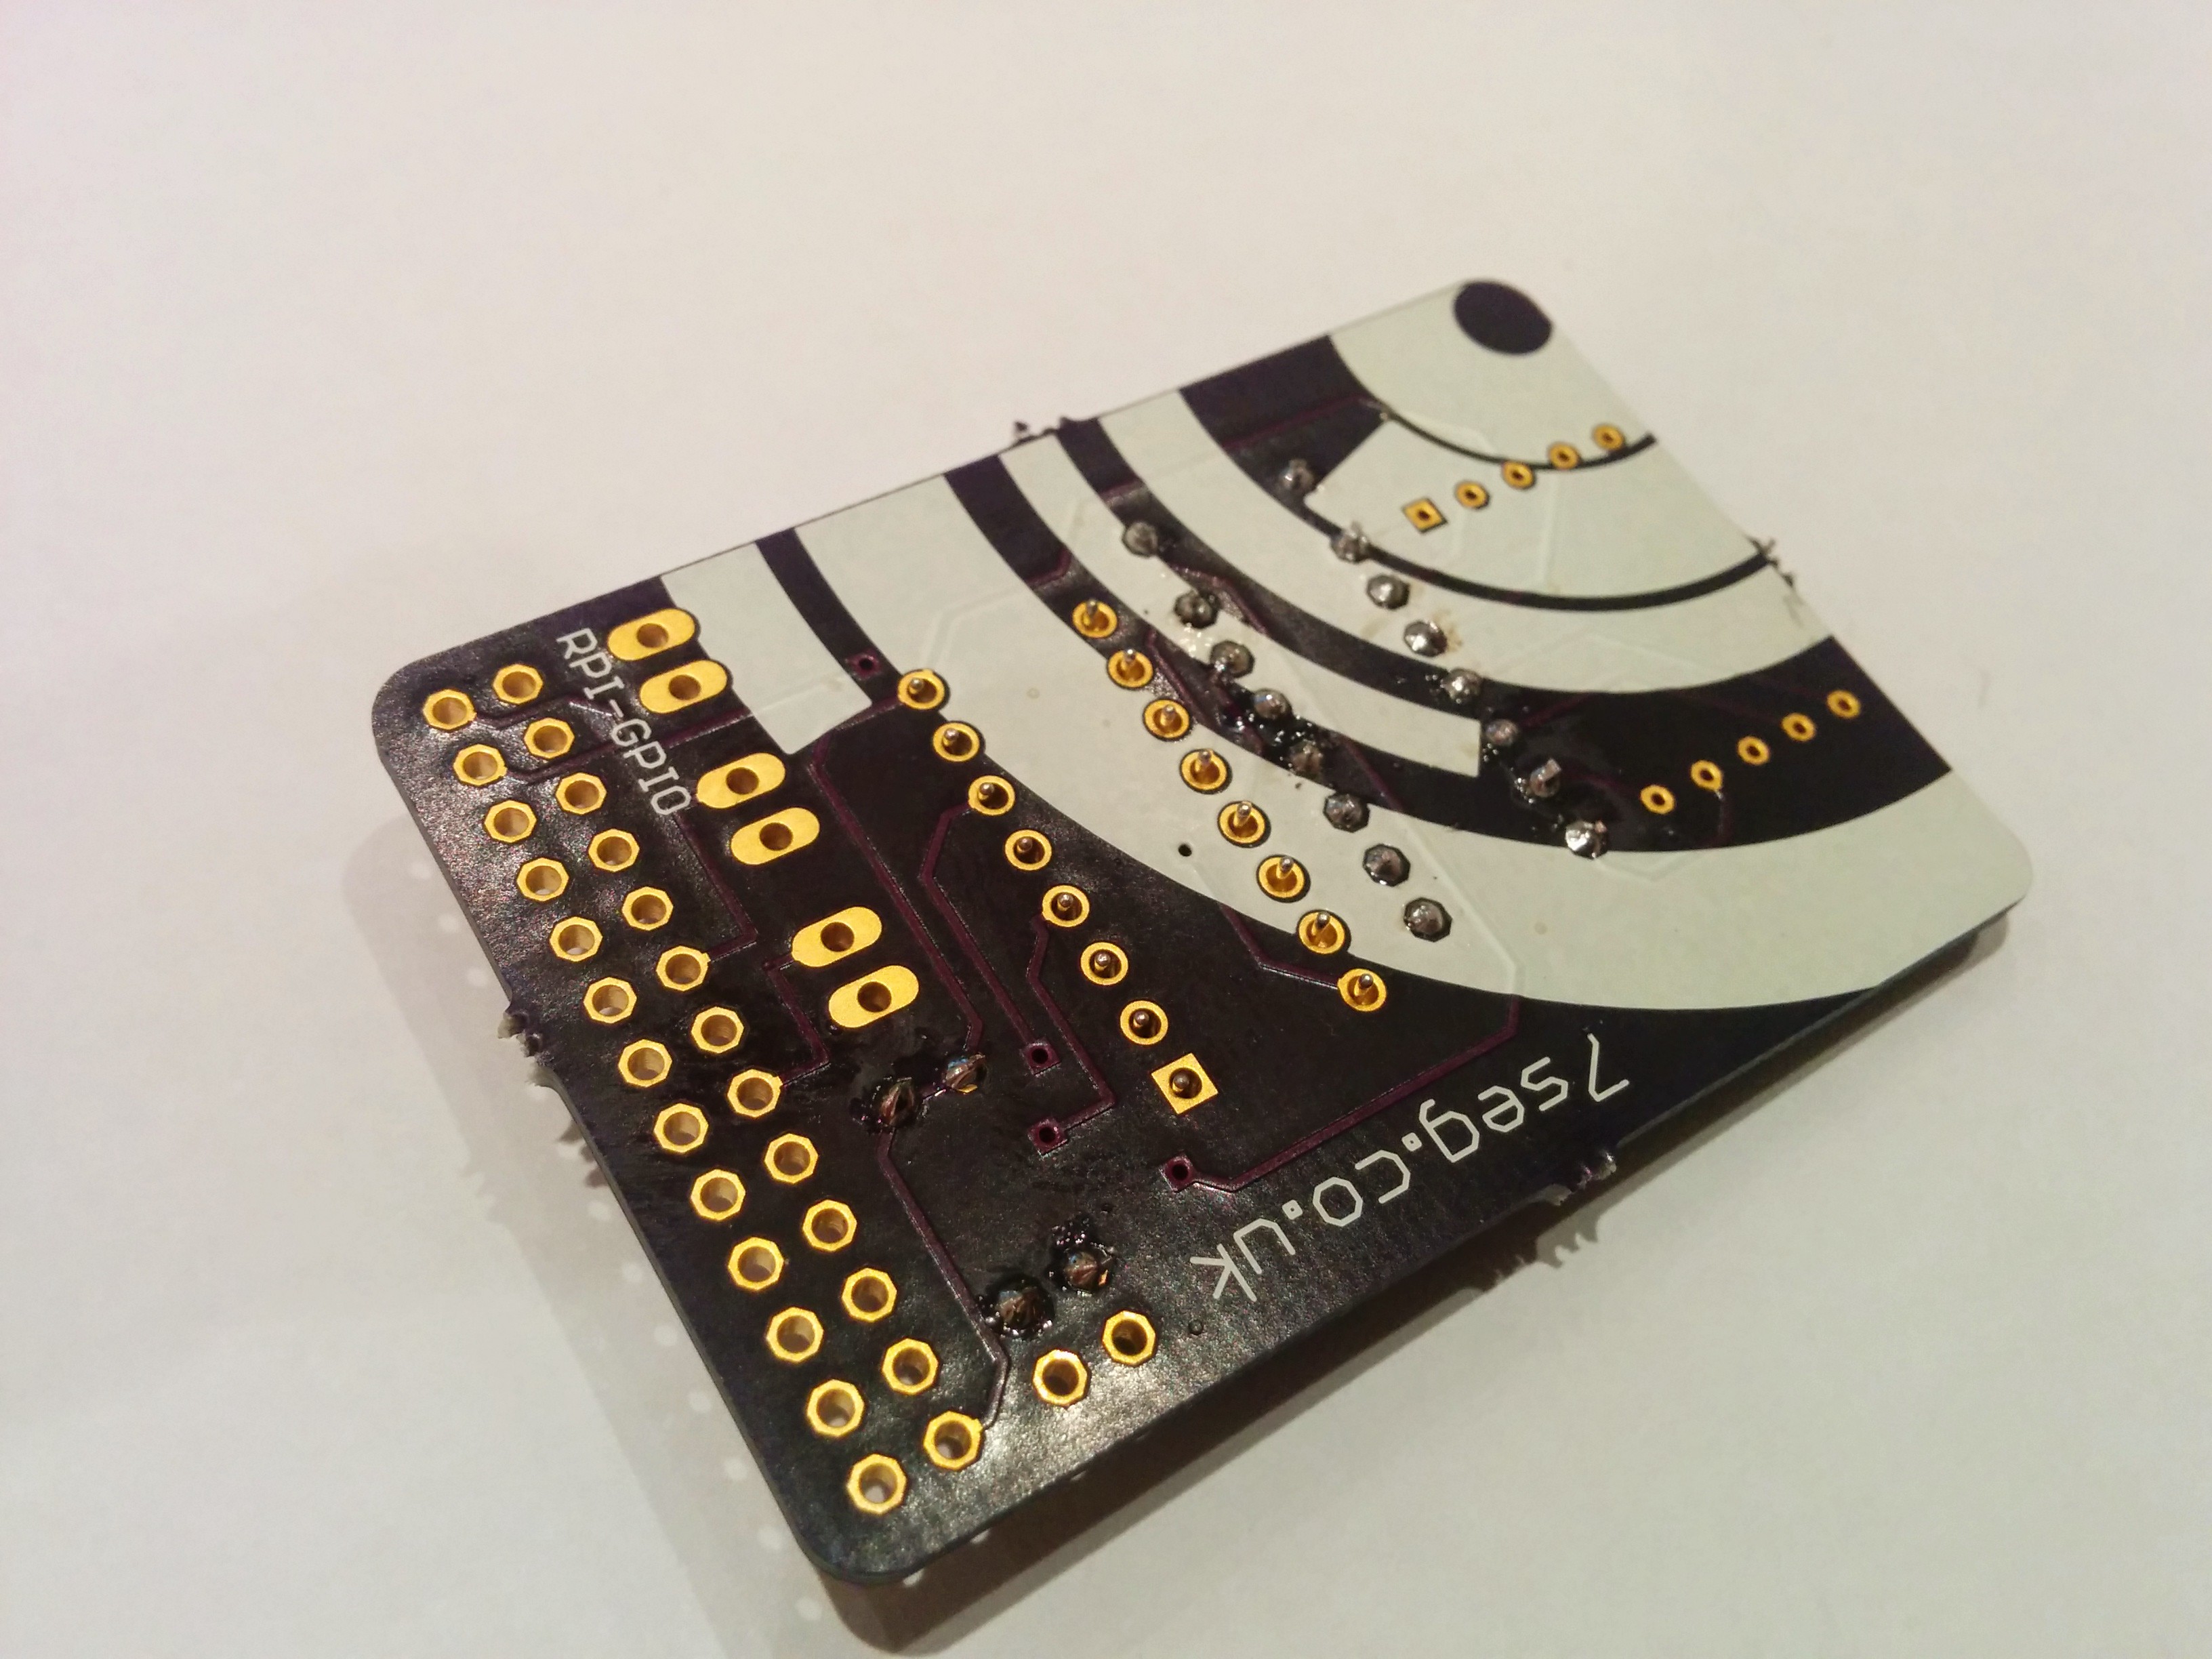
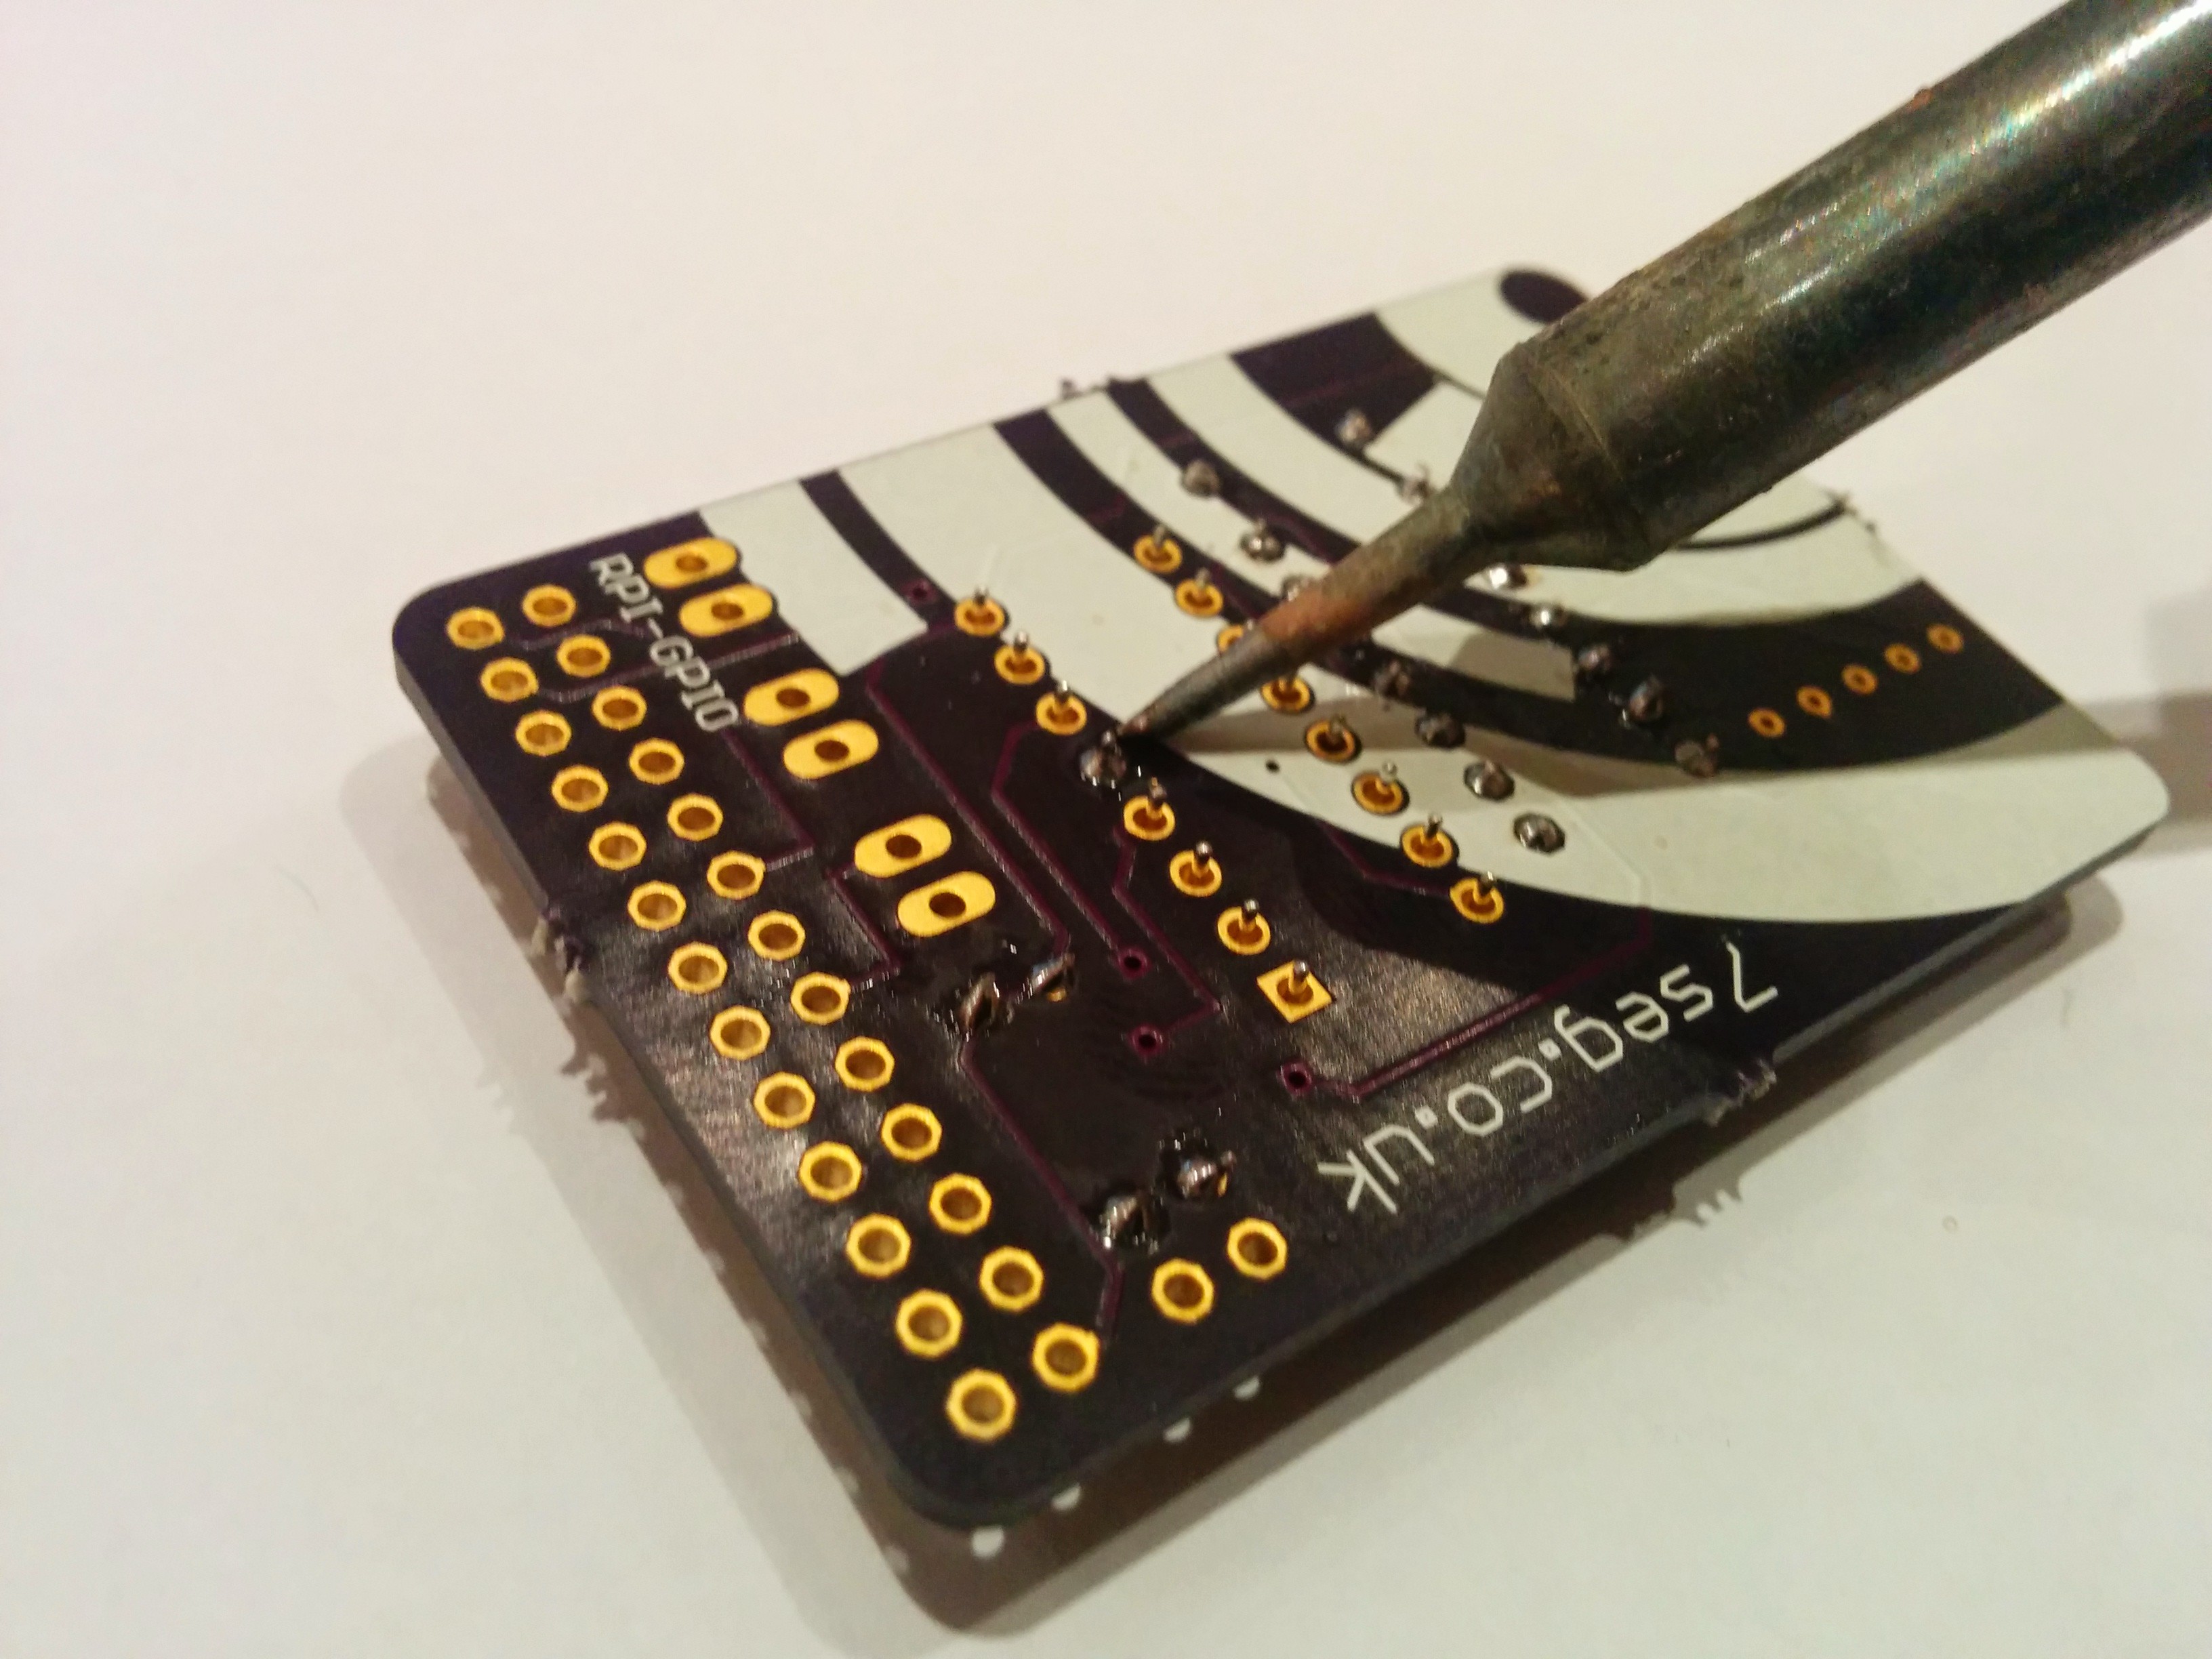
2. Turn it over, and start soldering the legs. Firstly heat the joint.

3. Then apply solder, with the iron still on.
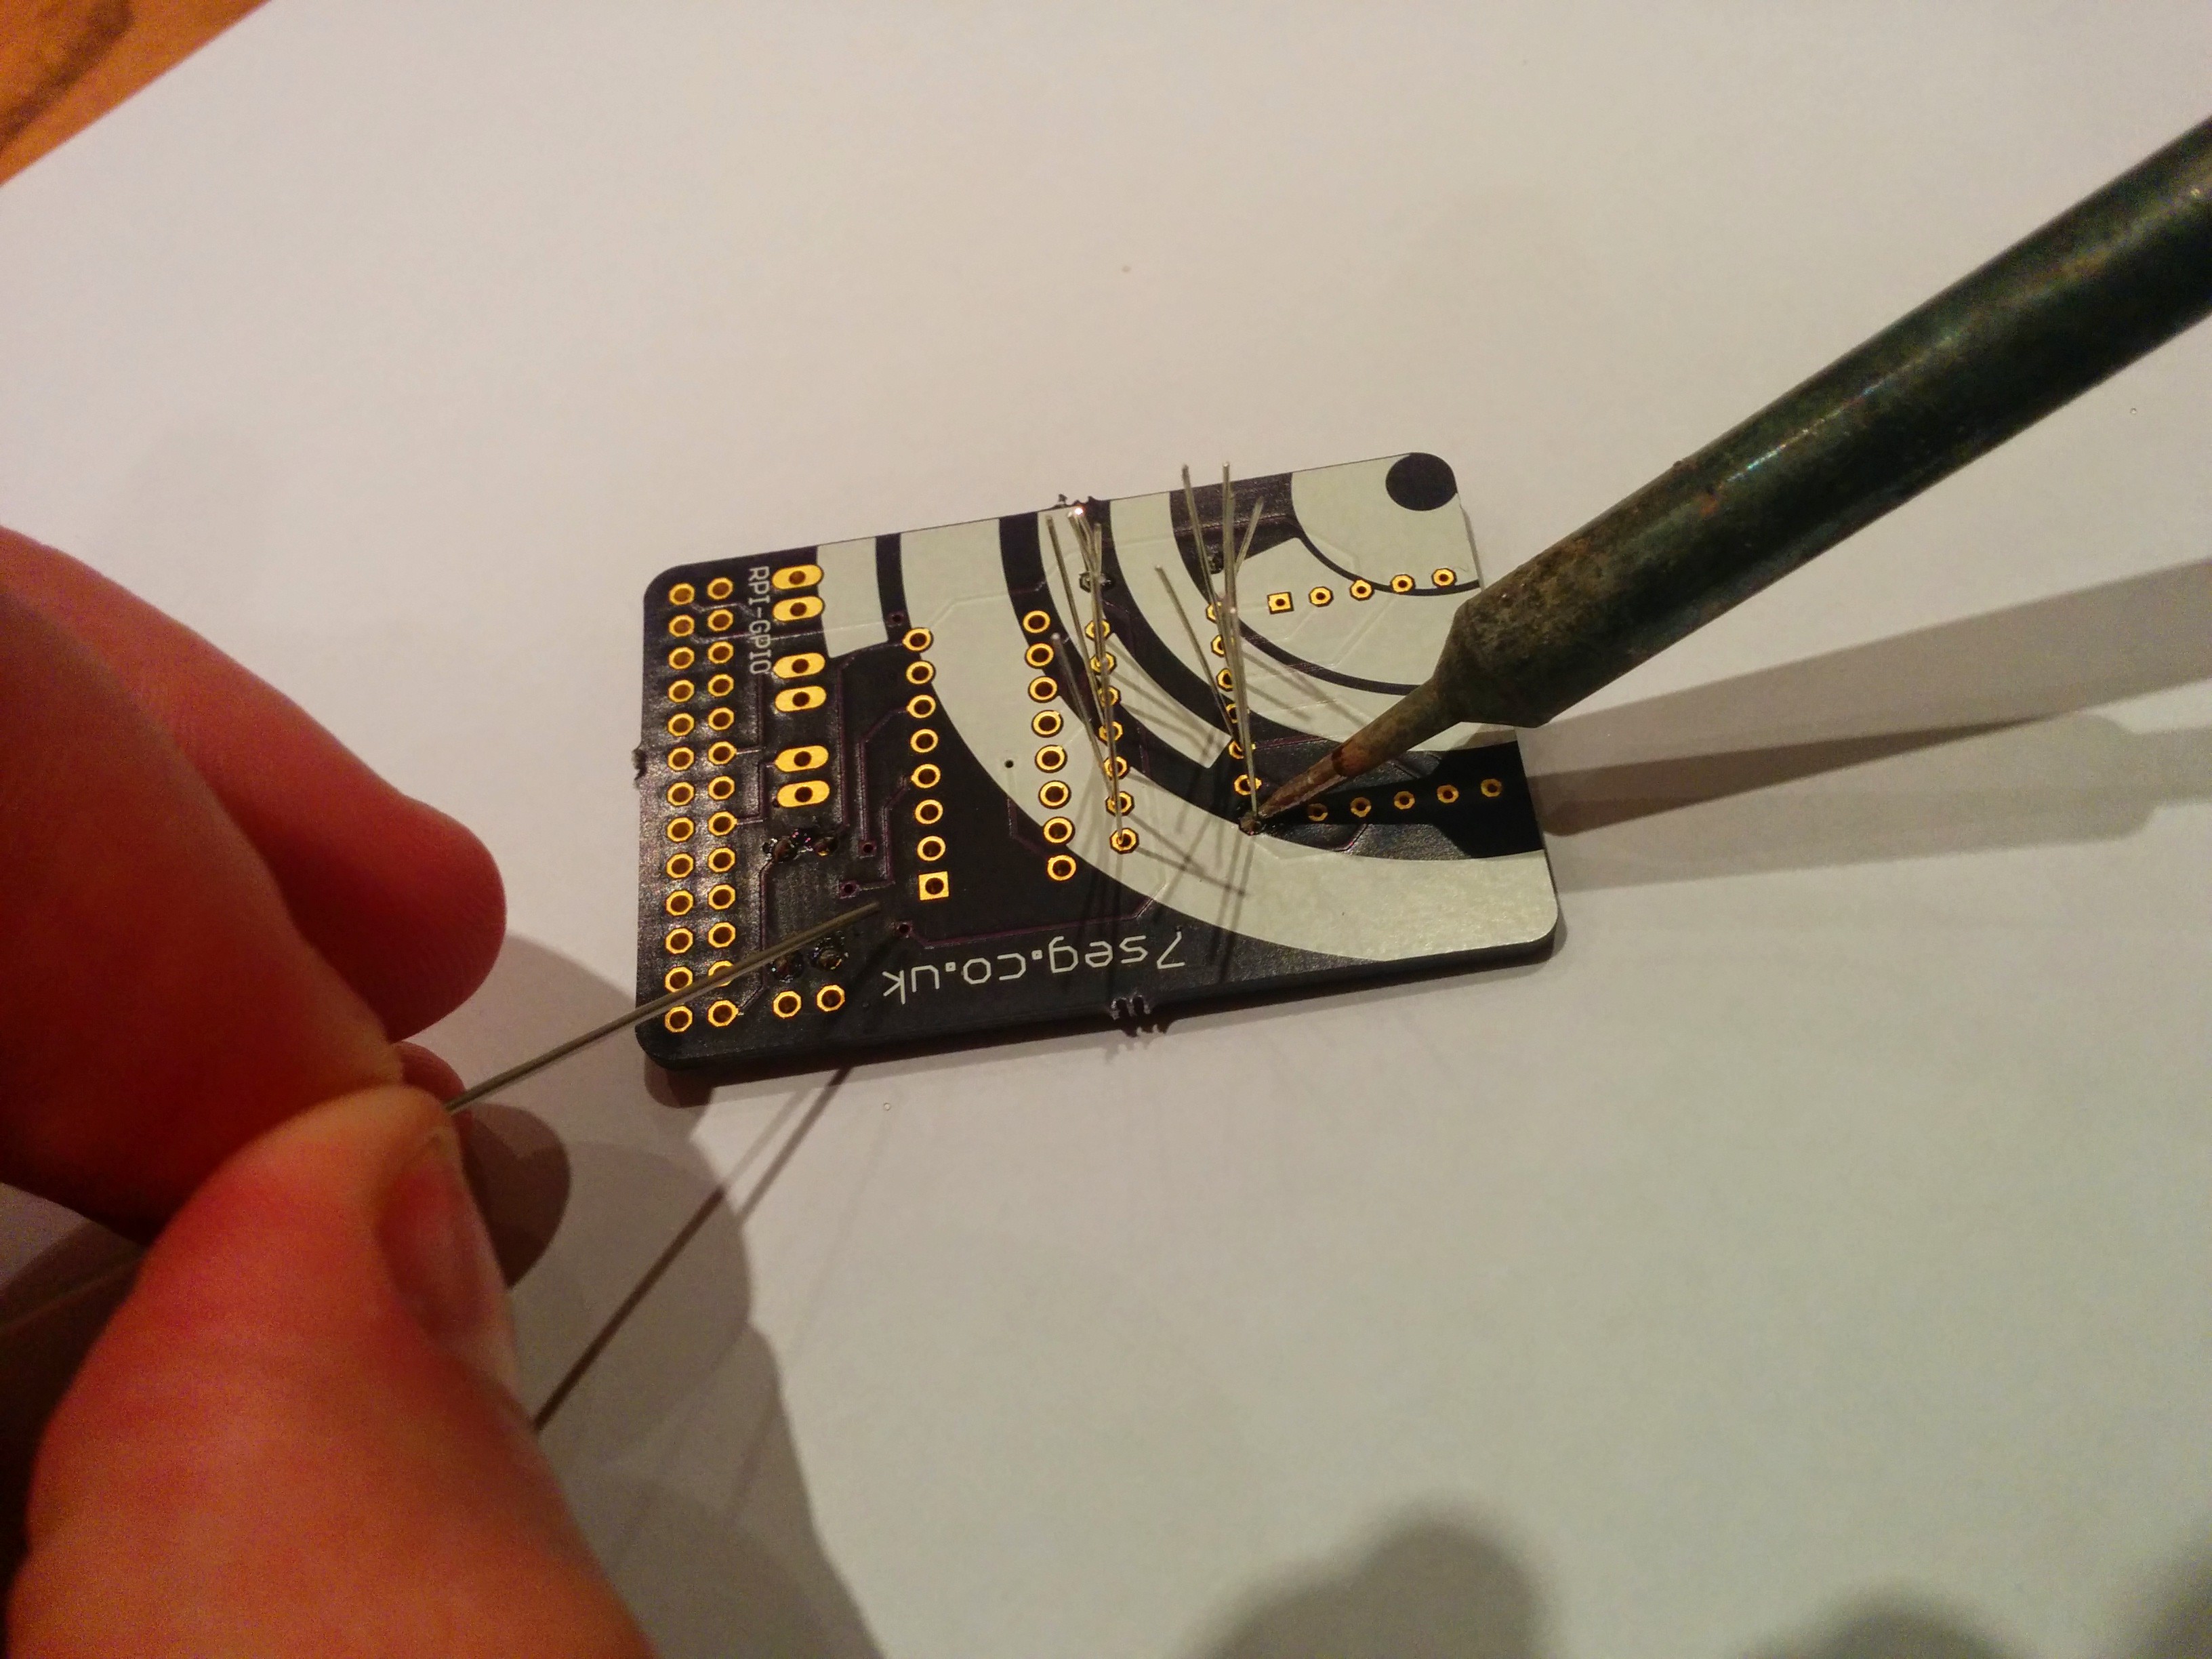
4. Next remove the solder.
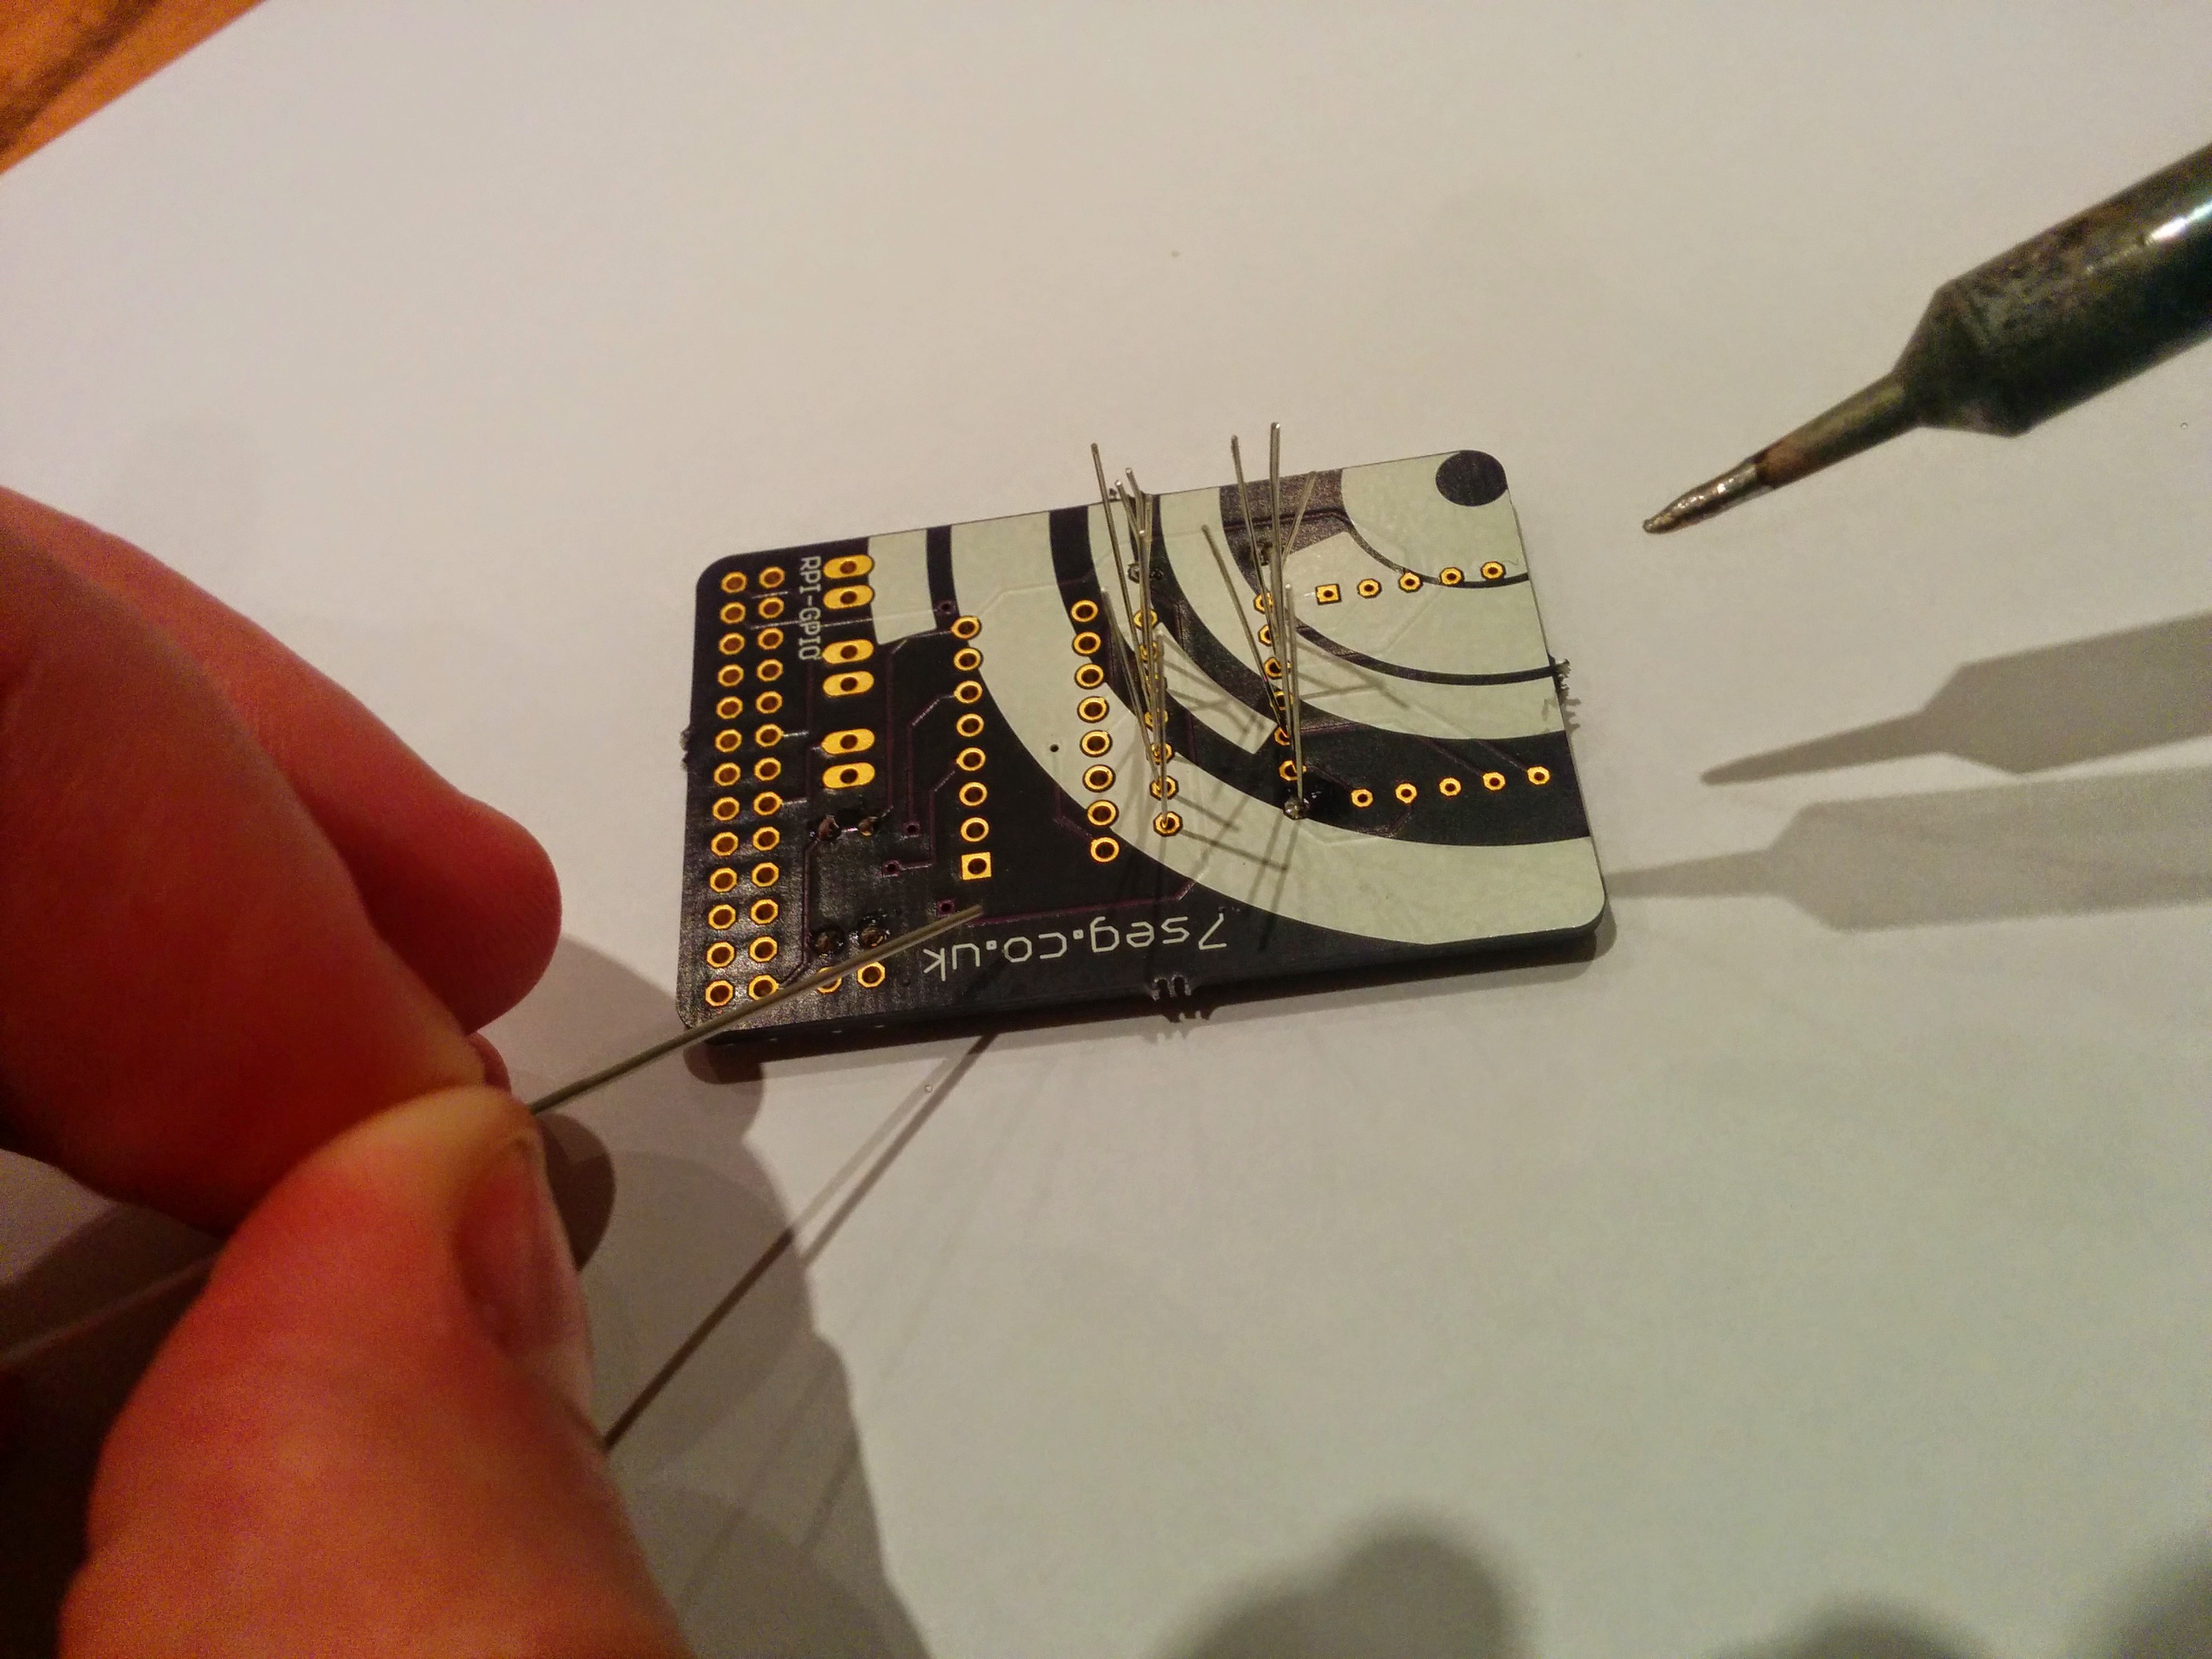
5. Then finally remove the iron.
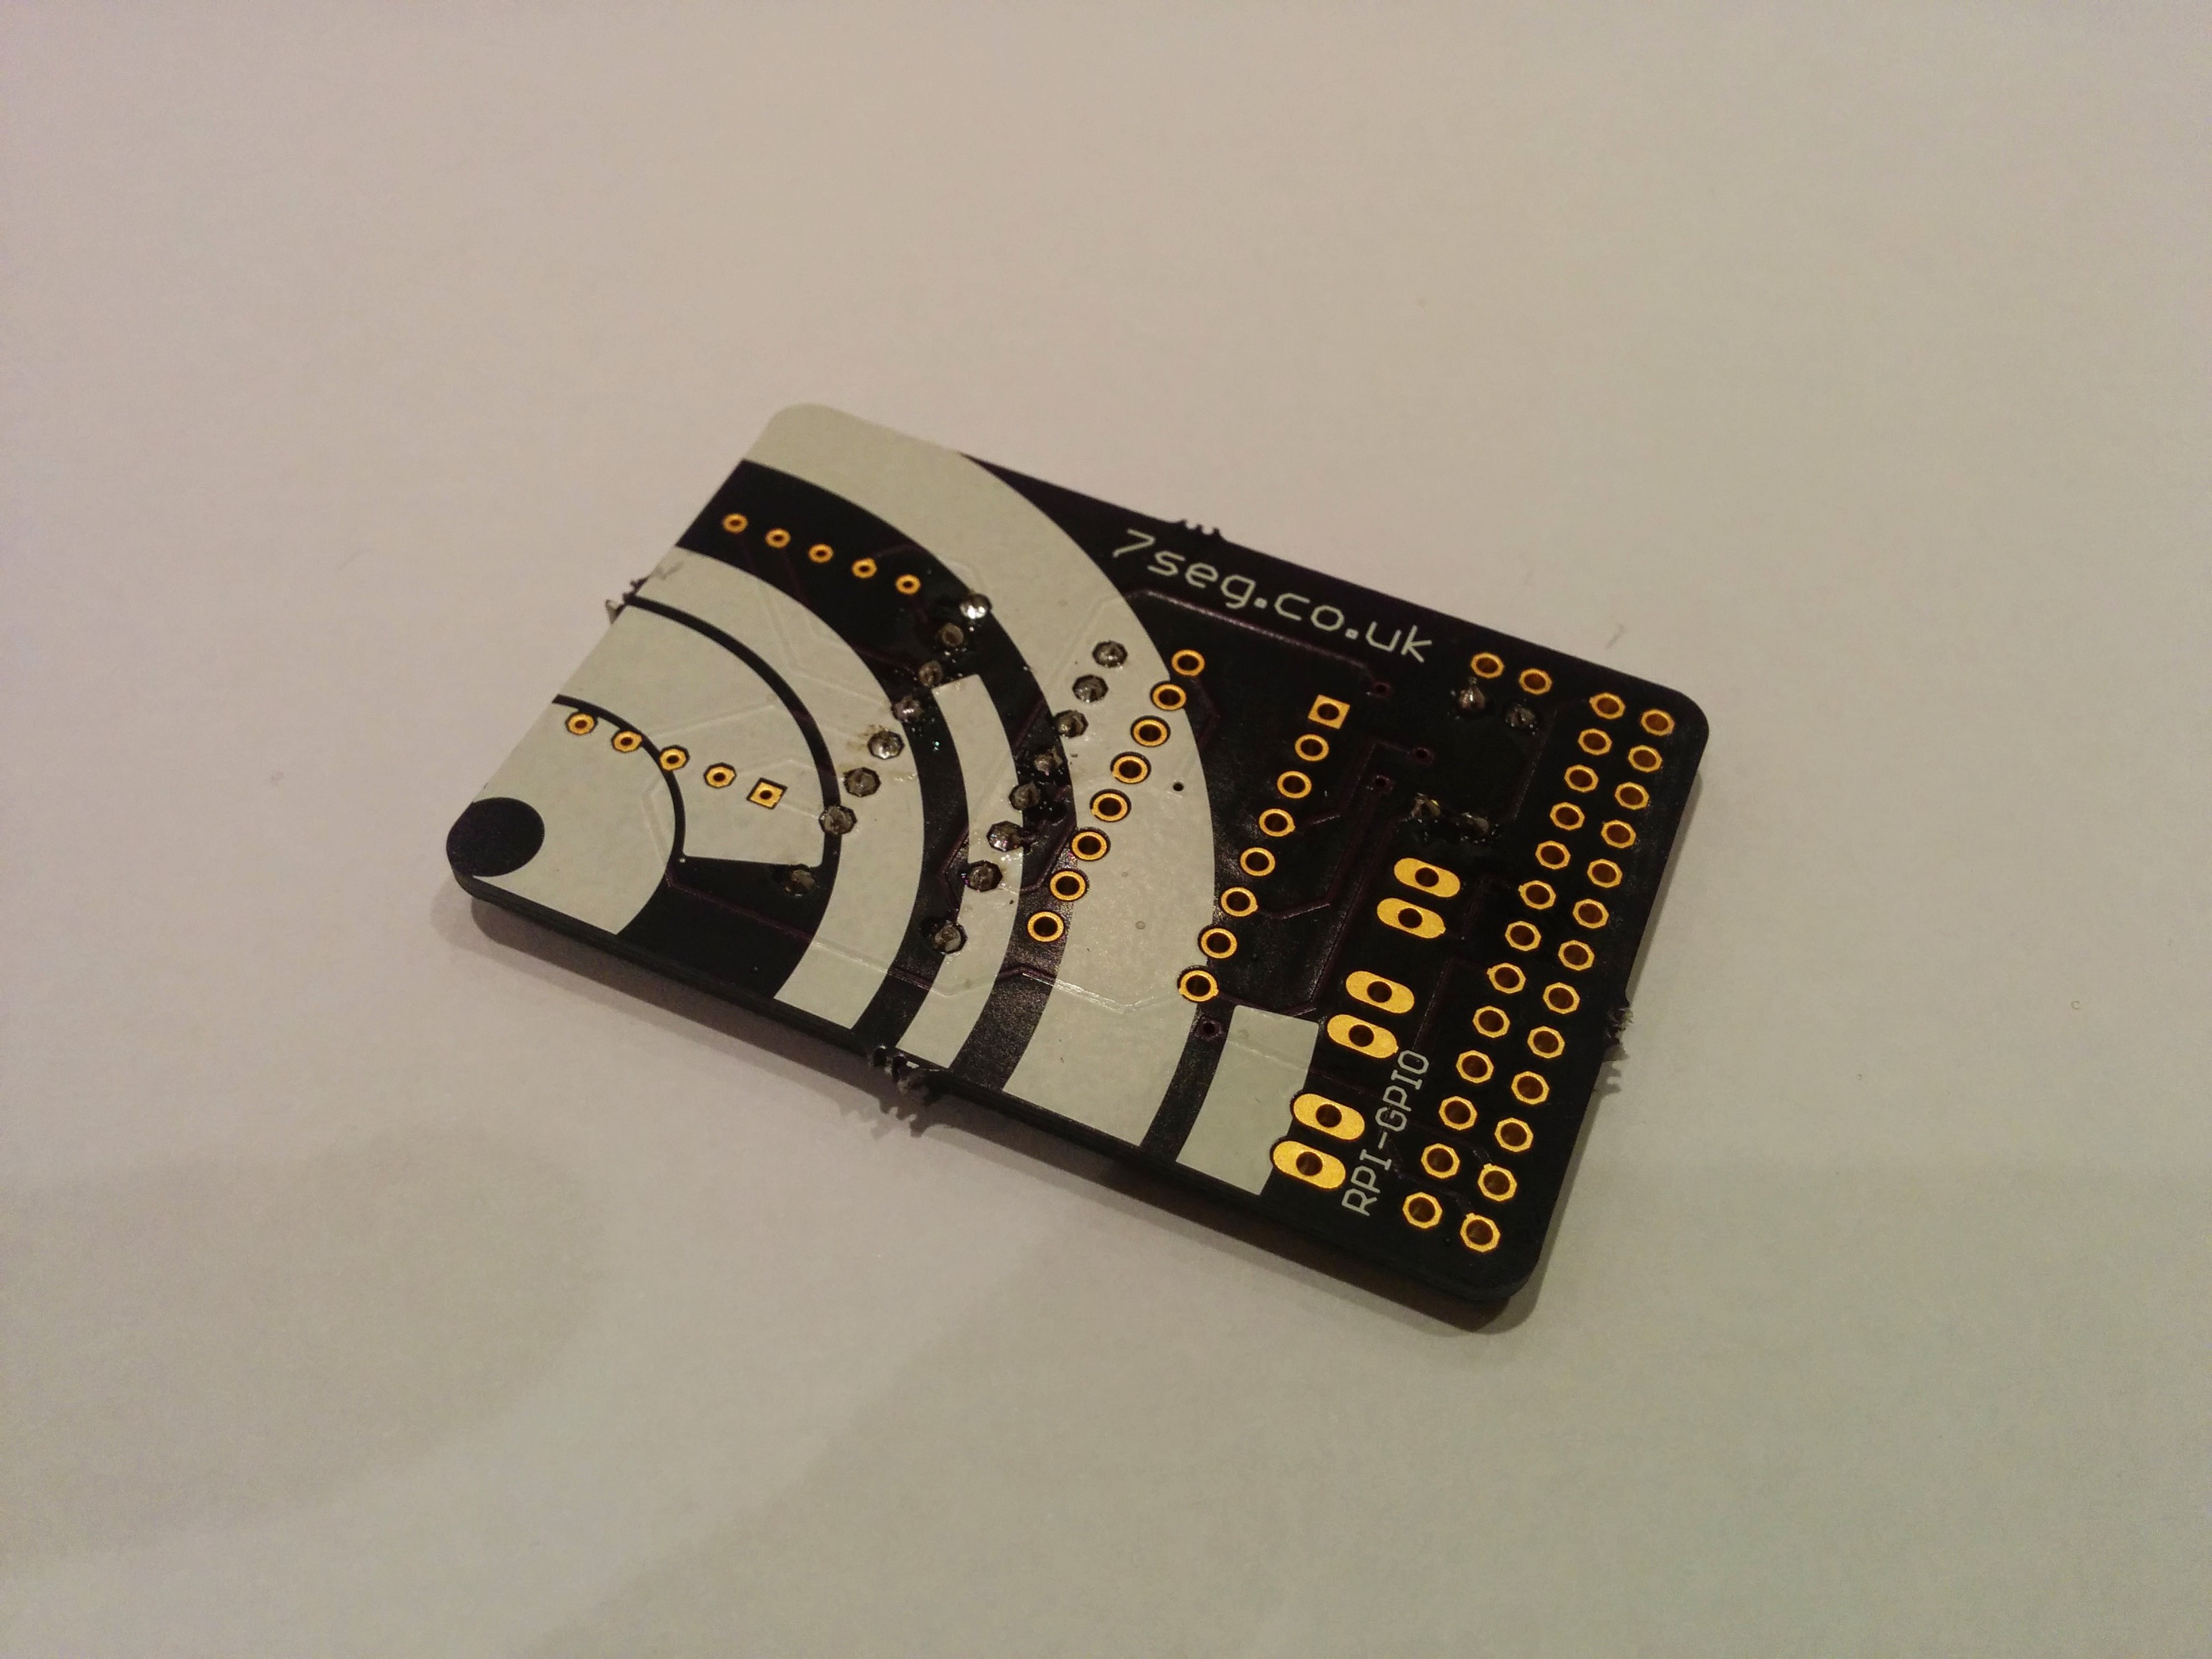
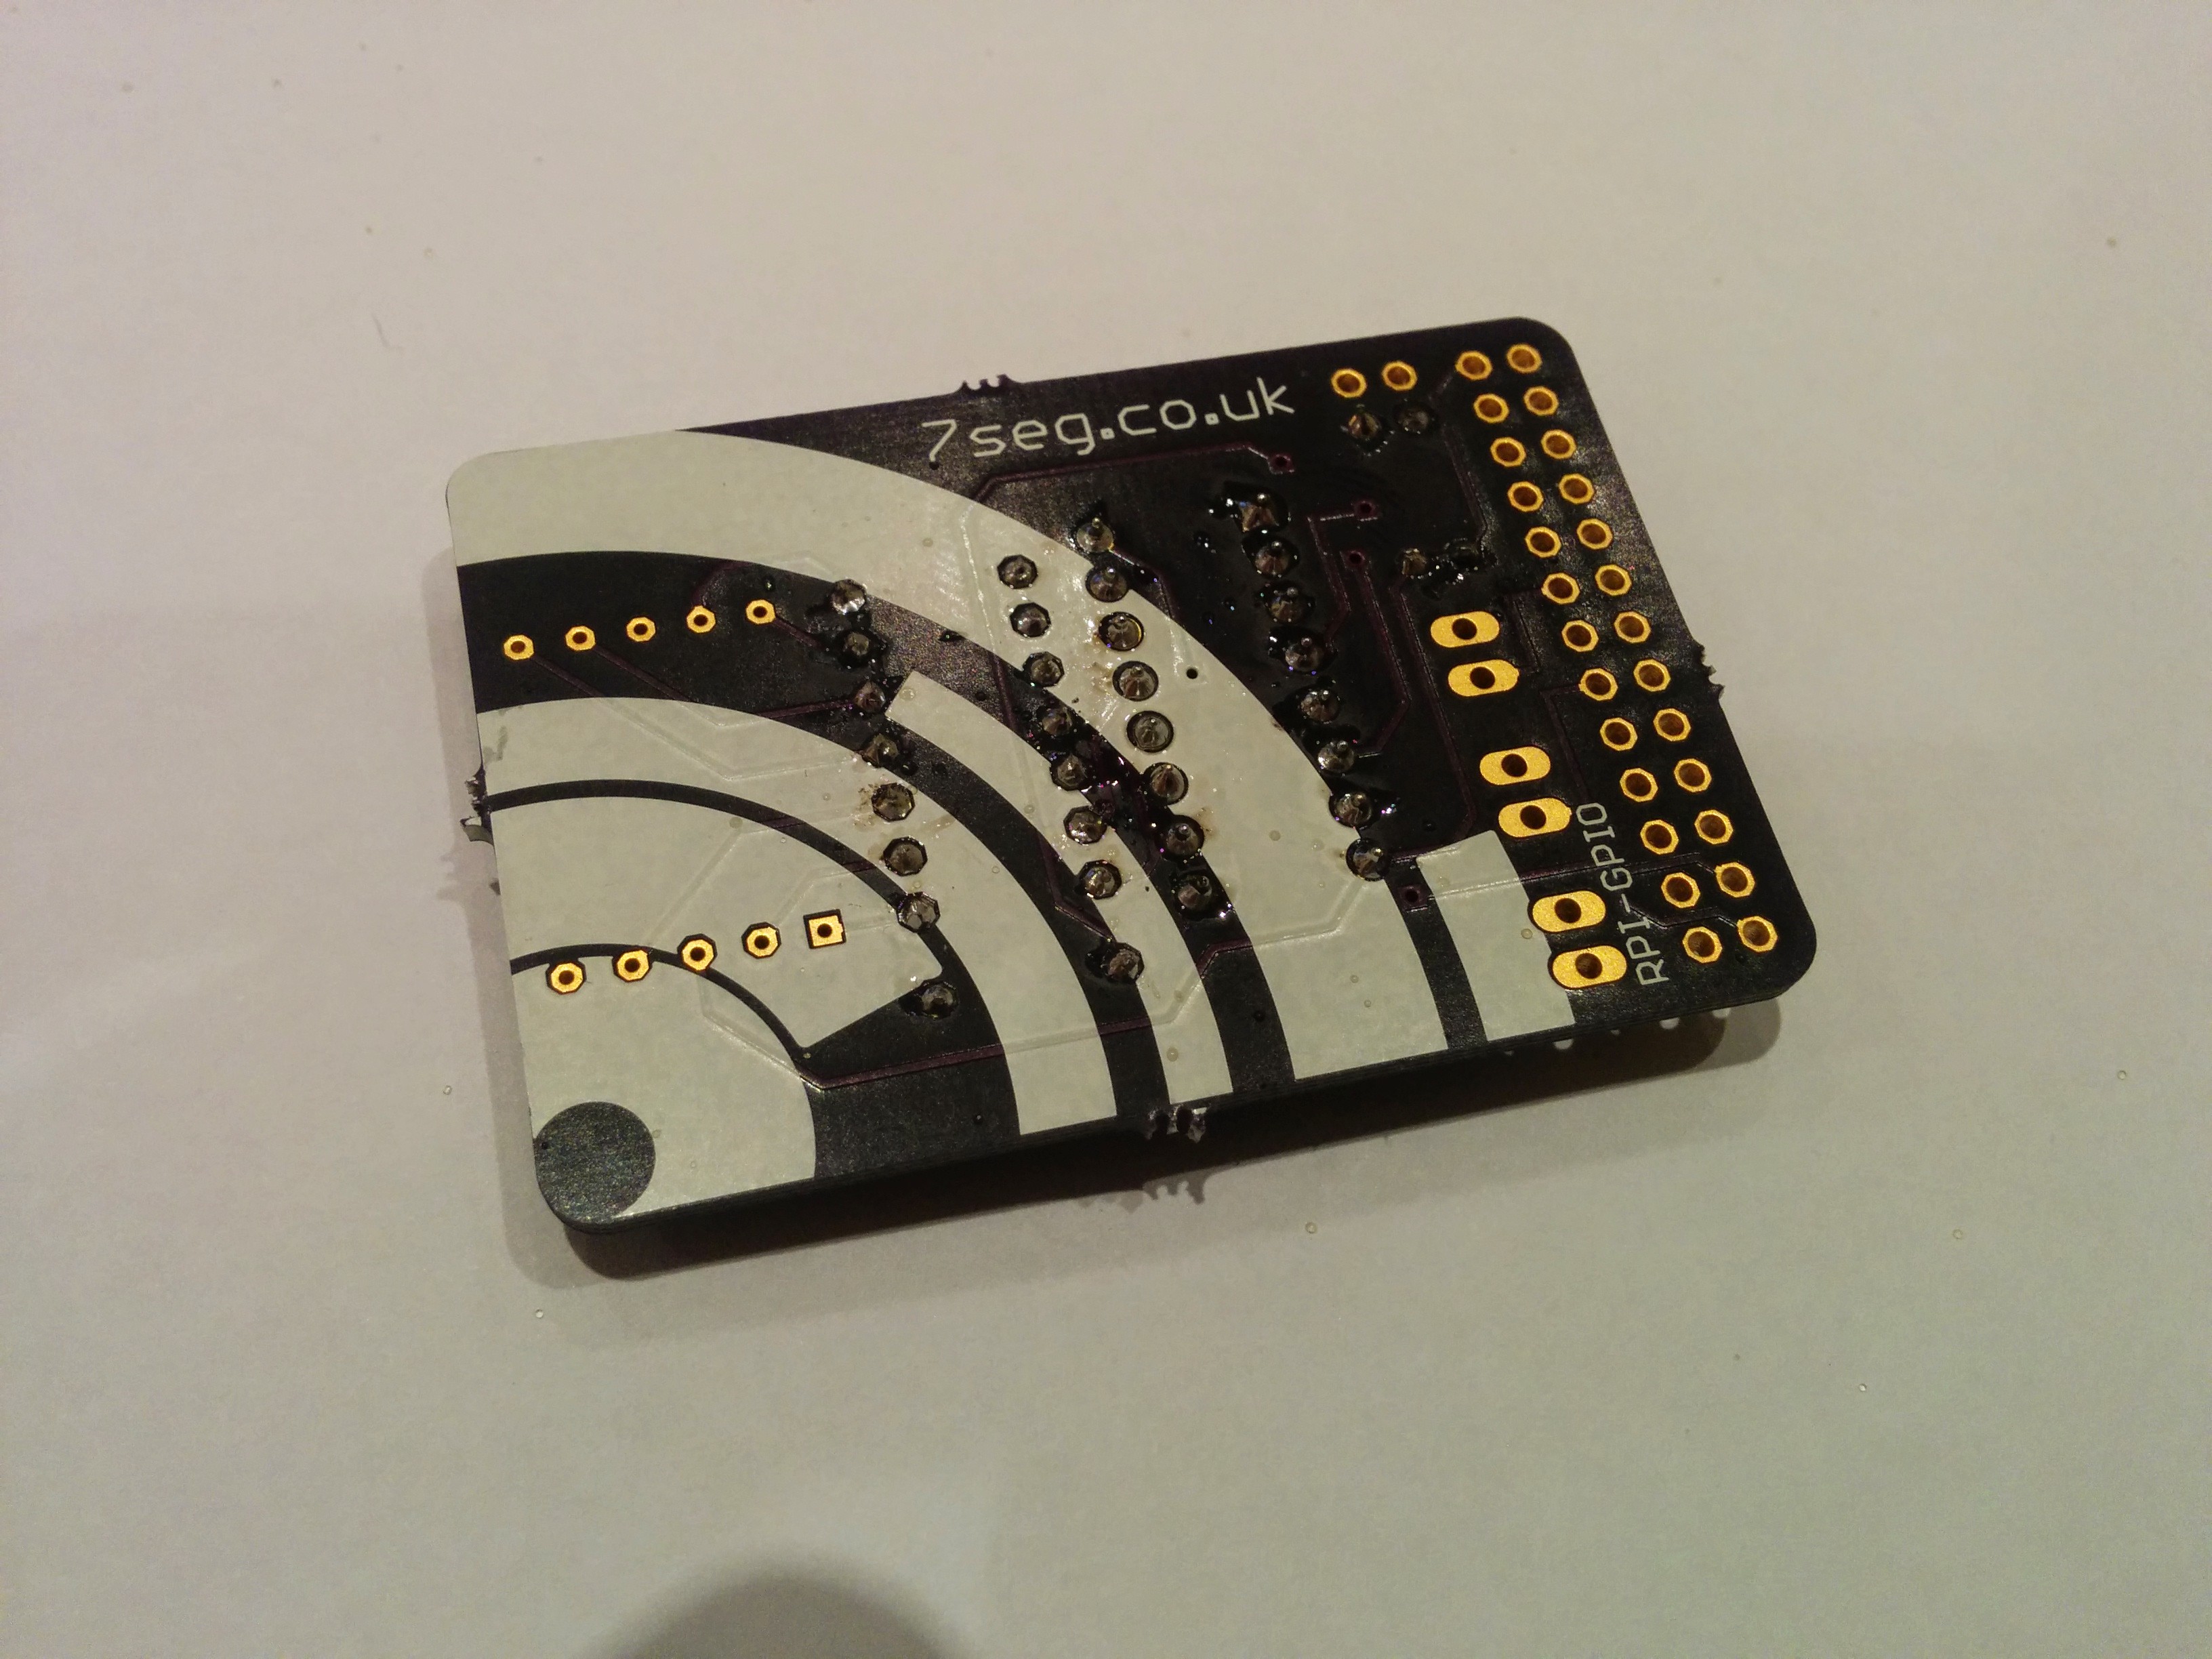
6. Repeat this process for all of the other legs, before cropping off the excess with a pair of side cutters.
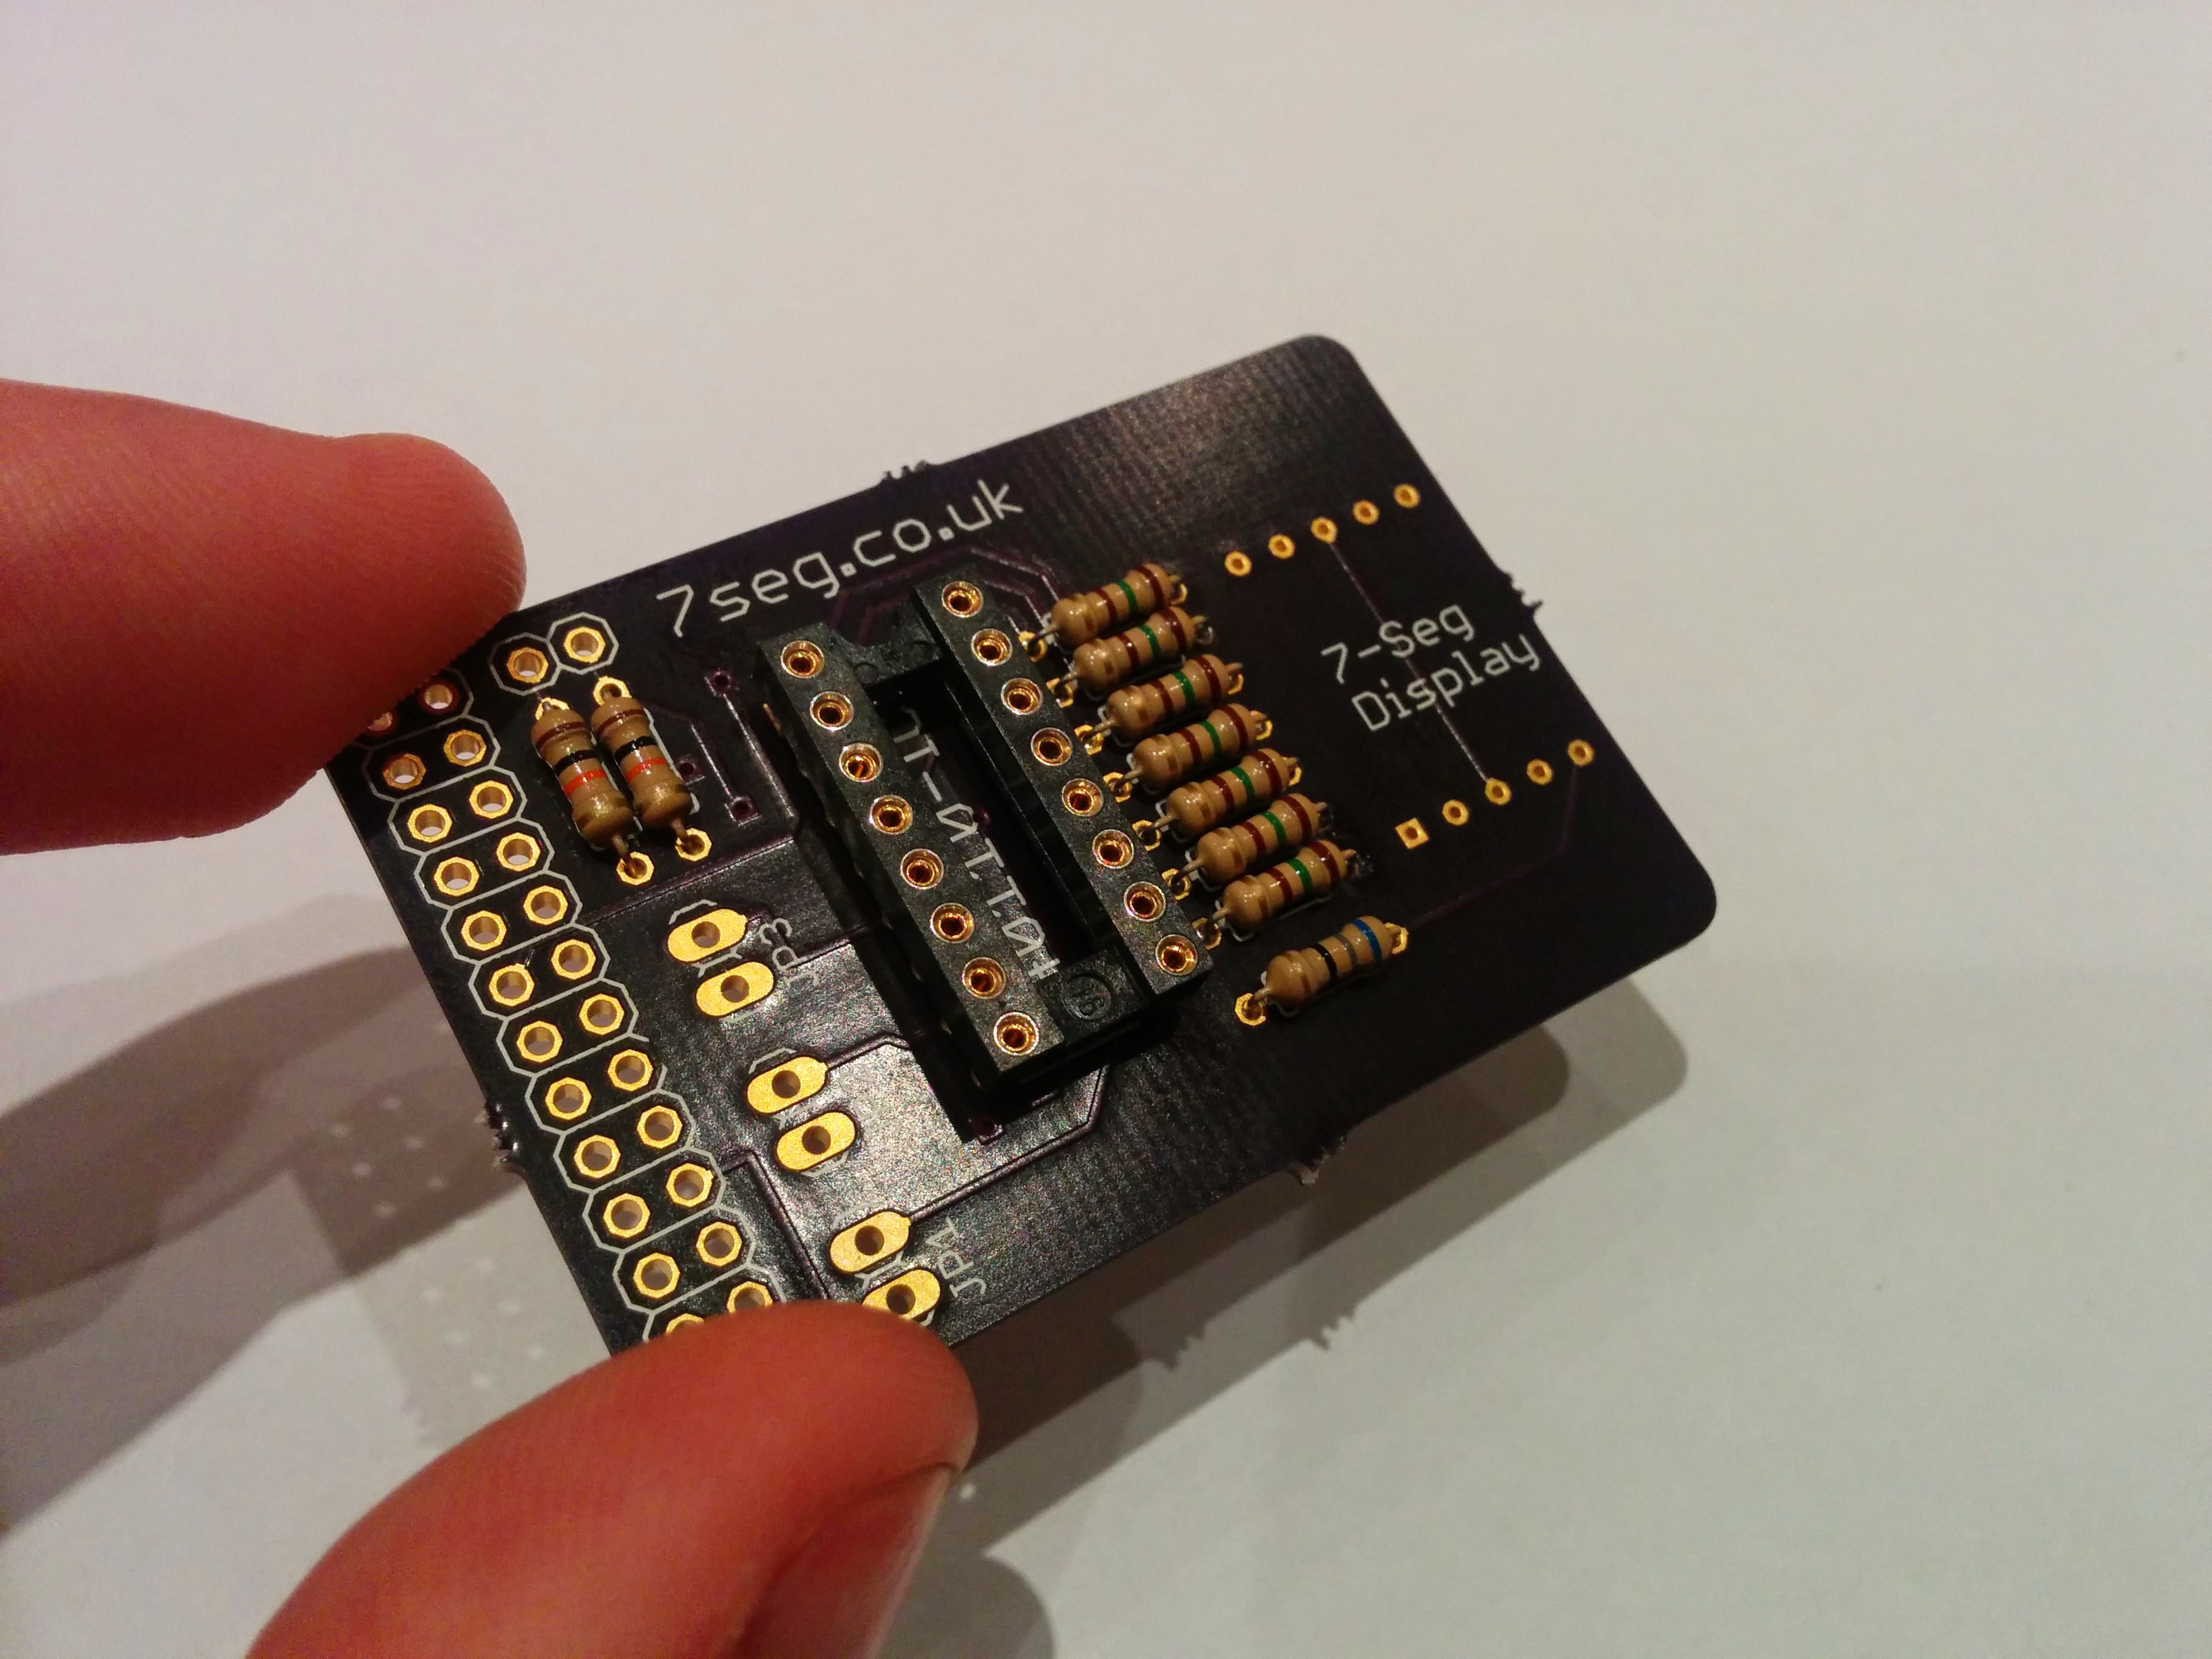
7. Insert the IC socket, making sure to orientate it correctly.
8. Turn it over, making sure the chip is still in place.
9. Solder up the legs.
10. Dont worry about cutting off the excess here. It will look nicer if you leave them all even.
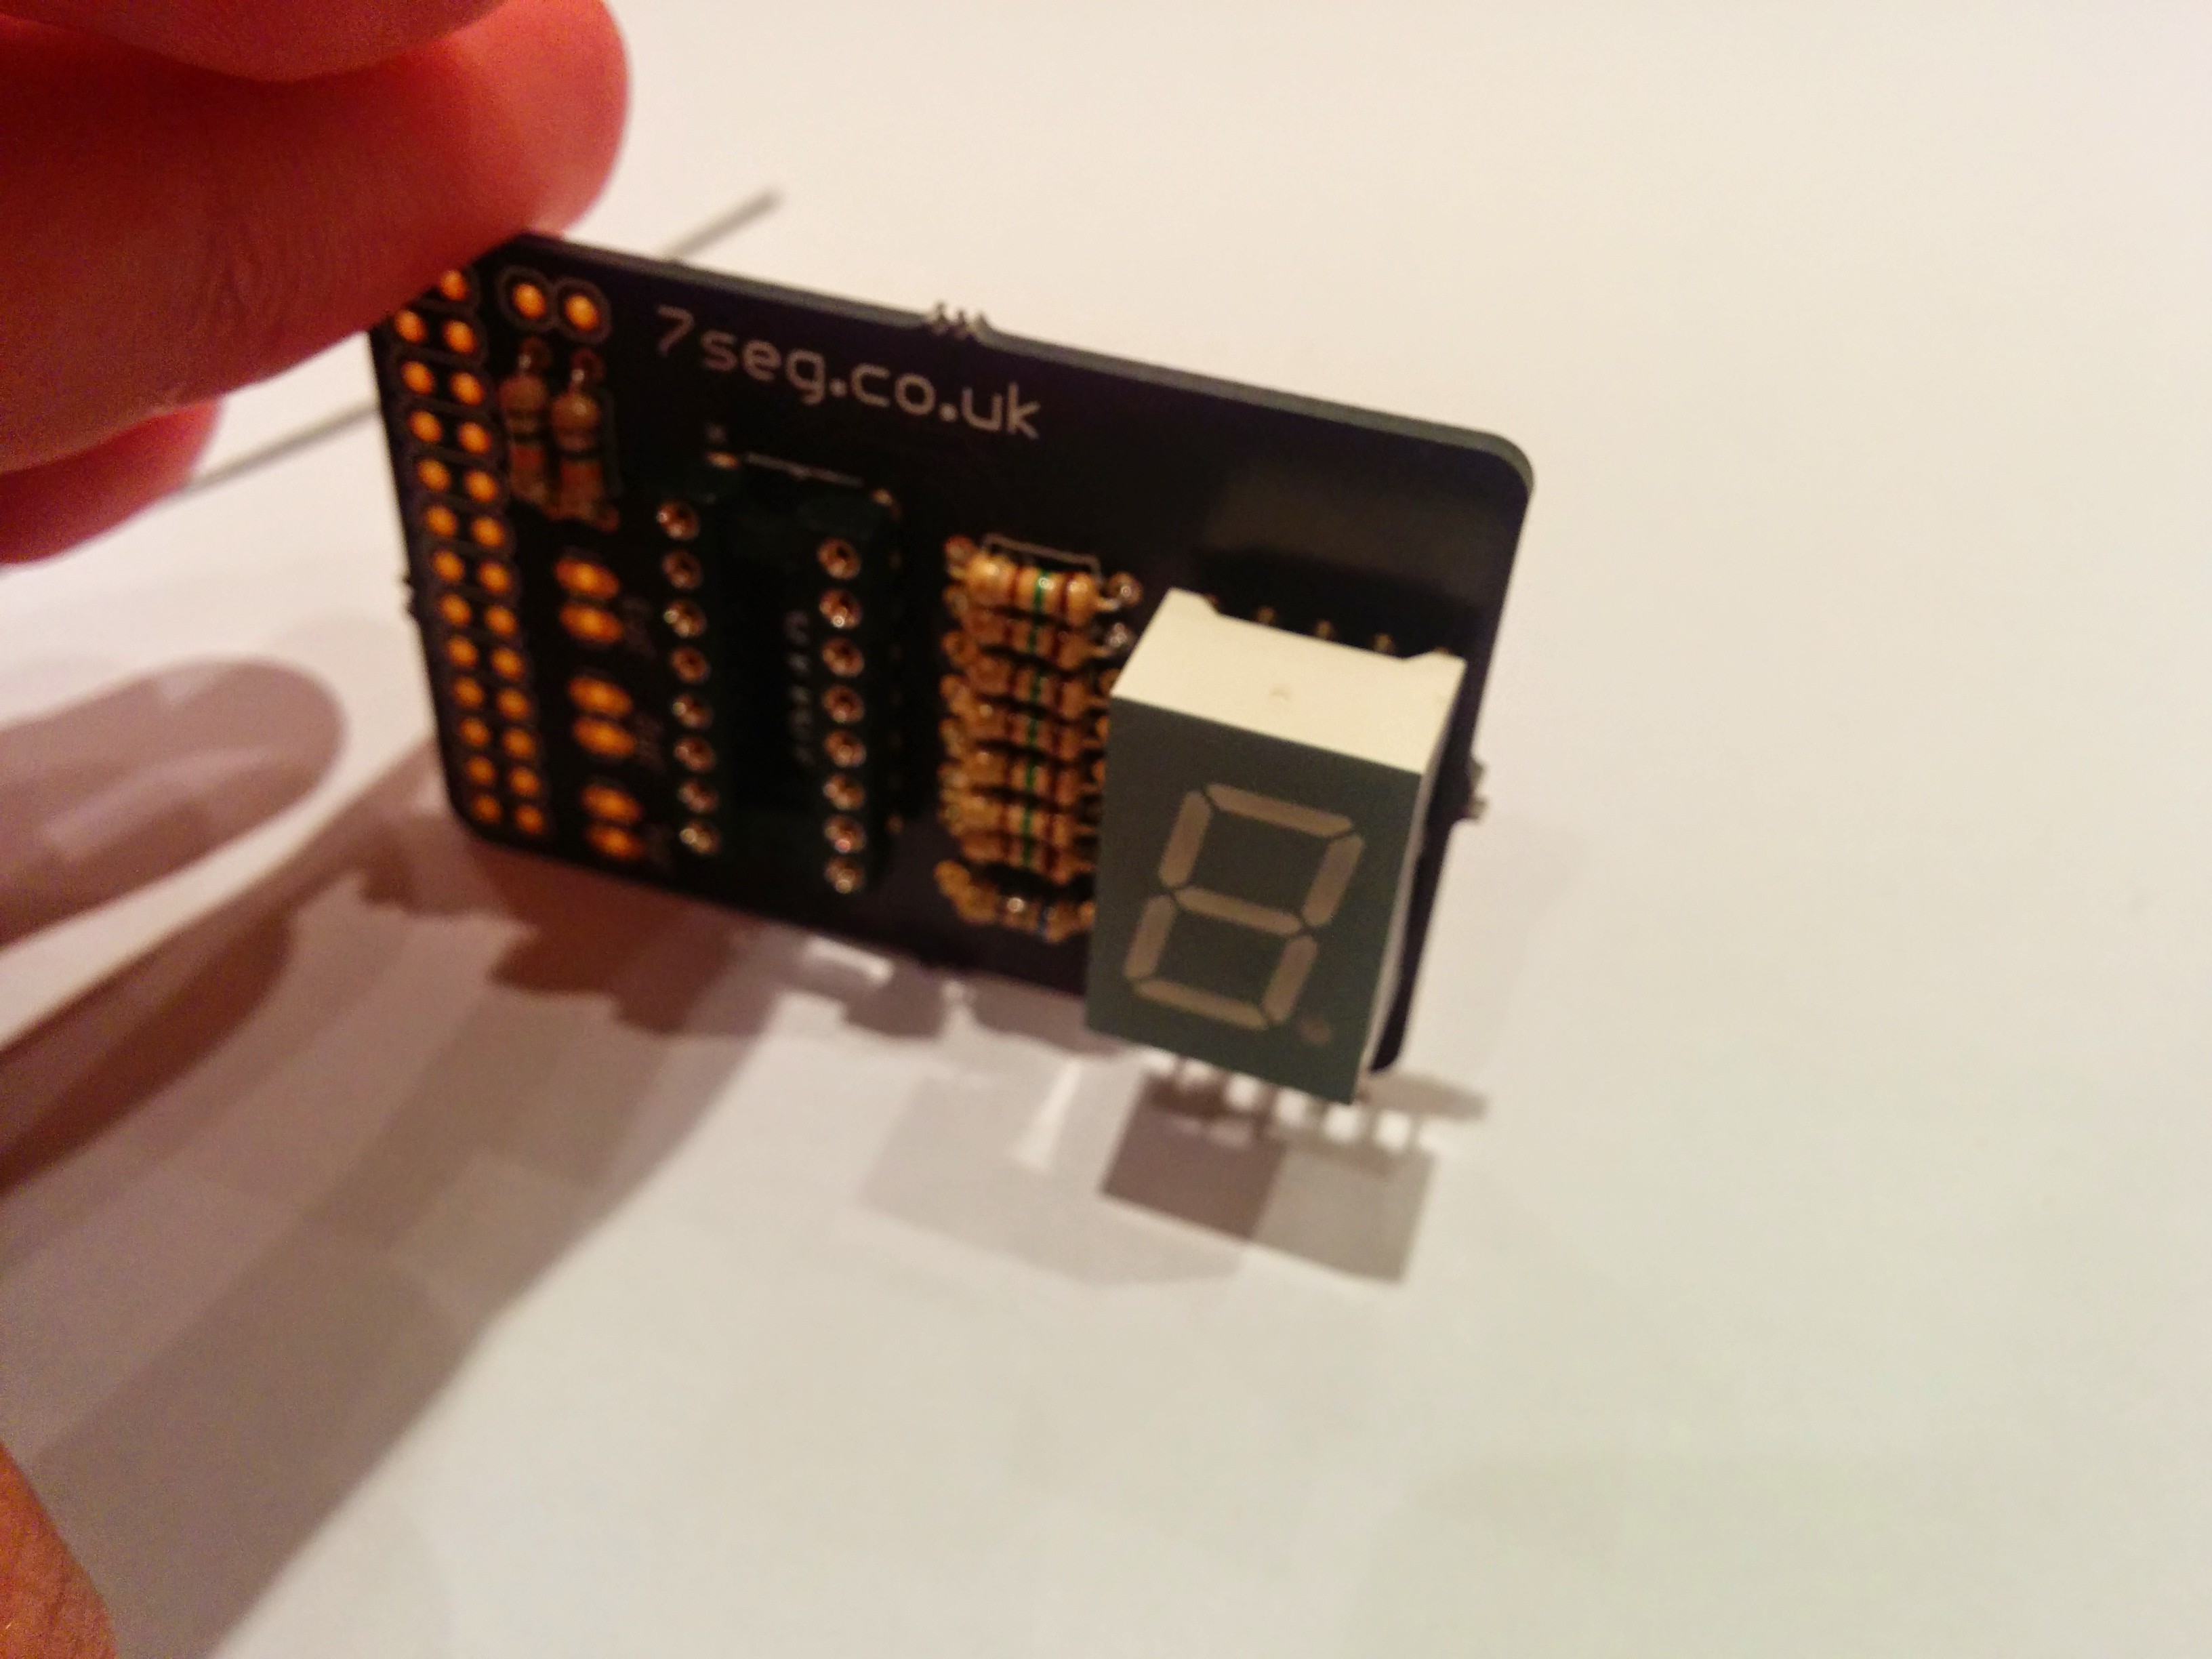
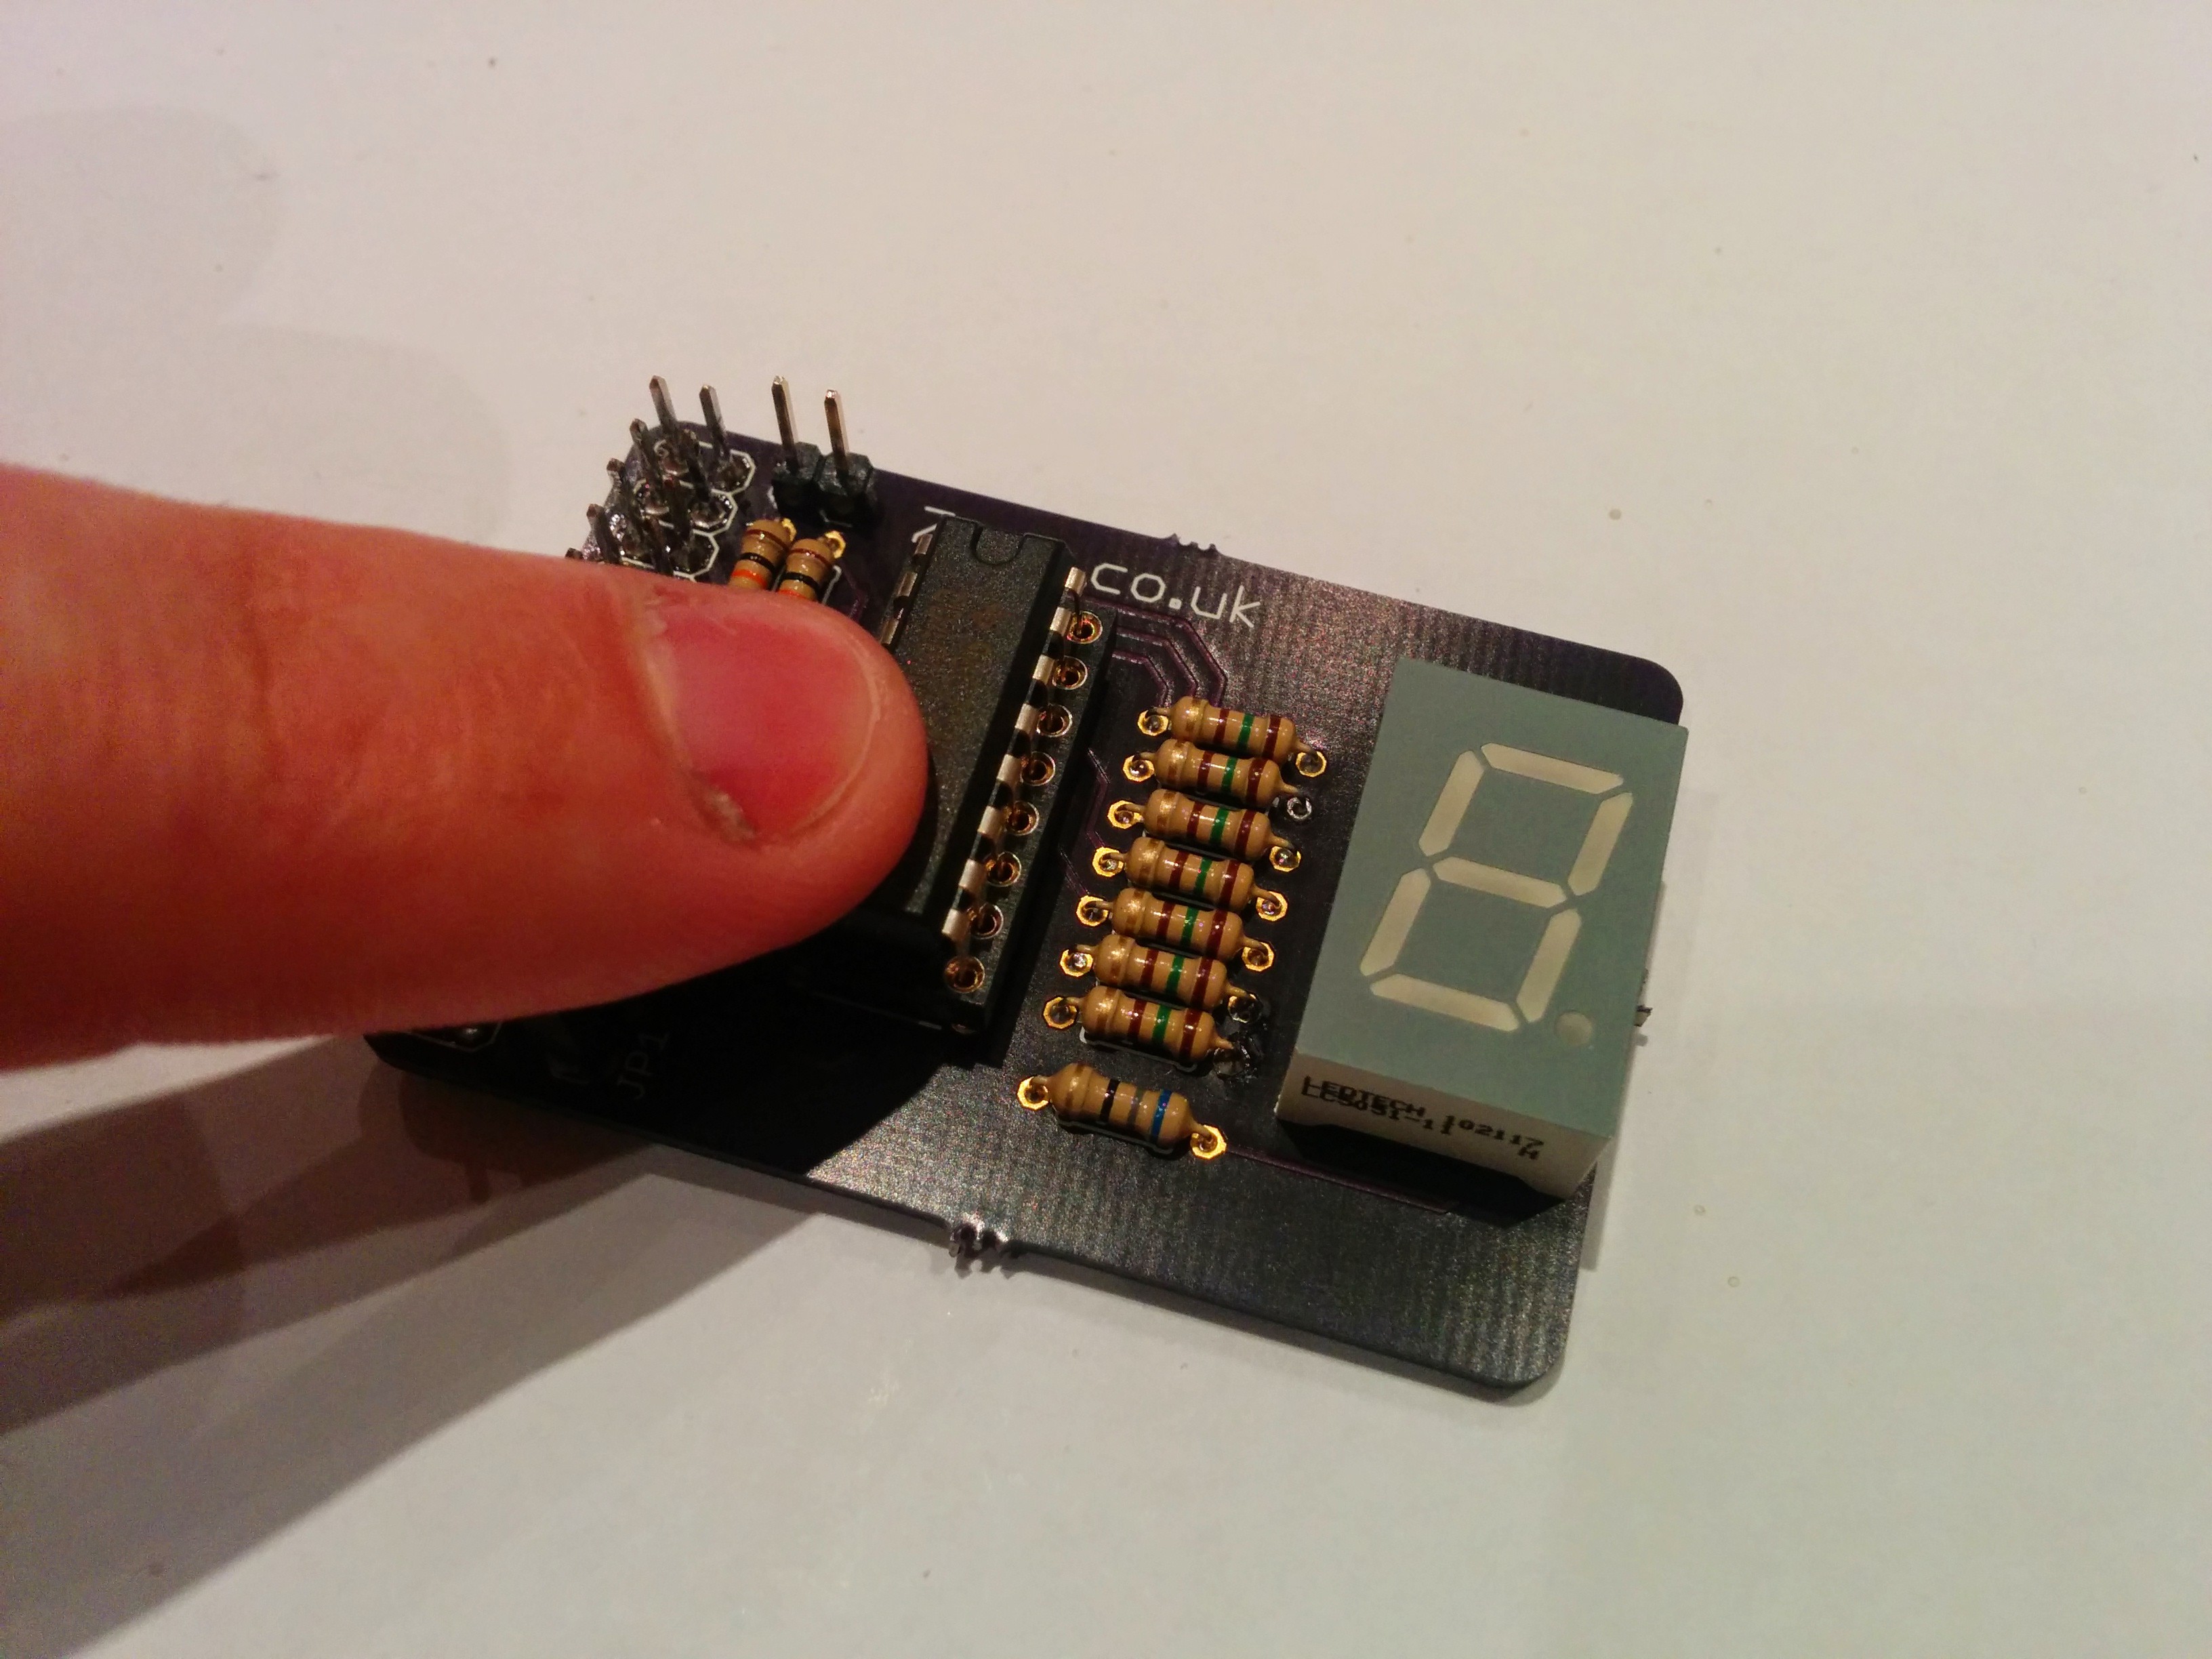
11. Position your display in place, making sure the orientation is correct, and that you have selected your preferred color.
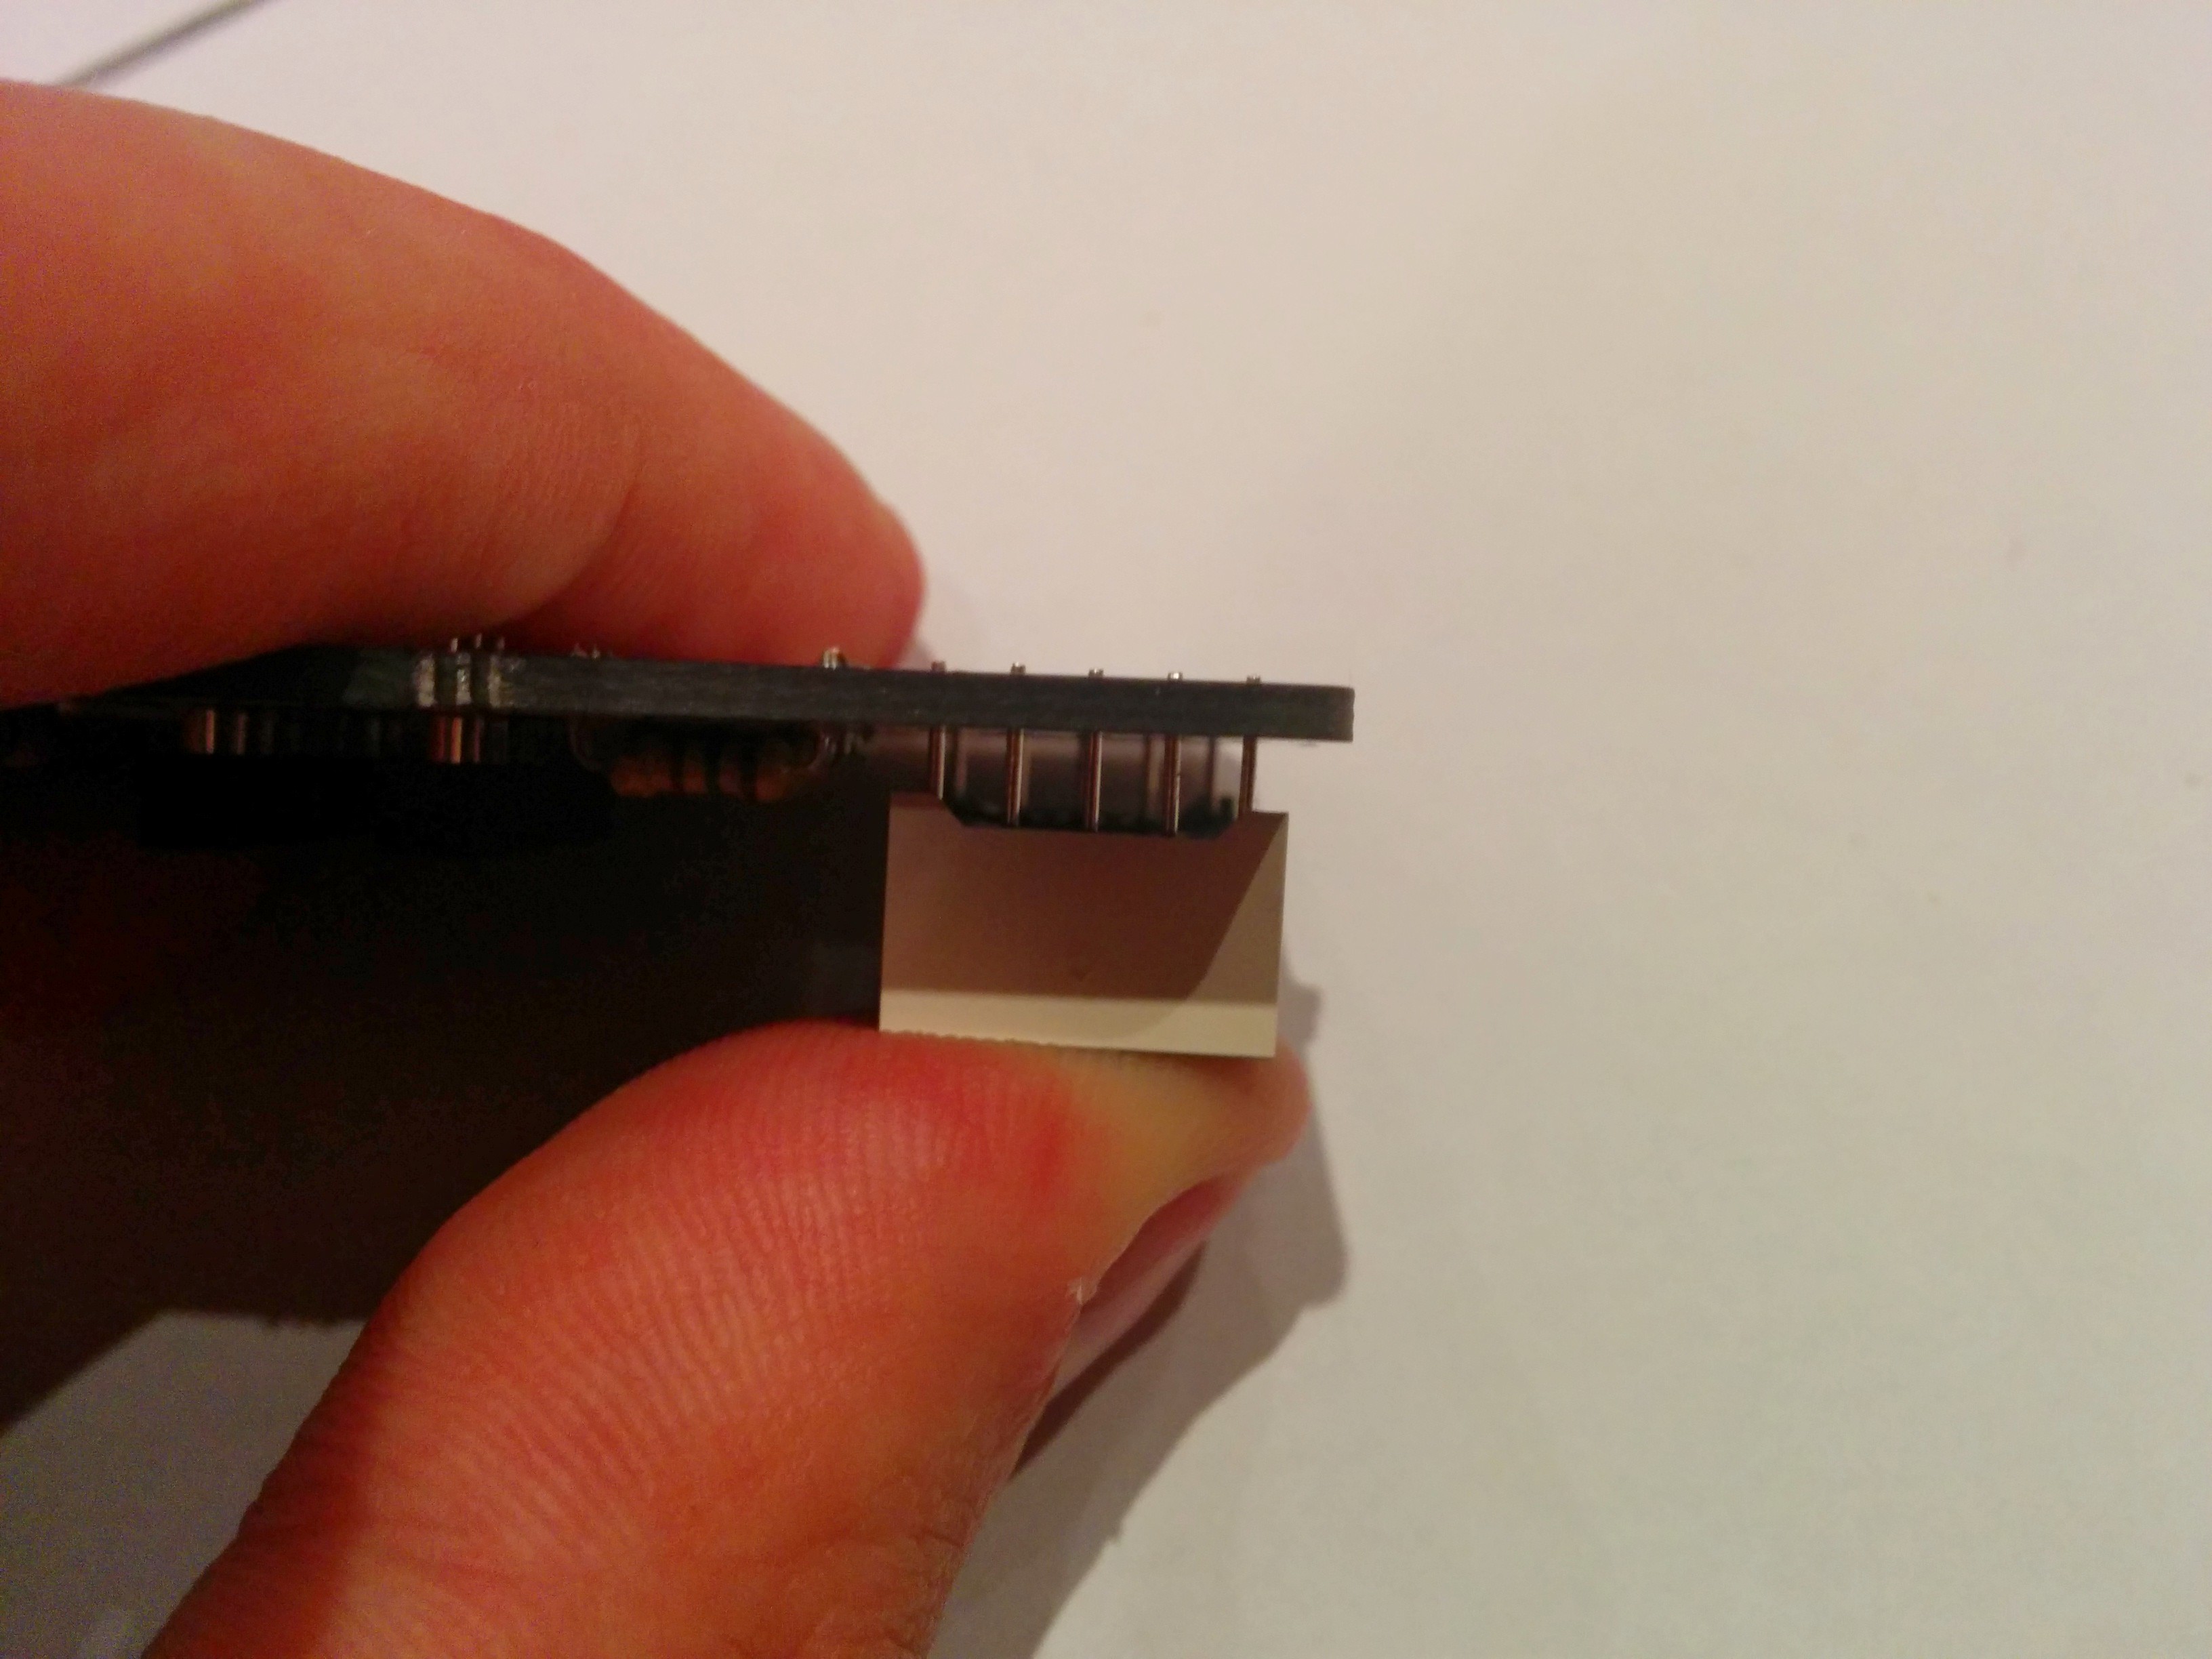
12. Make sure to press down the display firmly, I have made the tolerances very small, so it will stay nice and still to achieve the perfect flat display.
13. Turn over the display and solder up the leads as before.
14. All soldered up!
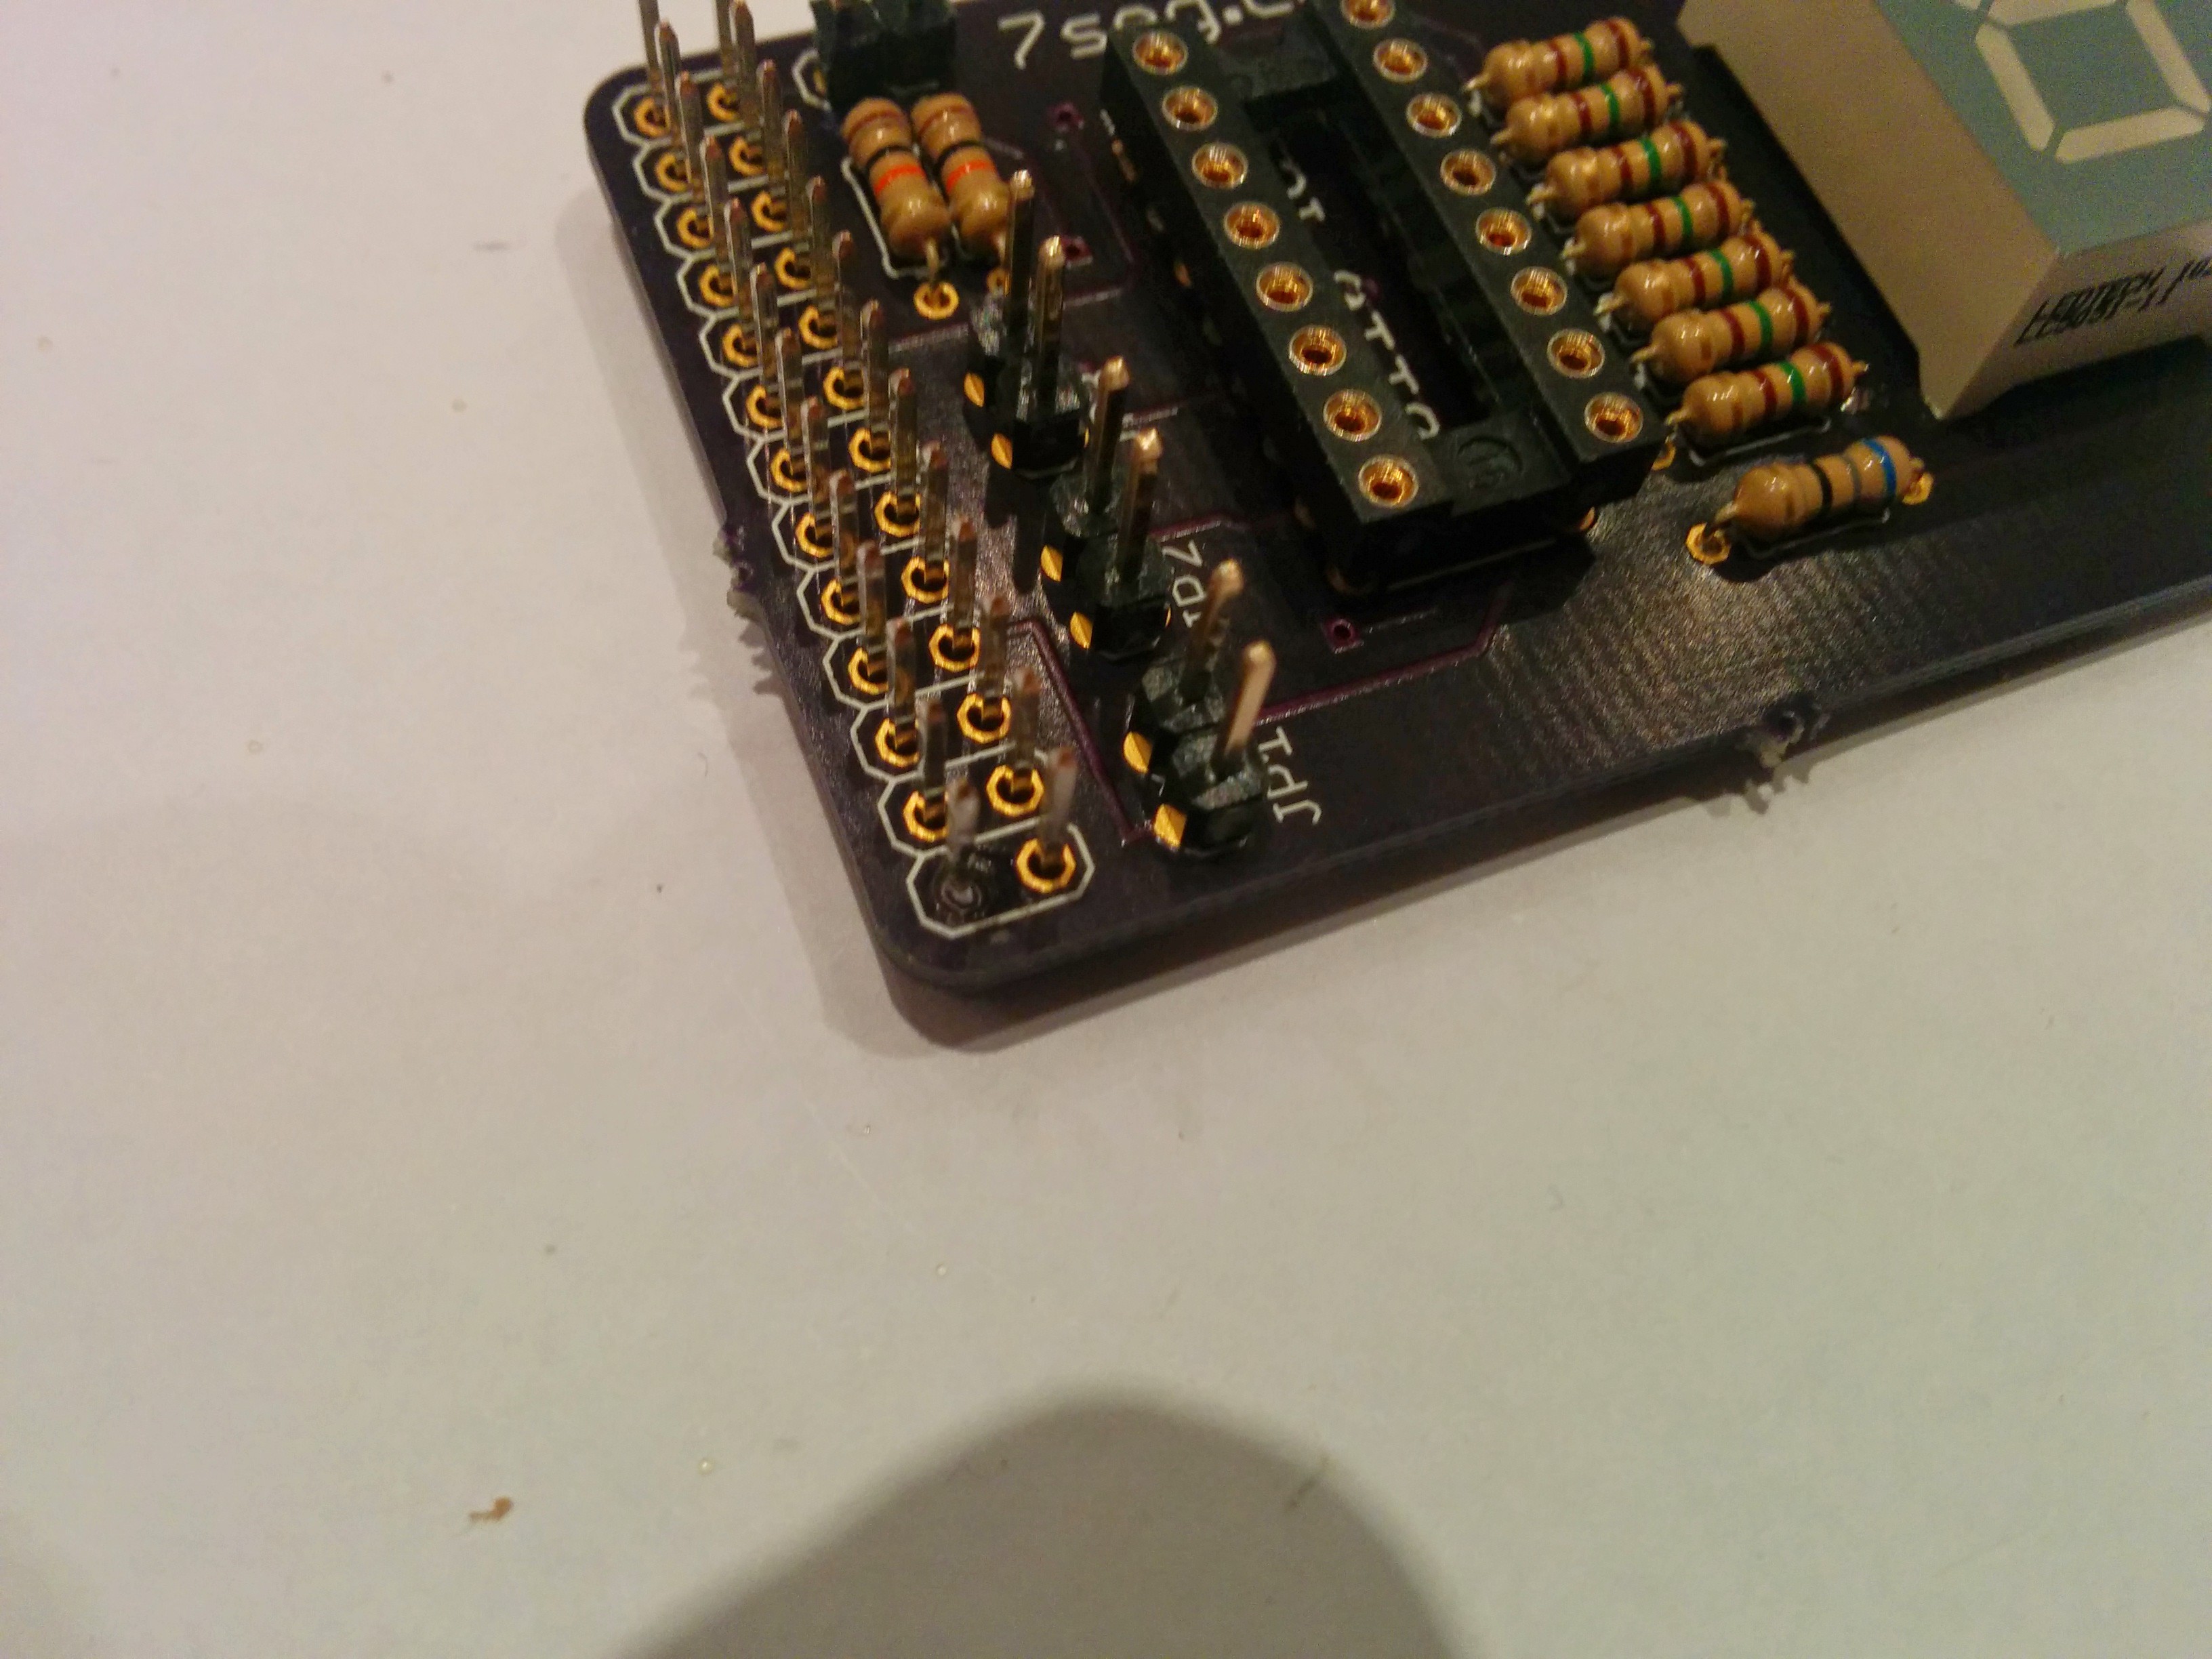
15. Put all of the small headers into place. (Please note, Sniff Programming reccomend completeing steps 20 - 22 before this step, as having these headers in place can hinder access. Test fit the components before hand, and see what you think will be the best option)
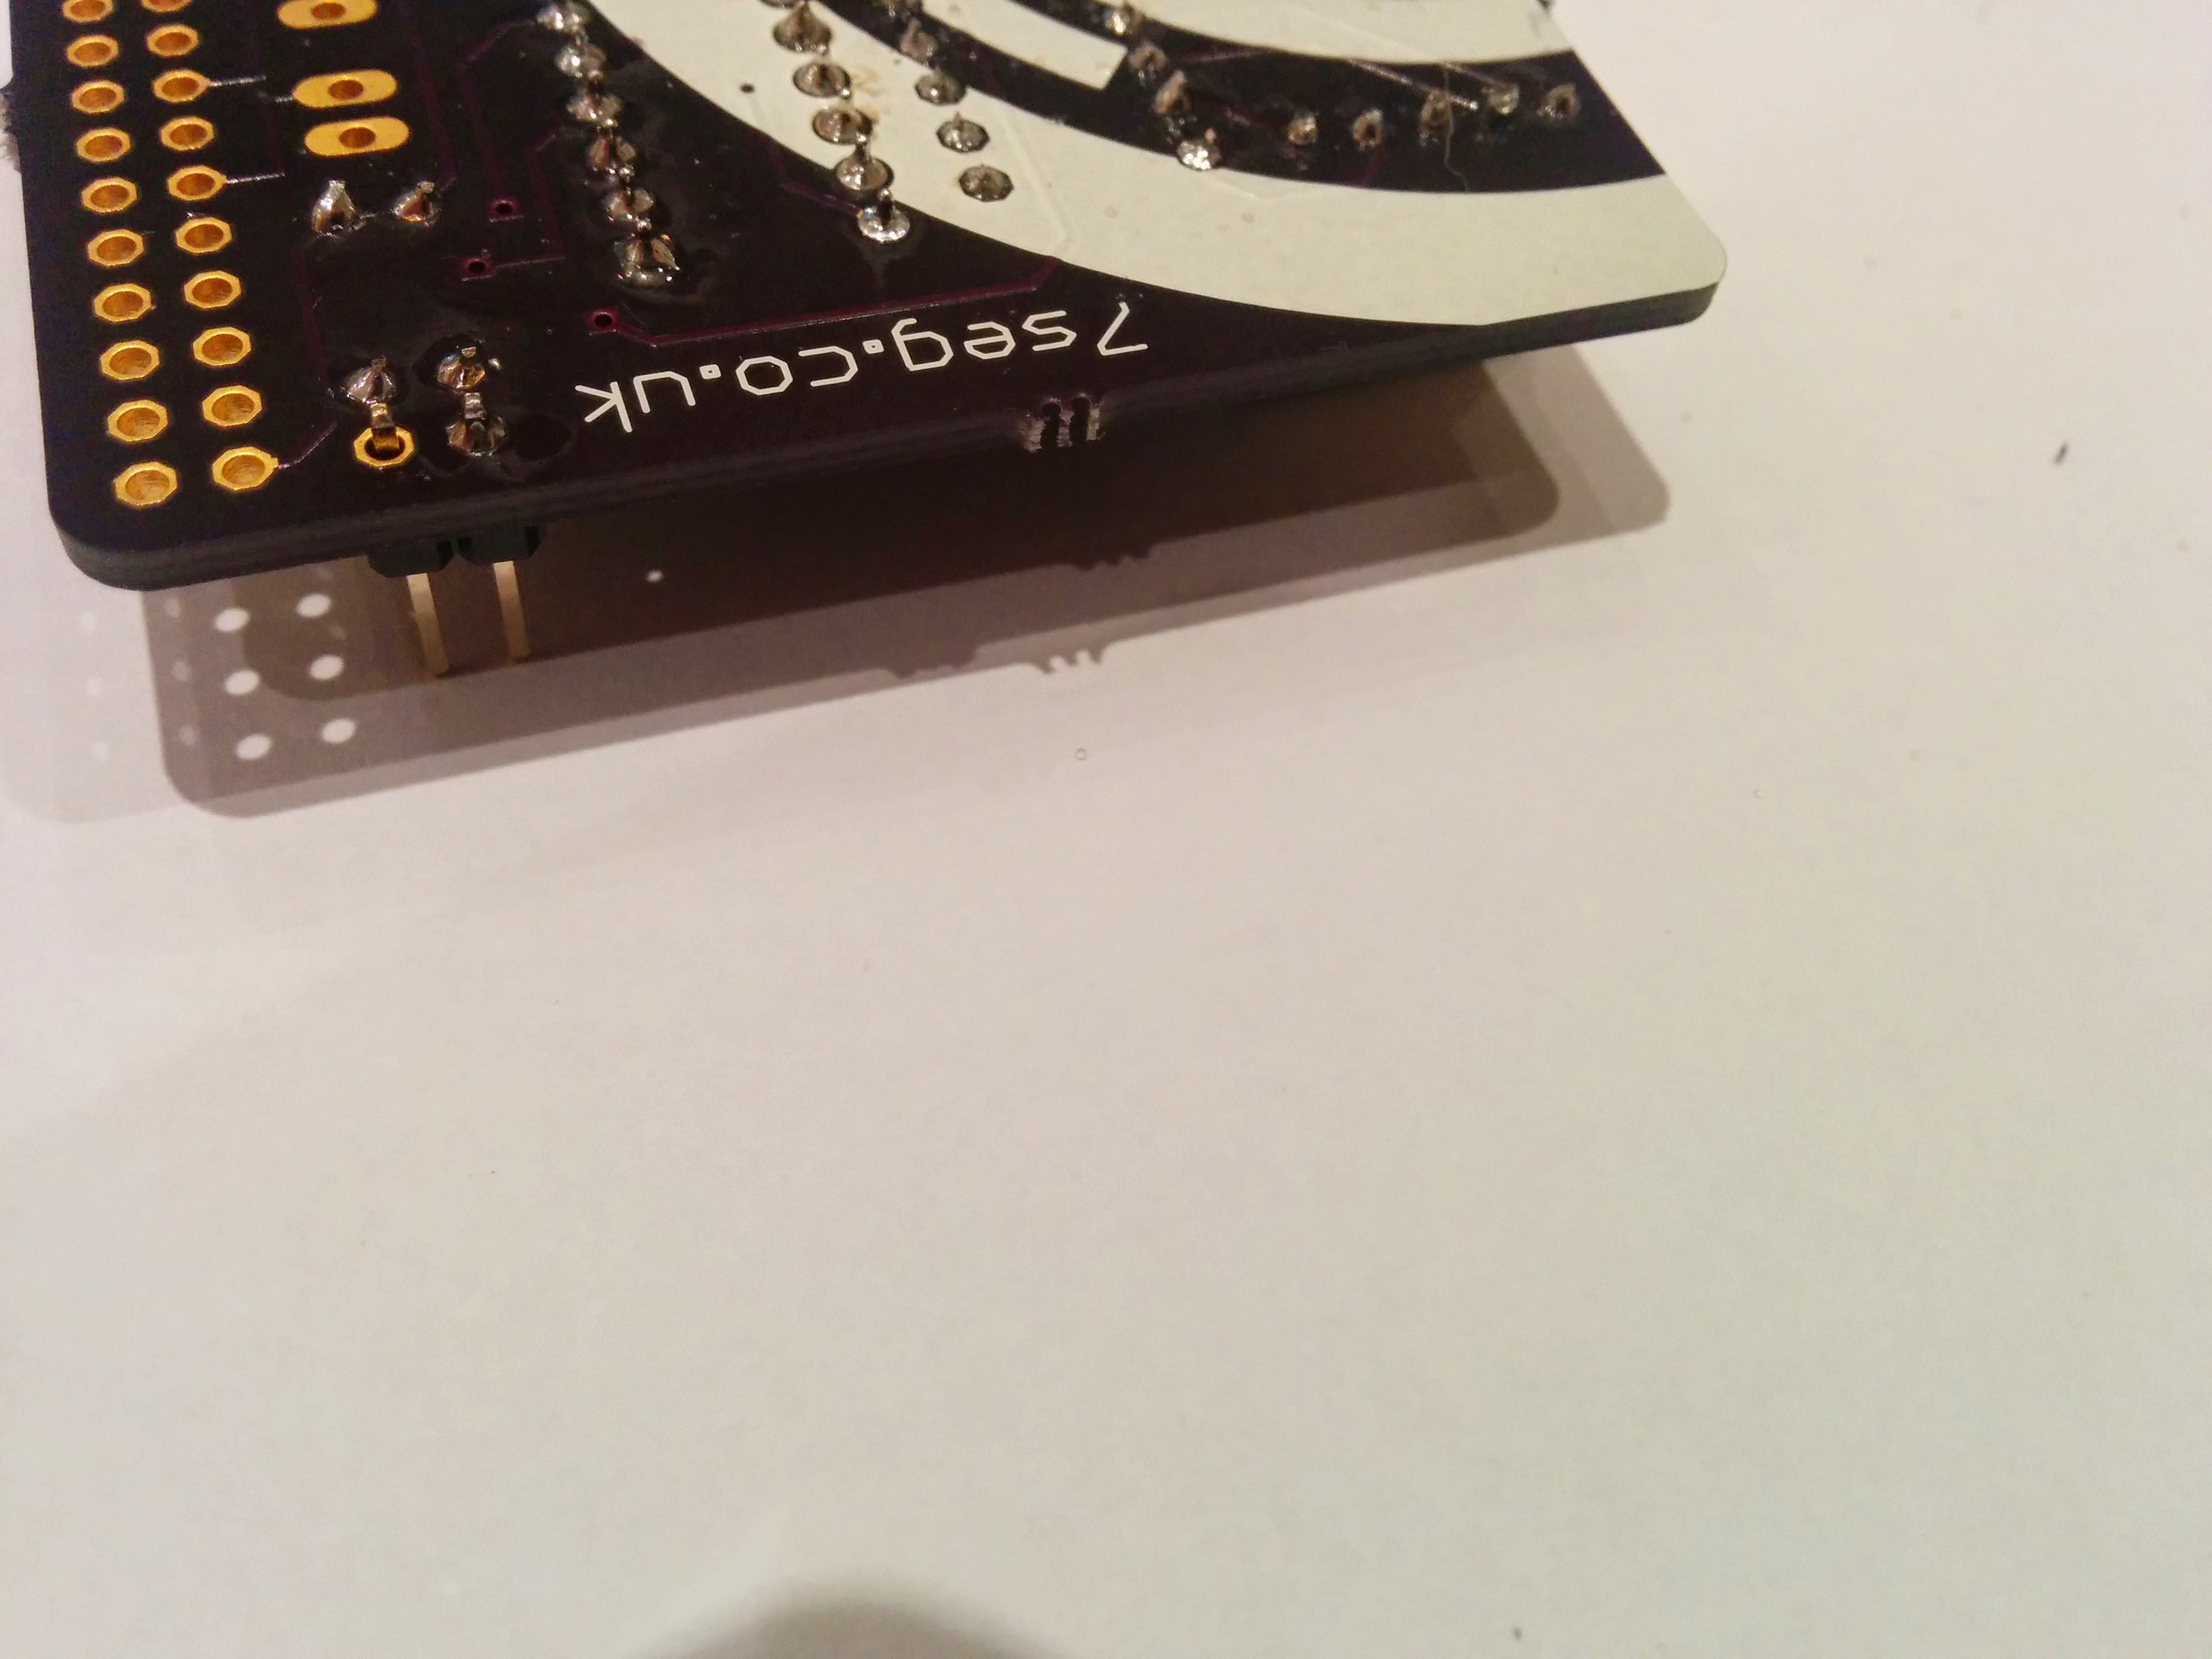
16. Turn the board over, ensuring they remain straight. This may be challenging, and is where something like bluetack will come in handy.
17. Solder them all up, start of with the first pin, which will give you an opportunity to adjust the orientation a little bit.
18. Once you are happy complete the joints, by soldering up the connectors on both sides.
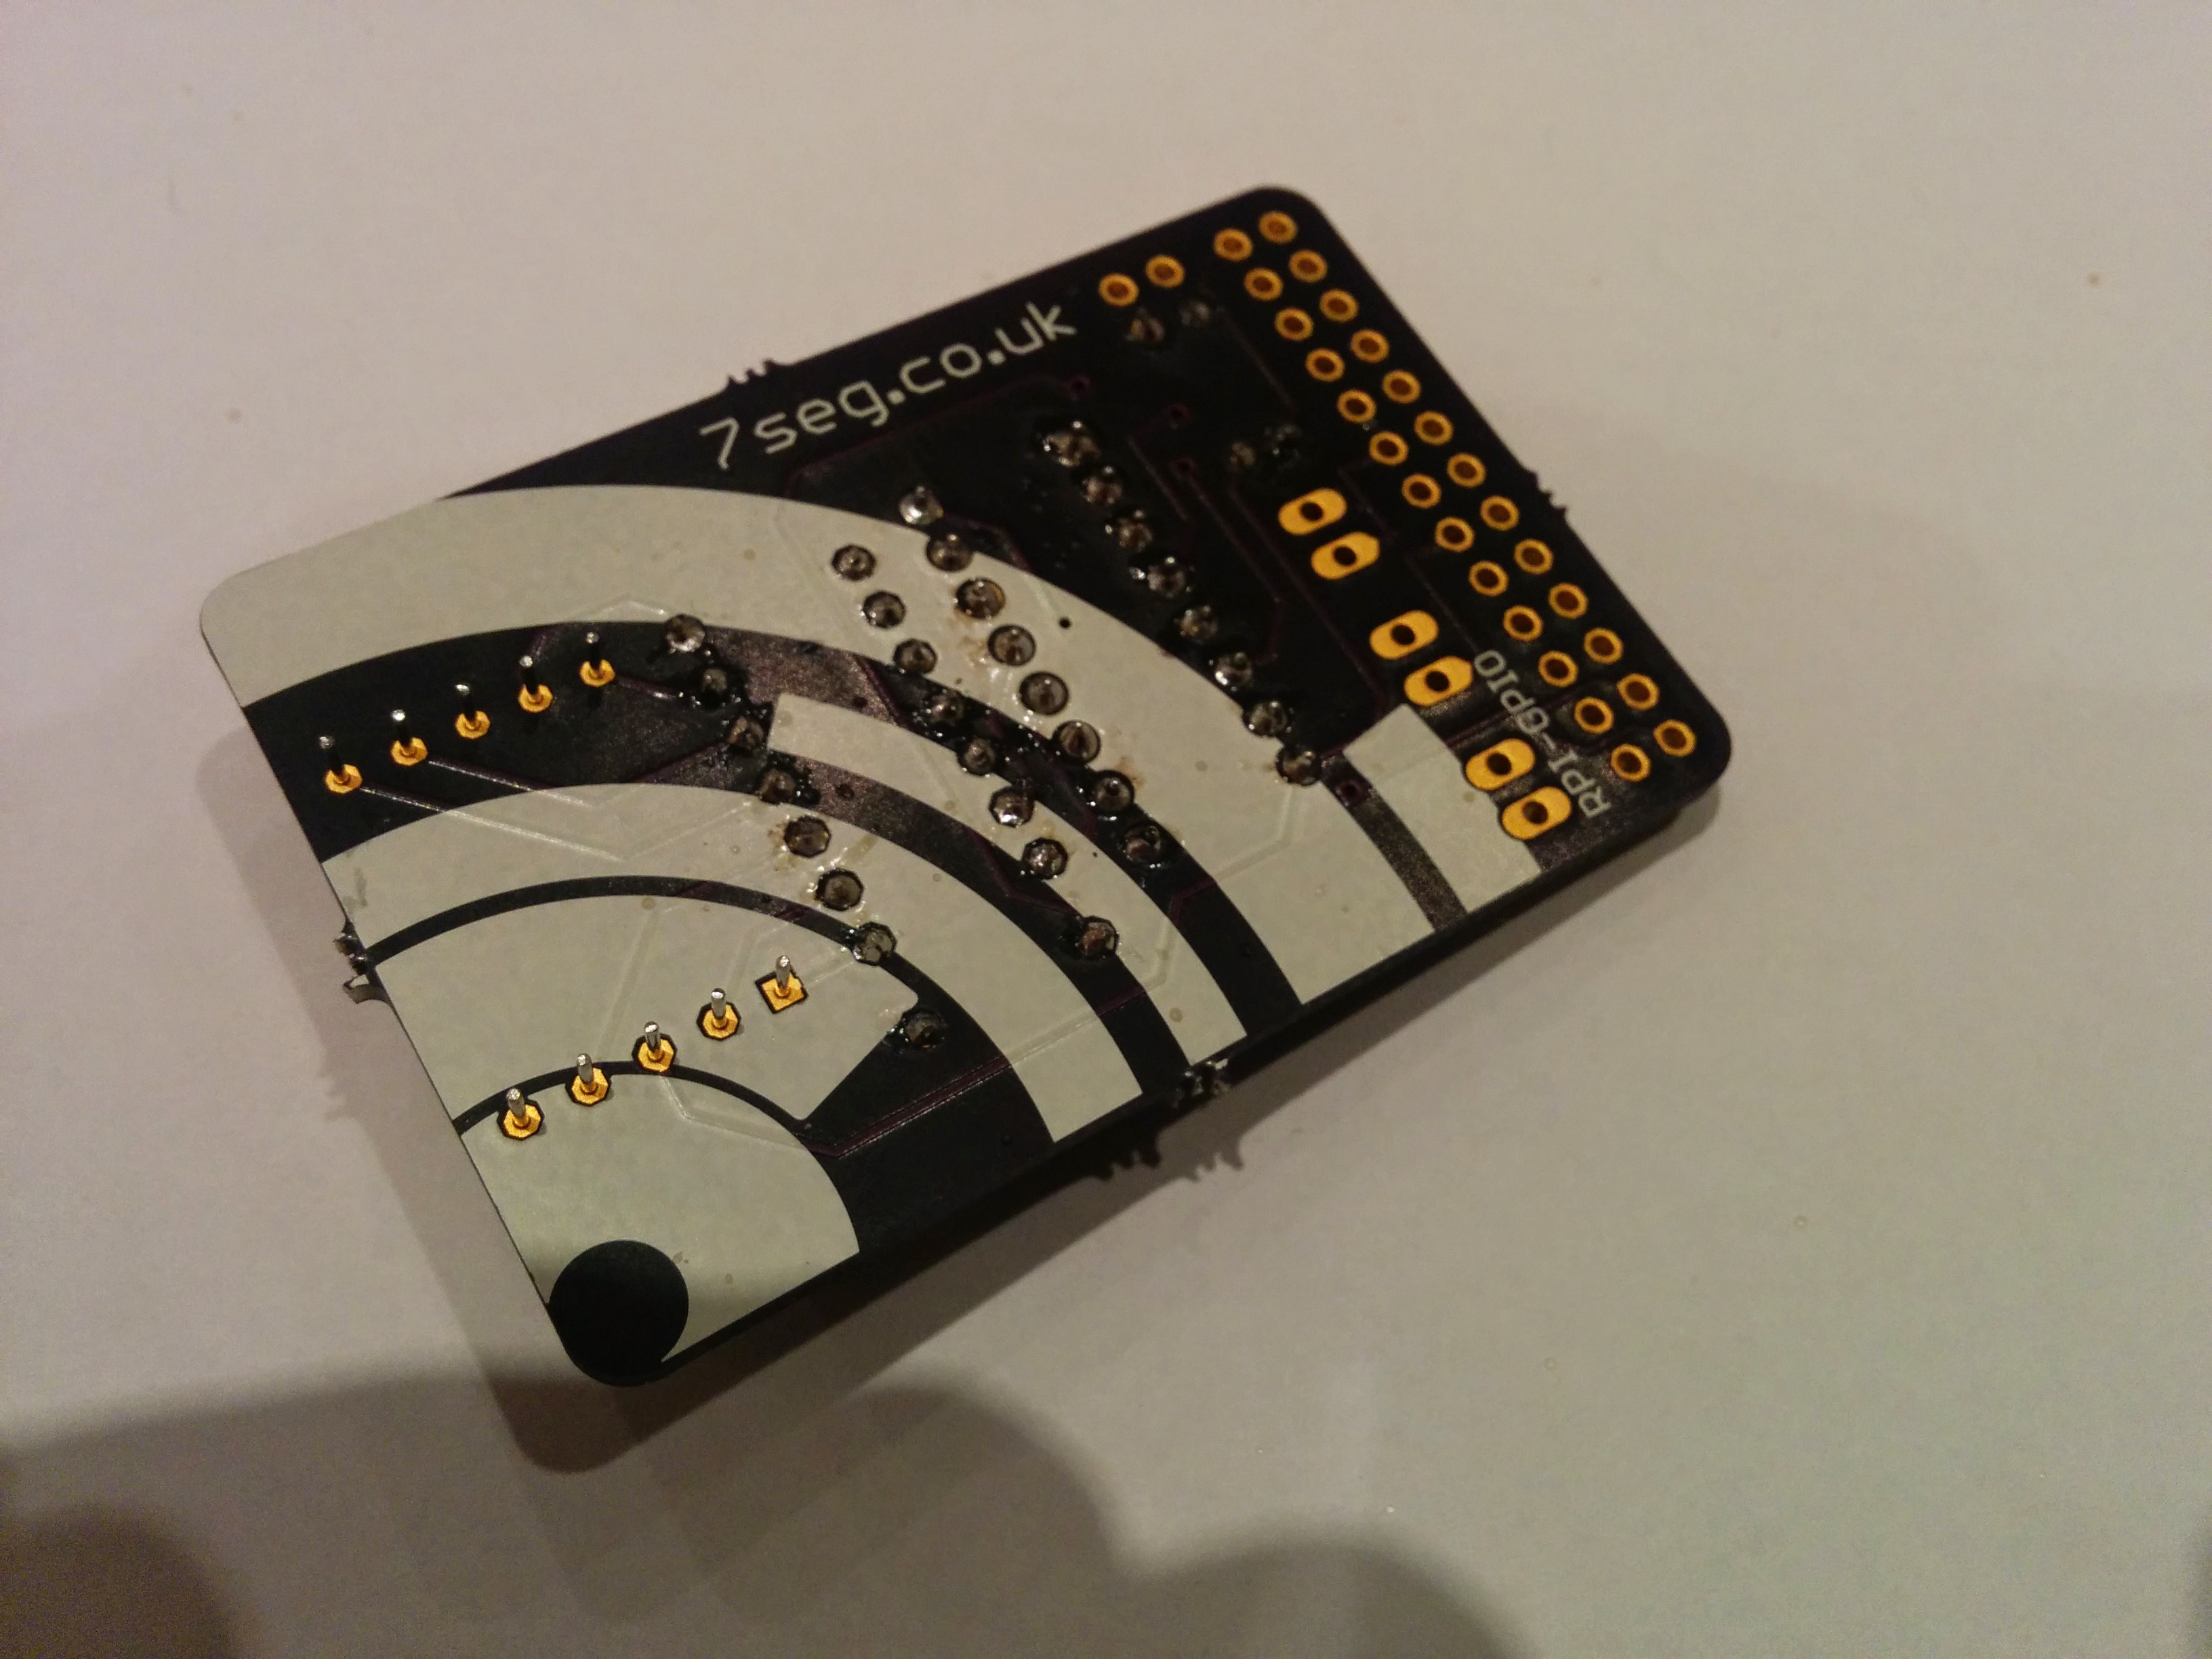
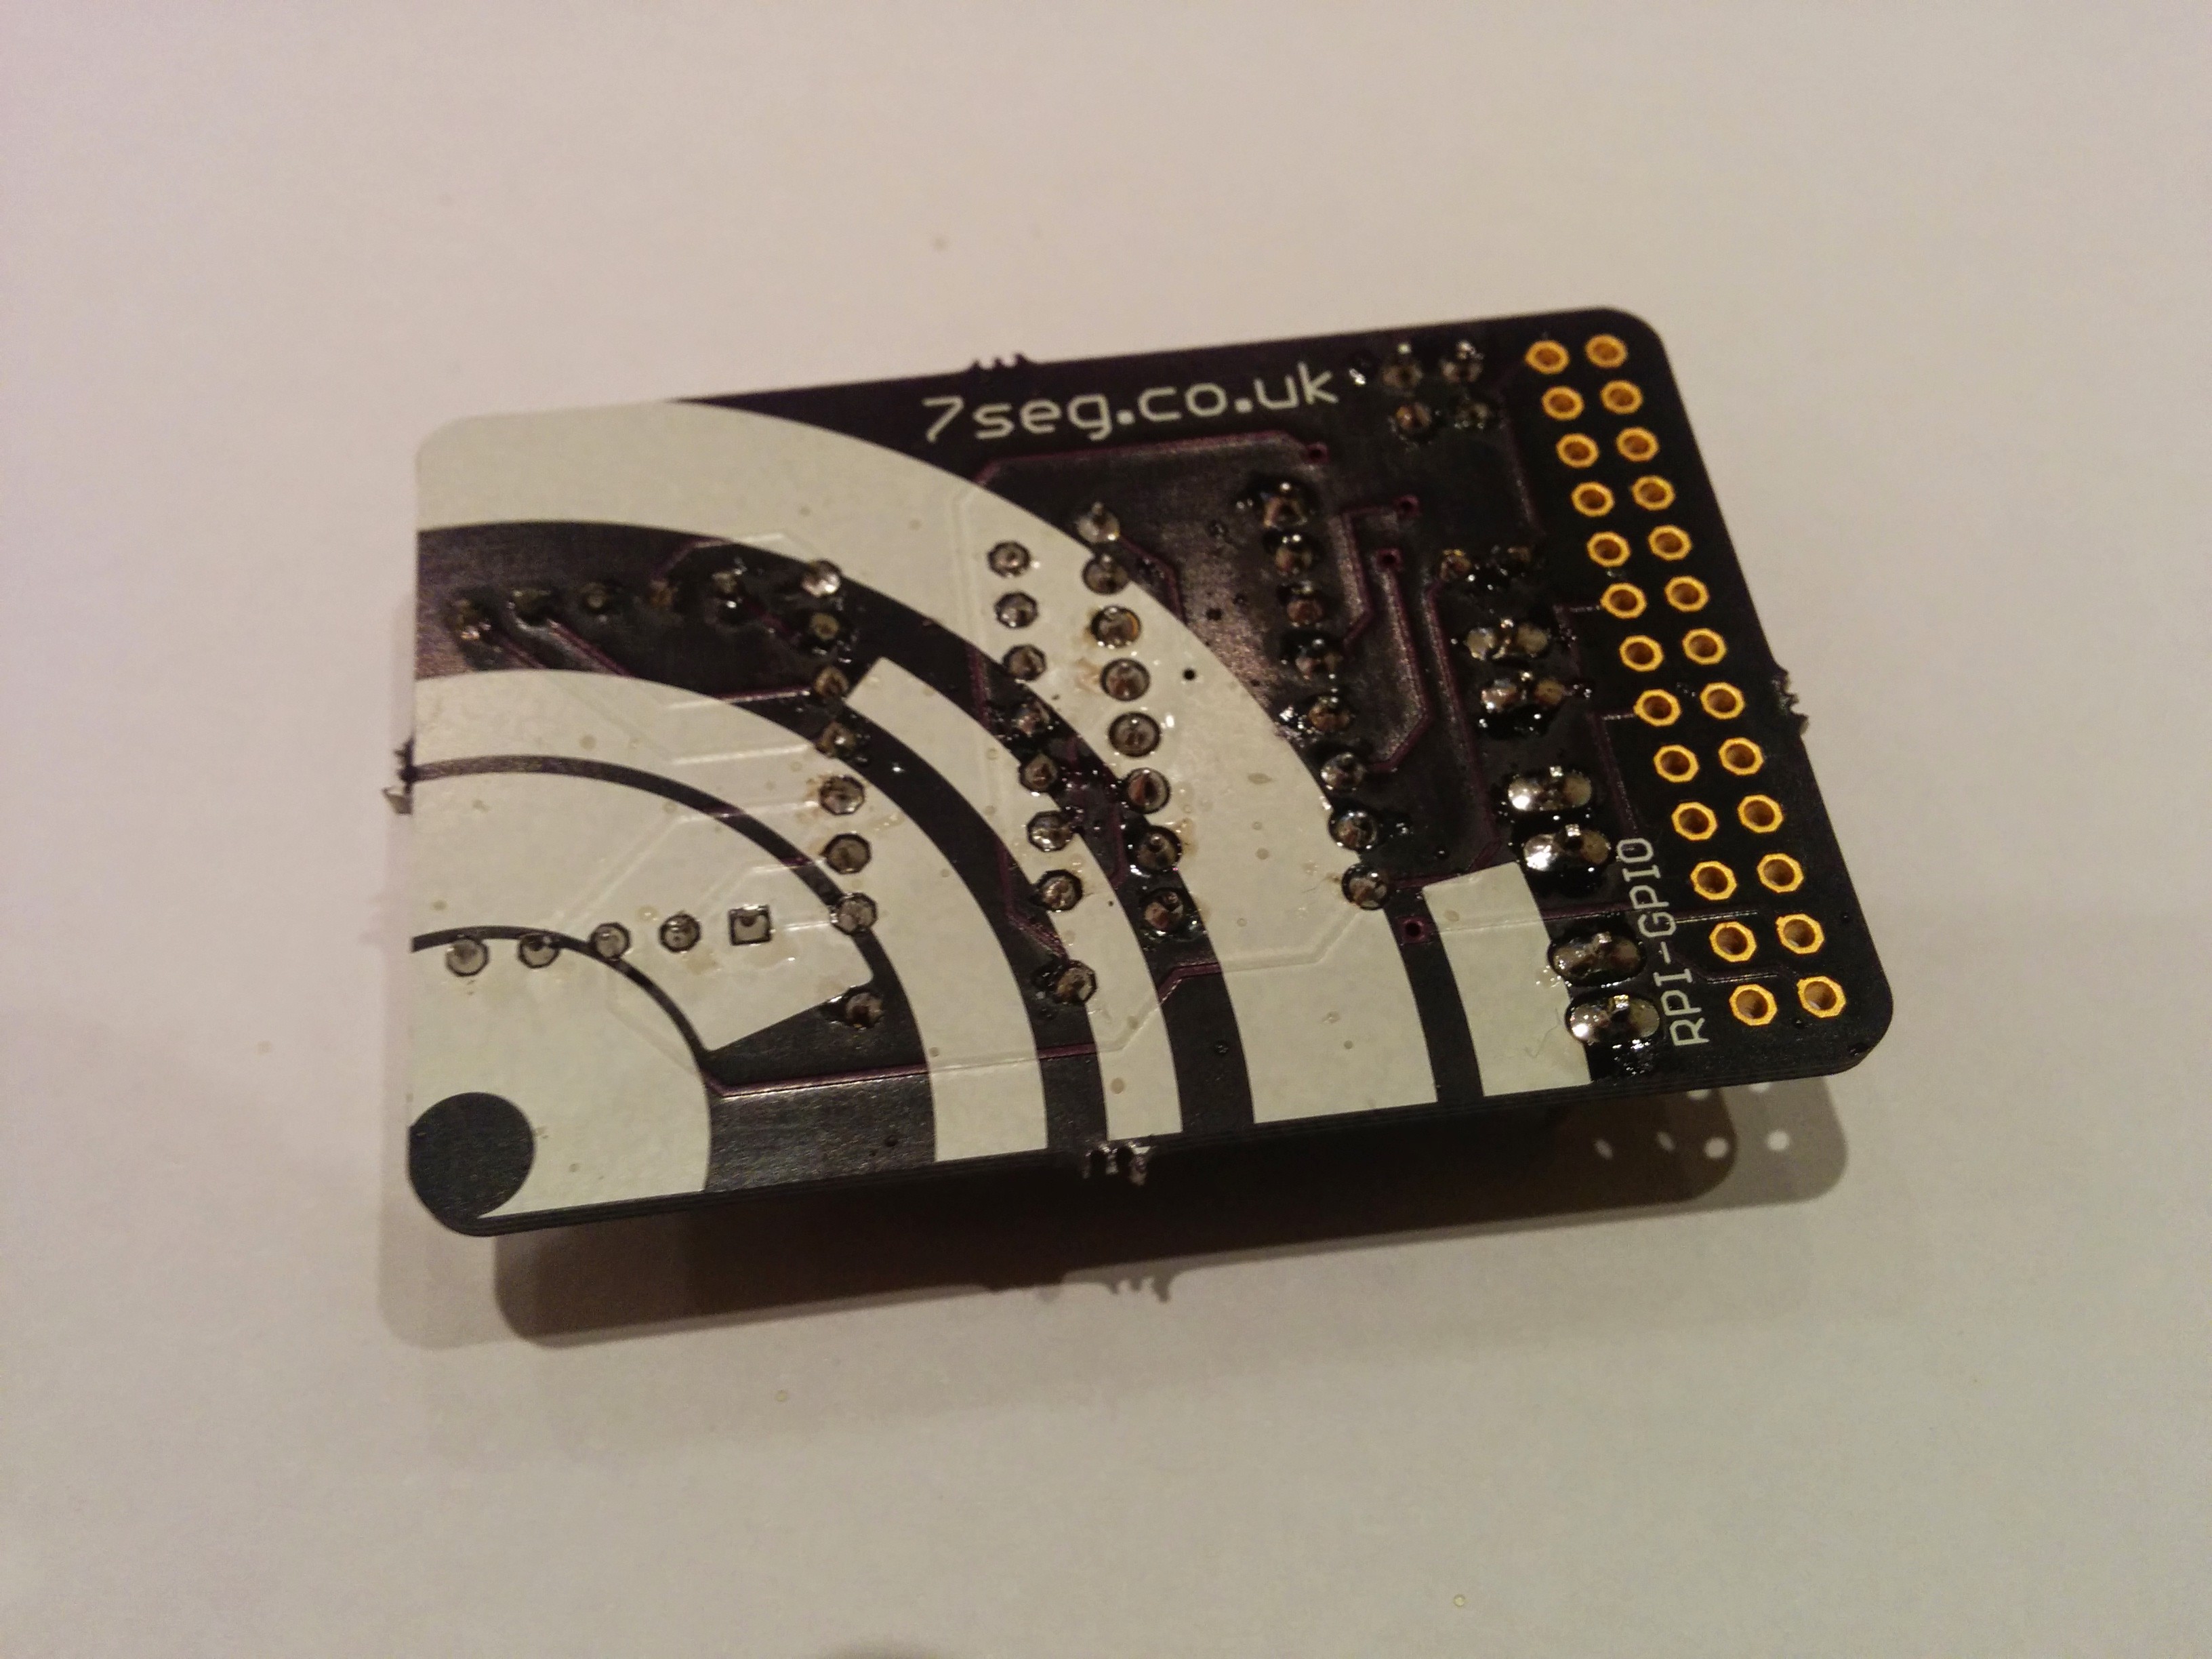
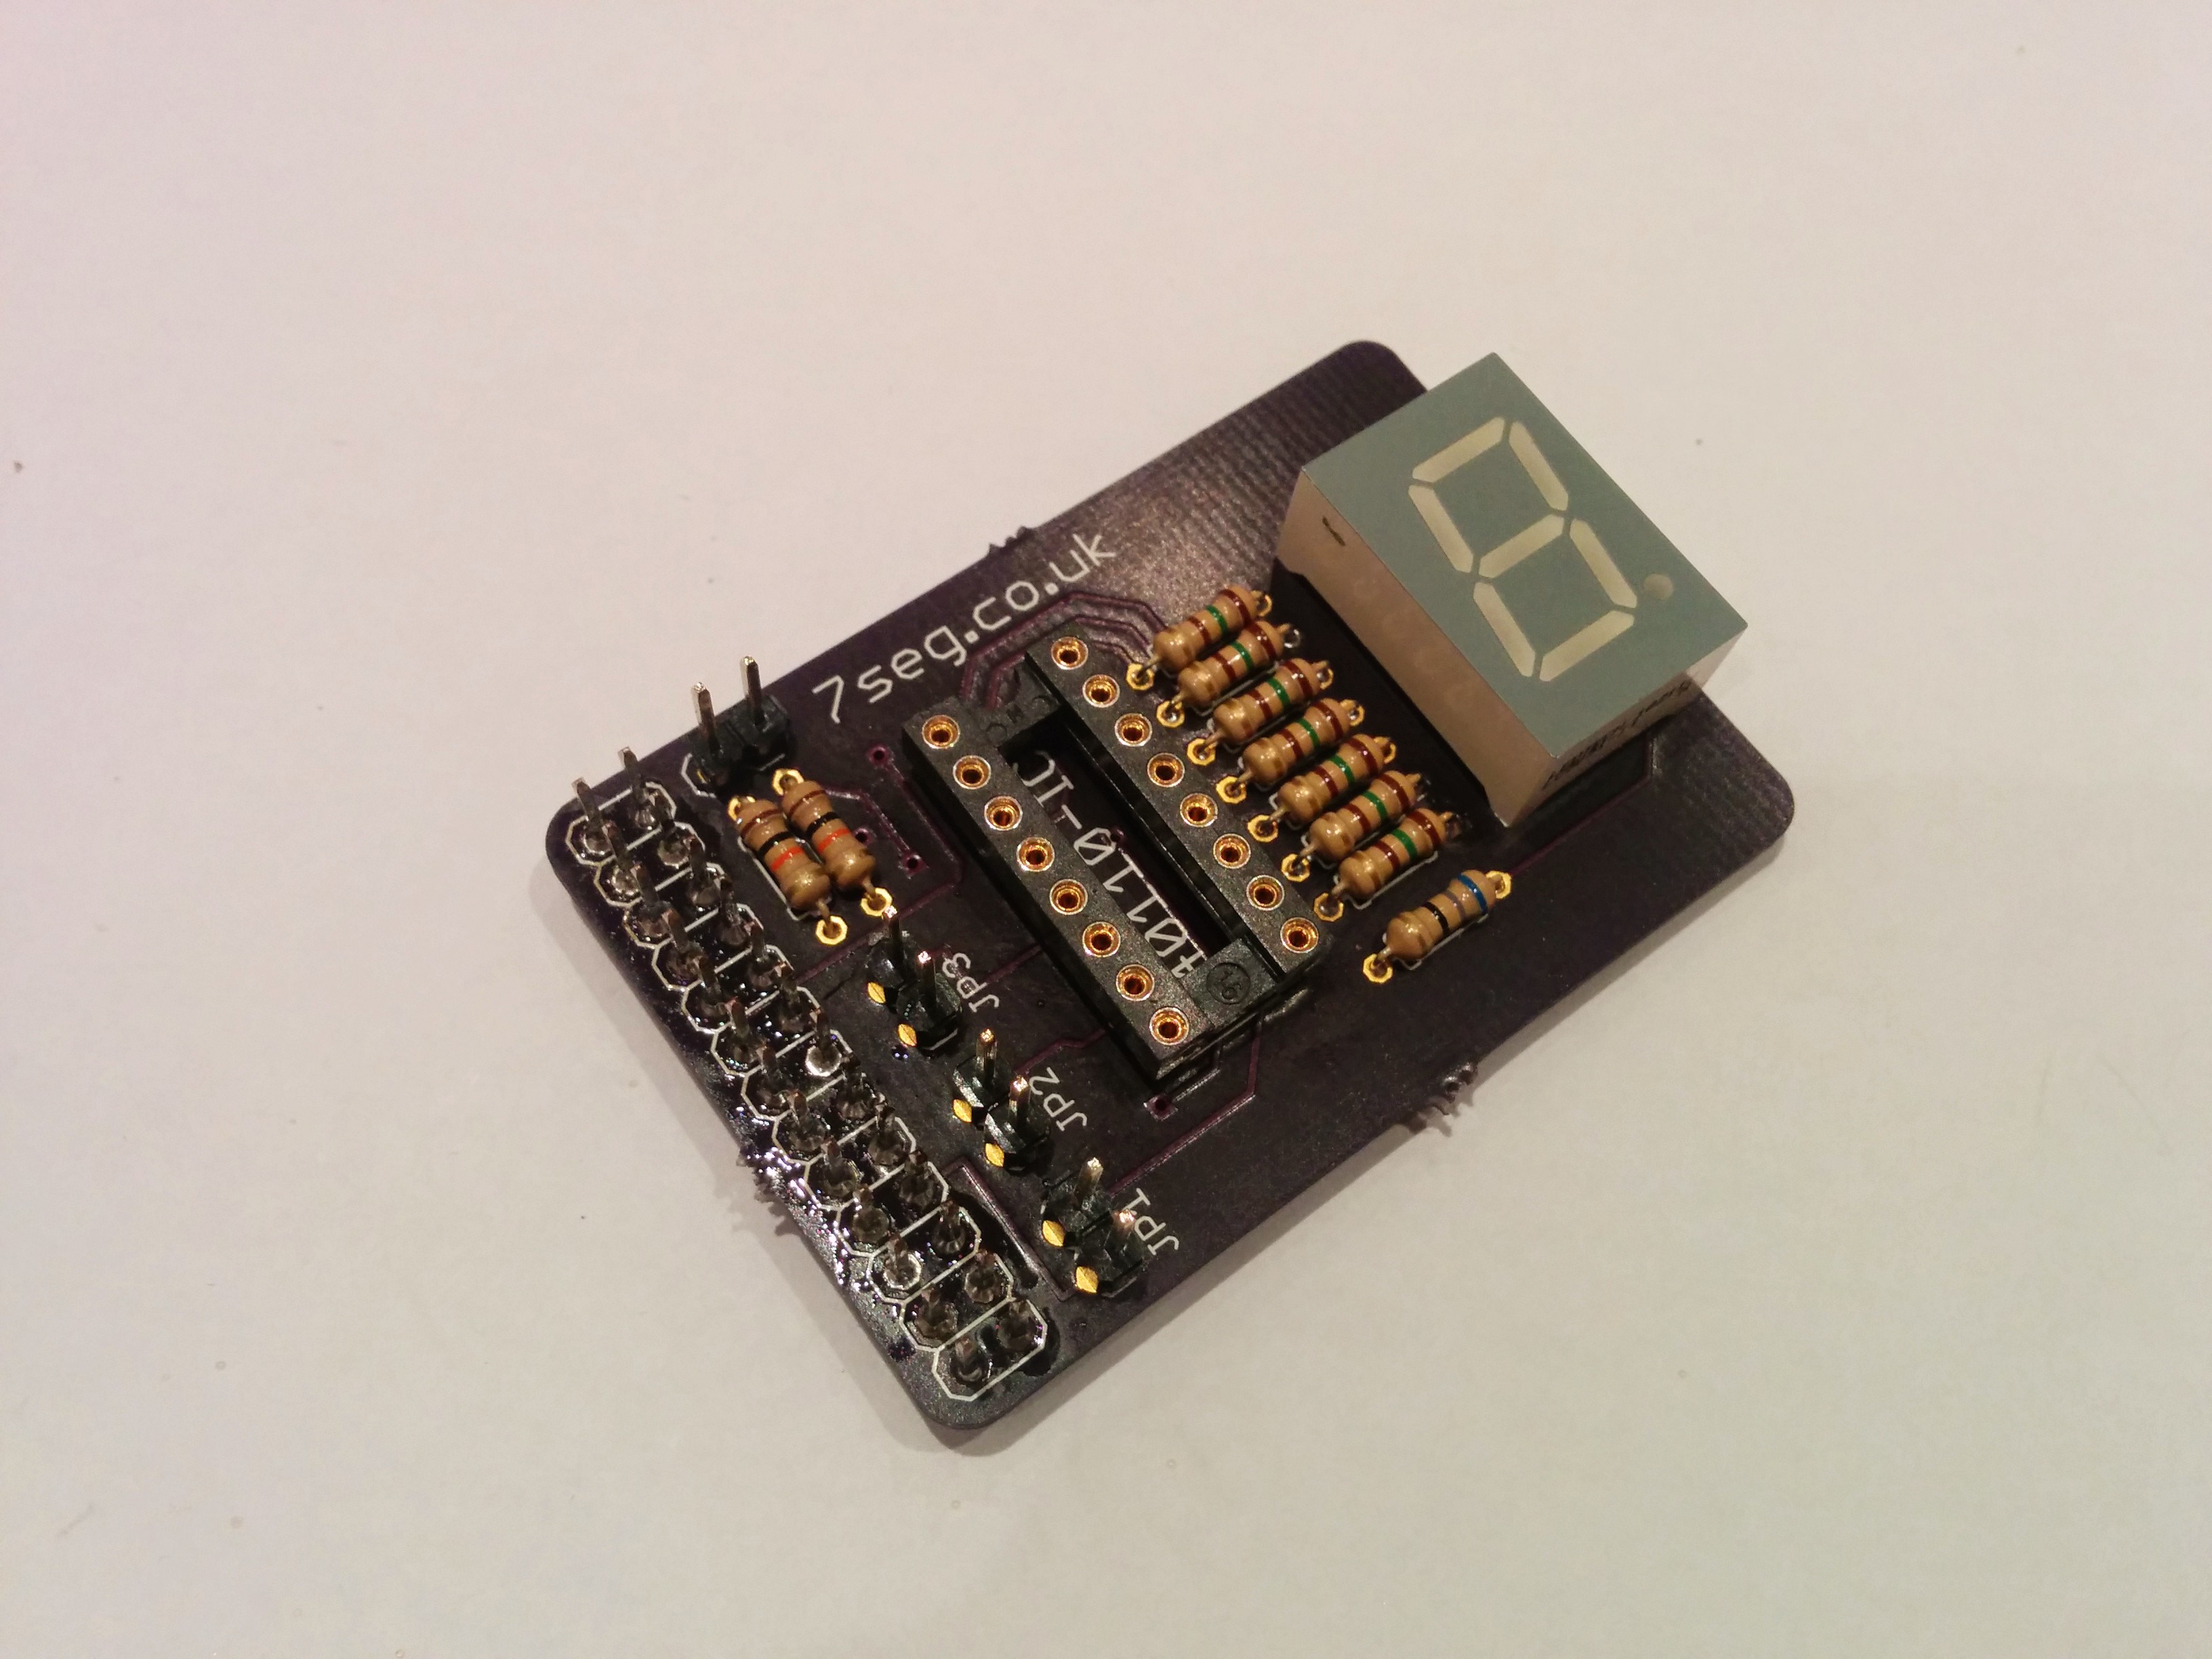
19. The board now, as viewed from above.
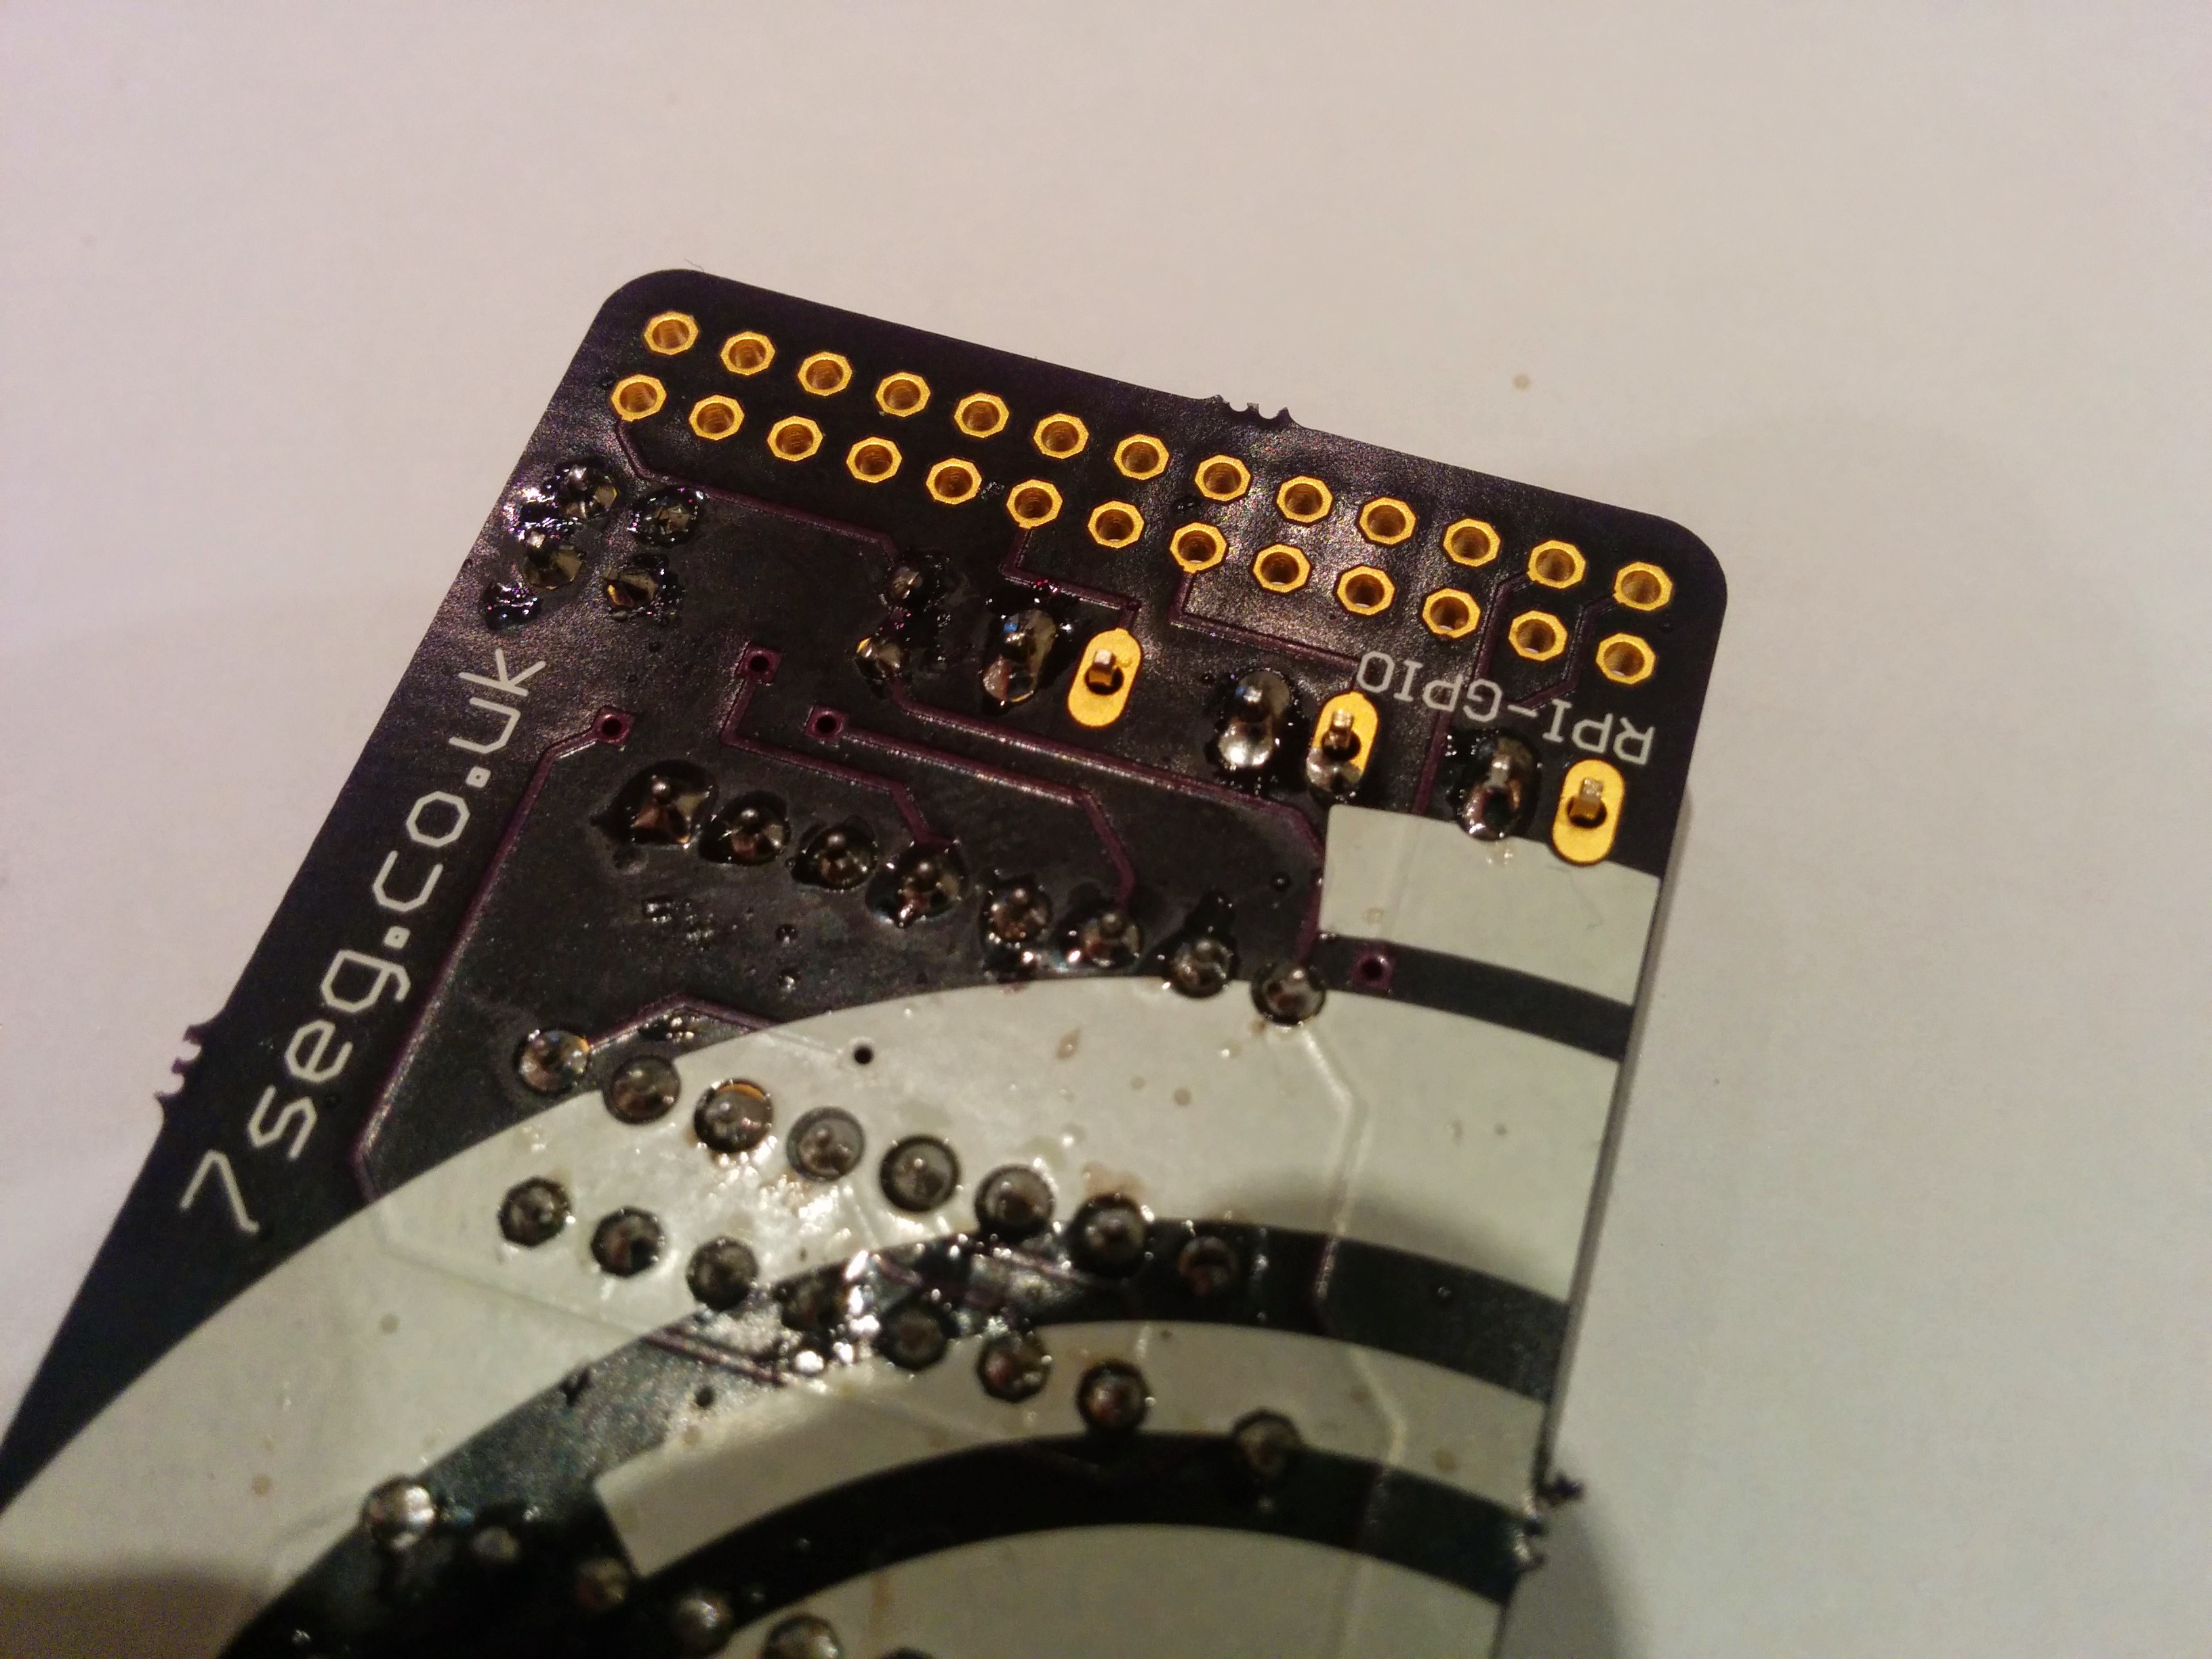
20. Insert the 26 way header from below, and make sure, again, that everything is level.
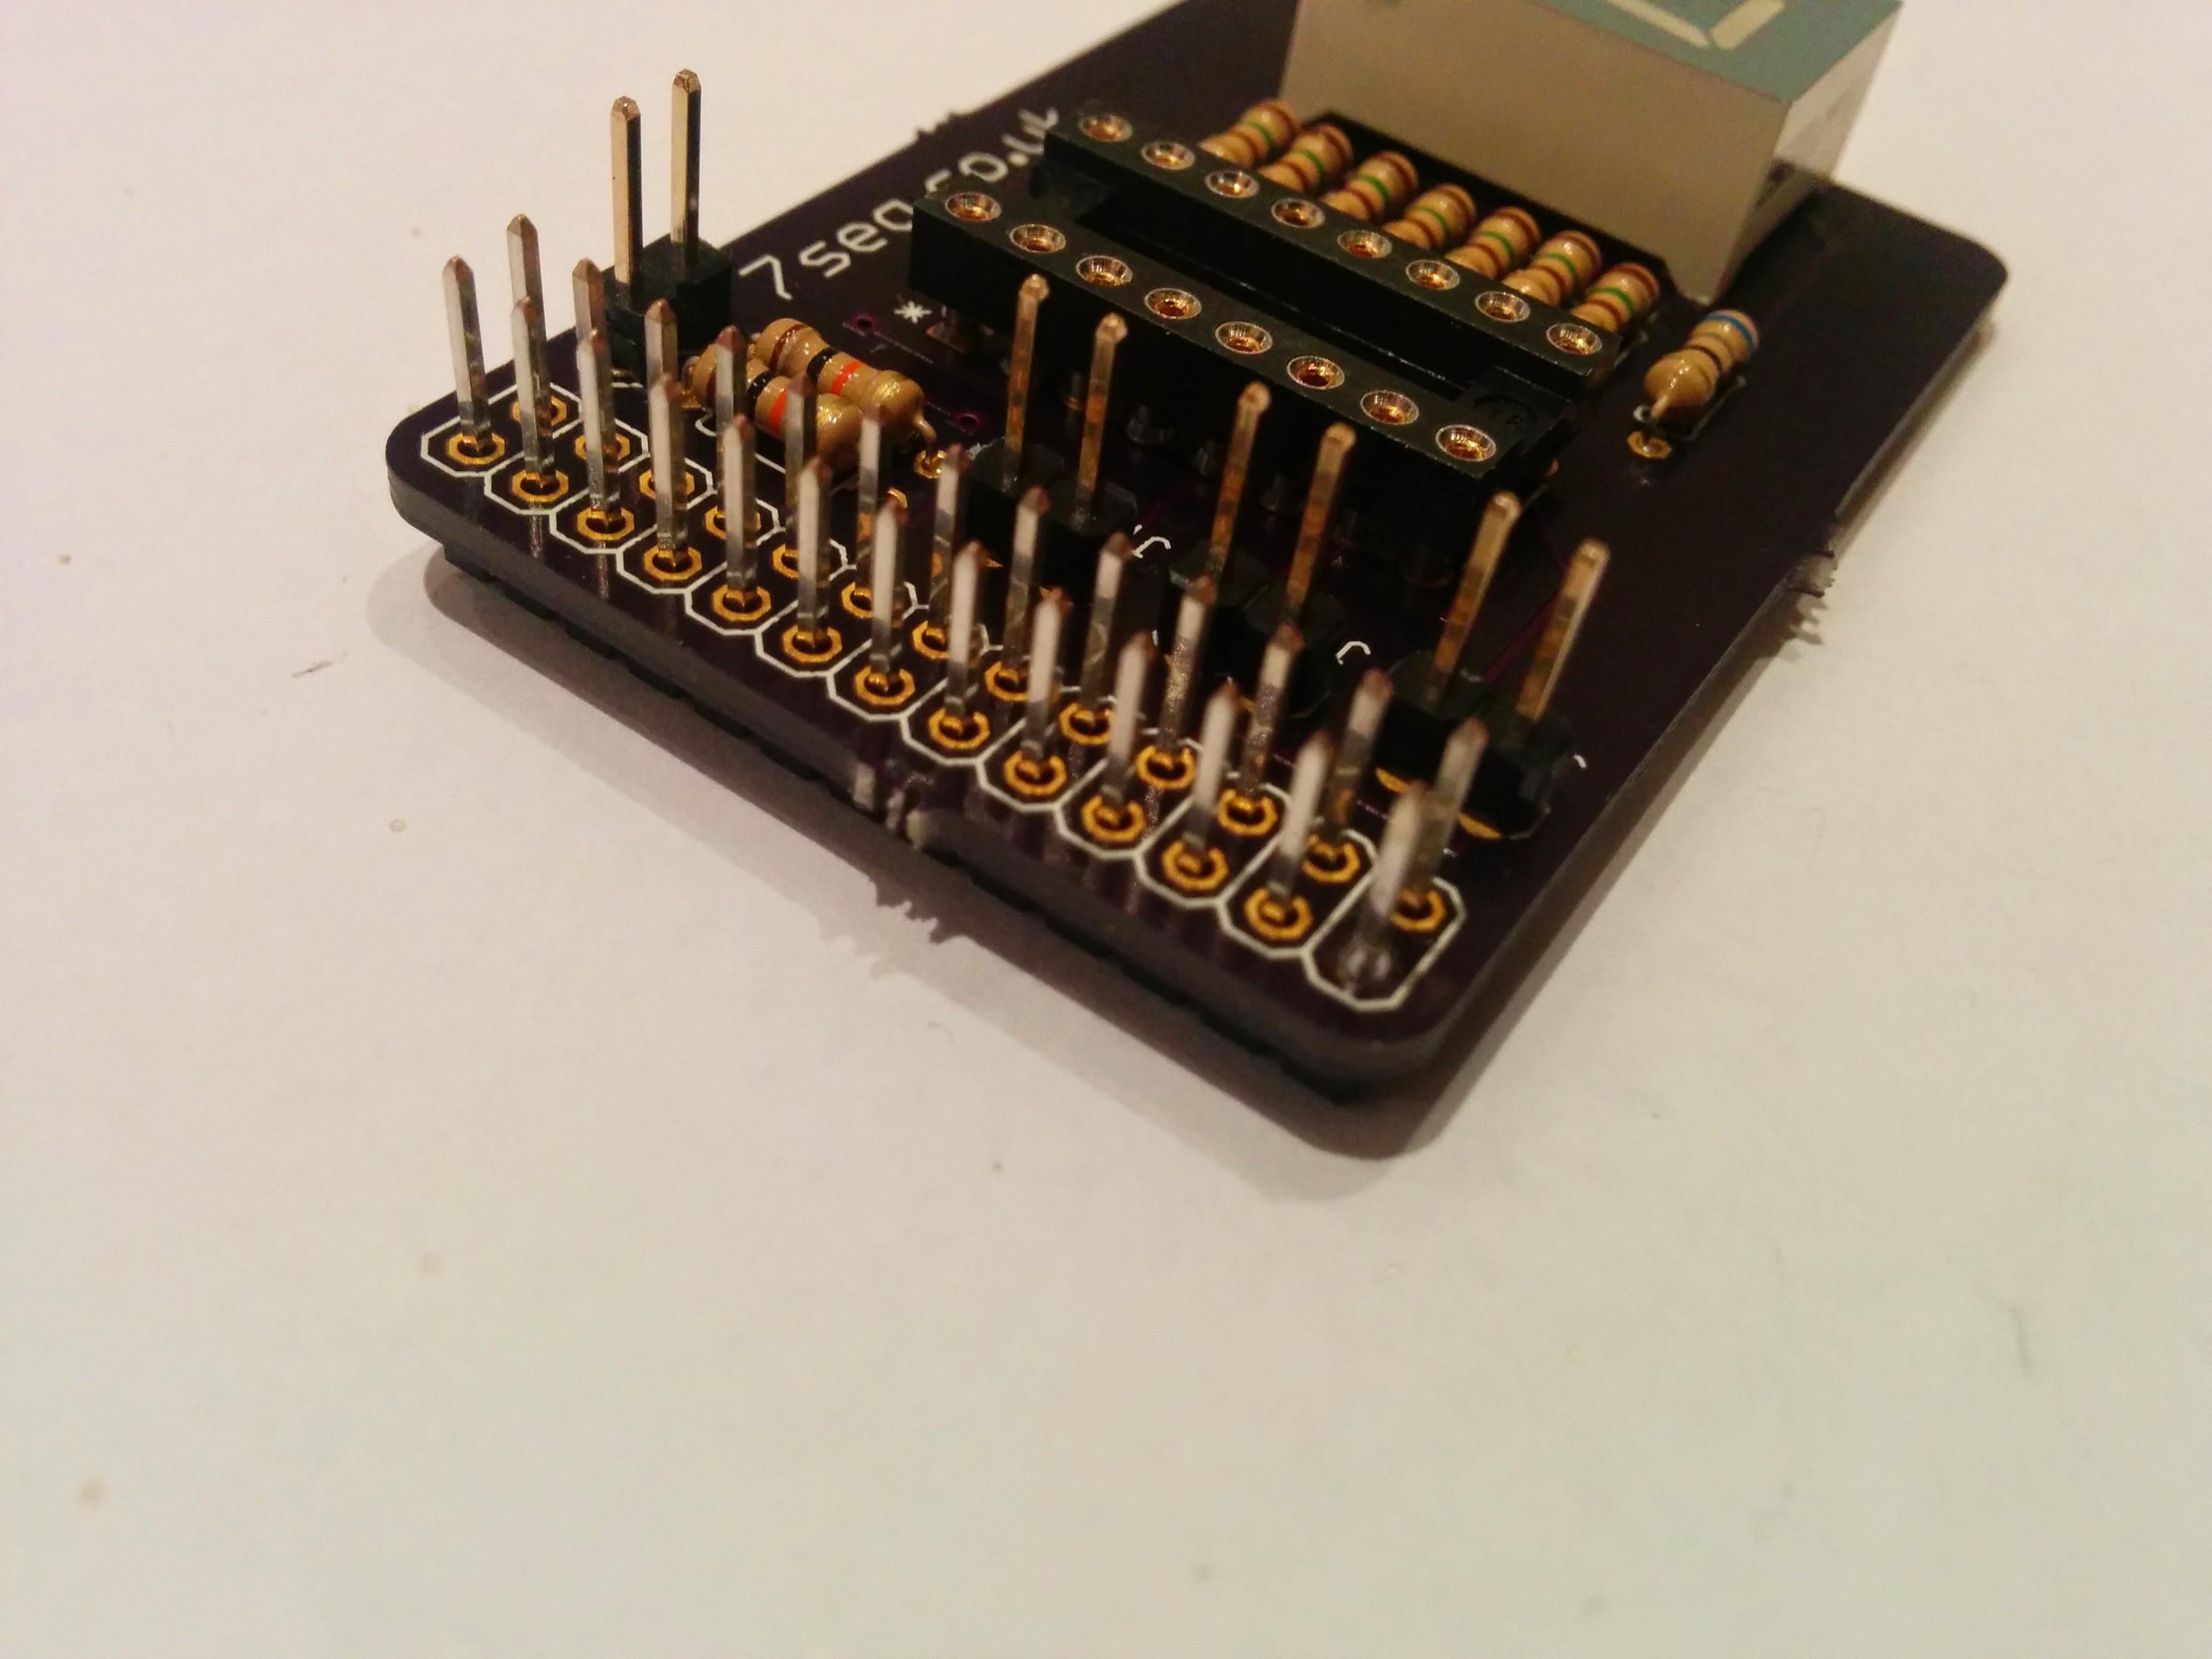
21. Start off by soldering in the bottom left hand corner.
22. Finish off the connector by soldering up all of the pins.

23. Place the three jumpers over the headers as shown in this photo.
24. Finally, push the chip into place. Be careful of the orientation, and take care not to bend any pins. The pins on the chip will be slightly bent outwards to start with. I find it useful to place one side on the table, before pushing gently down. Be careful whilst doing this, as you will not want to break any pins, or bend them in too far.
Once you have finished up, you can clean the board using some white spirit, or a similar cleaning solution. This will get rid of the flux and any other impurities left on the board.
Finished! Now you have your 7Seg done and ready to go, you can follow this up by connecting to the Raspberry Pi, just by stacking it ontop, then give it a test run by following one of our simple Python tutorials, to get started with programming your 7Seg.
As usual, if you do have any queries, plese do not hesitate to contact me. I will be more than happy to try to help in any way I can.